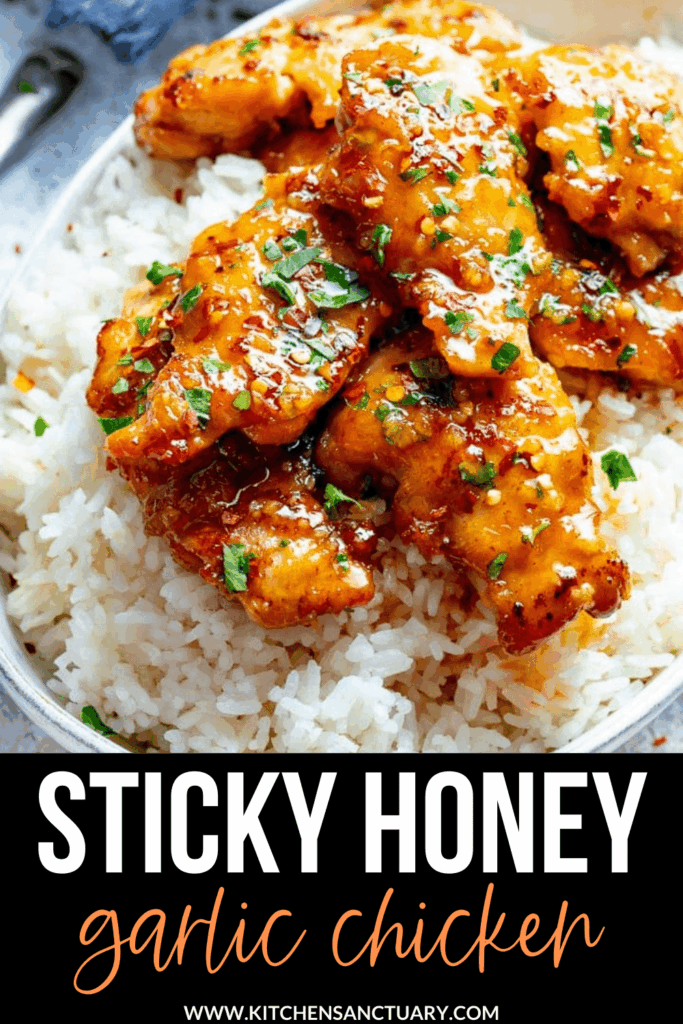
Sticky honey garlic chicken with rice is the dinner I make when I want the kitchen to smell like a takeout spot but the plate to feel like something I actually cooked. The sauce clings to every piece of chicken, the rice soaks up whatever drips off, and the cucumber garnish on the side keeps each bite from feeling too heavy.
Advertisements1
I use boneless skinless chicken thighs because they stay juicy even if you get distracted for two extra minutes, which happens in real life. The whole thing comes together in one skillet while the rice steams on the back burner, so cleanup is a single pan and a pot.
If you have ever had honey garlic chicken come out burnt or watery, it is almost always the heat or the timing, not the recipe. I will walk you through both below so you get that glossy, sticky glaze on the first try. Small steps, big impact.
Why You'll Love This Recipe
About the Ingredients
2 lb (900g) boneless skinless chicken thighs
Thighs stay juicy and take on the glaze better than lean breast. If you only have chicken breast, use it but pull it at 160F (71C) so it does not dry out.
1 1/2 tsp kosher salt
Kosher salt seasons more evenly than table salt here. If using fine table salt, cut it to 1 tsp so the dish does not get salty once the soy sauce goes in.
1/2 tsp freshly cracked black pepper
Fresh-cracked has more aroma than pre-ground. A few turns from a grinder is plenty; skip it if your family dislikes heat.
2 tbsp cornstarch
Cornstarch gives the chicken a light crust that helps the sauce grab on. Arrowroot or potato starch works as a 1-to-1 swap if that is what you have.
2 tbsp vegetable oil
Neutral oil with a high smoke point, so the honey does not scorch. Avocado oil or peanut oil are both great substitutes.
6 cloves garlic, finely minced
Fresh garlic is the backbone of this sauce, so do not use the jarred stuff if you can help it. About 2 tsp garlic paste is a fine backup.
1/3 cup (113g) honey
Real honey, not honey-flavored syrup, is what makes the glaze sticky. Maple syrup works but the sauce will be a little thinner.
1/3 cup (80ml) low-sodium soy sauce
Low-sodium keeps the glaze from turning too salty as it reduces. Tamari is a great gluten-free swap, or use coconut aminos for a soy-free version.
2 tbsp rice vinegar
The acid cuts through the honey so the sauce is not cloying. Apple cider vinegar or fresh lime juice both work in a pinch.
1 tsp toasted sesame oil
Added at the end for aroma, not cooking. Toasted is much more flavorful than regular sesame oil, so a little goes a long way.
3 cups cooked jasmine rice (from about 1 cup dry)
Jasmine rice is fragrant and slightly sticky, which pairs perfectly with this glaze. Basmati or plain long-grain rice are easy swaps.
1 English cucumber, thinly sliced, plus 2 sliced scallions and 1 tsp sesame seeds for garnish
The cool cucumber and sharp scallion balance the sweet glaze. Persian cucumbers or a handful of quick-pickled red onion work just as well.
Tips & Tricks
Do Not Crowd the Pan
Cook the chicken in a single layer so it browns instead of steaming. If your skillet is small, sear it in two batches and return everything to the pan before the sauce goes in.
Watch the Honey at the End
Honey burns fast once it thickens. Keep the heat at medium-low the moment the sauce starts bubbling and stir constantly for the last minute.
Dry the Chicken First
Pat the thighs dry with paper towels before tossing in cornstarch. Wet chicken will not get that golden crust, and the coating will slide right off.
Rest Before Slicing
Let the chicken sit 3 to 4 minutes after it comes out of the pan. The juices redistribute and the slices stay neat instead of leaking onto the rice.
Pro Tips
Step-by-Step Instructions
1. Season and Coat the Chicken
Pat 2 lb (900g) chicken thighs completely dry with paper towels, then toss with 1 1/2 tsp kosher salt, 1/2 tsp black pepper, and 2 tbsp cornstarch until every piece is evenly dusted. The cornstarch is what gives the chicken a light crust and helps the glaze cling later.
2. Whisk the Honey Garlic Sauce
In a small bowl, whisk together 1/3 cup (113g) honey, 1/3 cup (80ml) low-sodium soy sauce, 2 tbsp rice vinegar, and 6 cloves minced garlic until the honey dissolves. Set it near the stove so you can pour it in fast when the pan is hot.
3. Sear the Chicken Golden
Heat 2 tbsp vegetable oil in a large skillet over medium-high heat, about 375F (190C), until it shimmers. Add the chicken in a single layer and cook 5 to 6 minutes per side, until deeply golden brown and the internal temperature reads 165F (74C), then transfer to a plate. You should hear a steady sizzle, not a violent pop.
4. Bloom the Garlic Base
Lower the heat to medium and pour off all but about 1 tbsp of the fat. Scrape up the browned bits with a wooden spoon, then pour in the sauce and let it bubble for 1 to 2 minutes until it smells sweet and garlicky. If the garlic starts to darken, pull the pan off the heat for 30 seconds.
5. Reduce to a Sticky Glaze
Simmer the sauce at medium-low, stirring constantly, for 3 to 4 minutes until it thickens enough to coat the back of a spoon and the edges bubble steadily. It should look like warm honey, not water, at this point.
6. Glaze the Chicken
Return the chicken and any resting juices to the pan and turn each piece to coat. Cook 2 to 3 minutes, spooning the glaze over the top, until the sauce clings and the chicken reaches 175F (79C) internal for that tender thigh texture. Stir in 1 tsp toasted sesame oil off the heat.
7. Plate with Rice and Garnish
Spoon 3 cups cooked jasmine rice onto plates, top with the chicken and extra glaze, then add sliced cucumber, scallions, and a sprinkle of sesame seeds on the side. Serve right away while the glaze is still glossy.
Delicious Variations
Spicy Honey Garlic
Add 1 to 2 tsp sriracha or chili garlic sauce to the glaze, and finish with sliced red chilies for a sweet-heat version.
Honey Garlic Chicken Bowls
Swap the rice for cauliflower rice or a 50/50 mix, and add steamed broccoli and shredded carrots for a lighter bowl.
Crispy Baked Version
Coat the chicken in cornstarch and bake at 425F (220C) for 20 minutes, then toss in the stovetop glaze for less hands-on time.
How to Store Sticky Honey Garlic Chicken with Rice
Refrigerator
Store chicken and sauce in an airtight container for up to 4 days; keep rice in a separate container so it does not soak up all the glaze.
Freezer
Freeze the glazed chicken without rice for up to 3 months in a freezer-safe bag, pressing out the air; thaw overnight in the refrigerator before reheating.
Reheating
Reheat gently in a covered skillet over medium-low heat with a splash of water for 5 to 7 minutes, or microwave in 30-second bursts until steaming, so the honey does not burn.
Frequently Asked Questions
Q: Why did my honey garlic sauce turn out watery?
The sauce was not reduced long enough, so keep simmering it at medium-low until it coats the back of a spoon, usually 3 to 4 minutes. Cornstarch on the chicken also helps thicken the pan juices as the chicken finishes cooking.
Q: Can I use chicken breast instead of thighs?
Yes, but pull the chicken at 160F (71C) internal and let it rest, because breast dries out faster than thighs. Slice it against the grain and add it back to the glaze for just 1 minute so it does not toughen.
Q: Is honey garlic chicken spicy?
No, this version is sweet and savory with no real heat, which is why kids tend to love it. If you want spice, add 1 to 2 tsp sriracha or a pinch of red pepper flakes to the sauce.
Q: How do I keep the honey from burning?
Turn the heat down to medium-low as soon as the sauce starts bubbling and stir constantly, because honey scorches quickly once it thickens. If it smells sharp or turns dark, pull the pan off the heat and add a splash of water to loosen it.
Q: Can I make this honey garlic chicken ahead of time?
Yes, cook the chicken and glaze up to 3 days ahead and store them together in the fridge, then reheat gently with a splash of water. The glaze thickens when cold, so it loosens right back up as it warms.
Give this sticky honey garlic chicken a try this week and let the rice catch every drop of that glaze. Try this today: mix the sauce in a small bowl before you turn on the stove, and the whole dinner moves faster than you expect. Small steps, big impact.
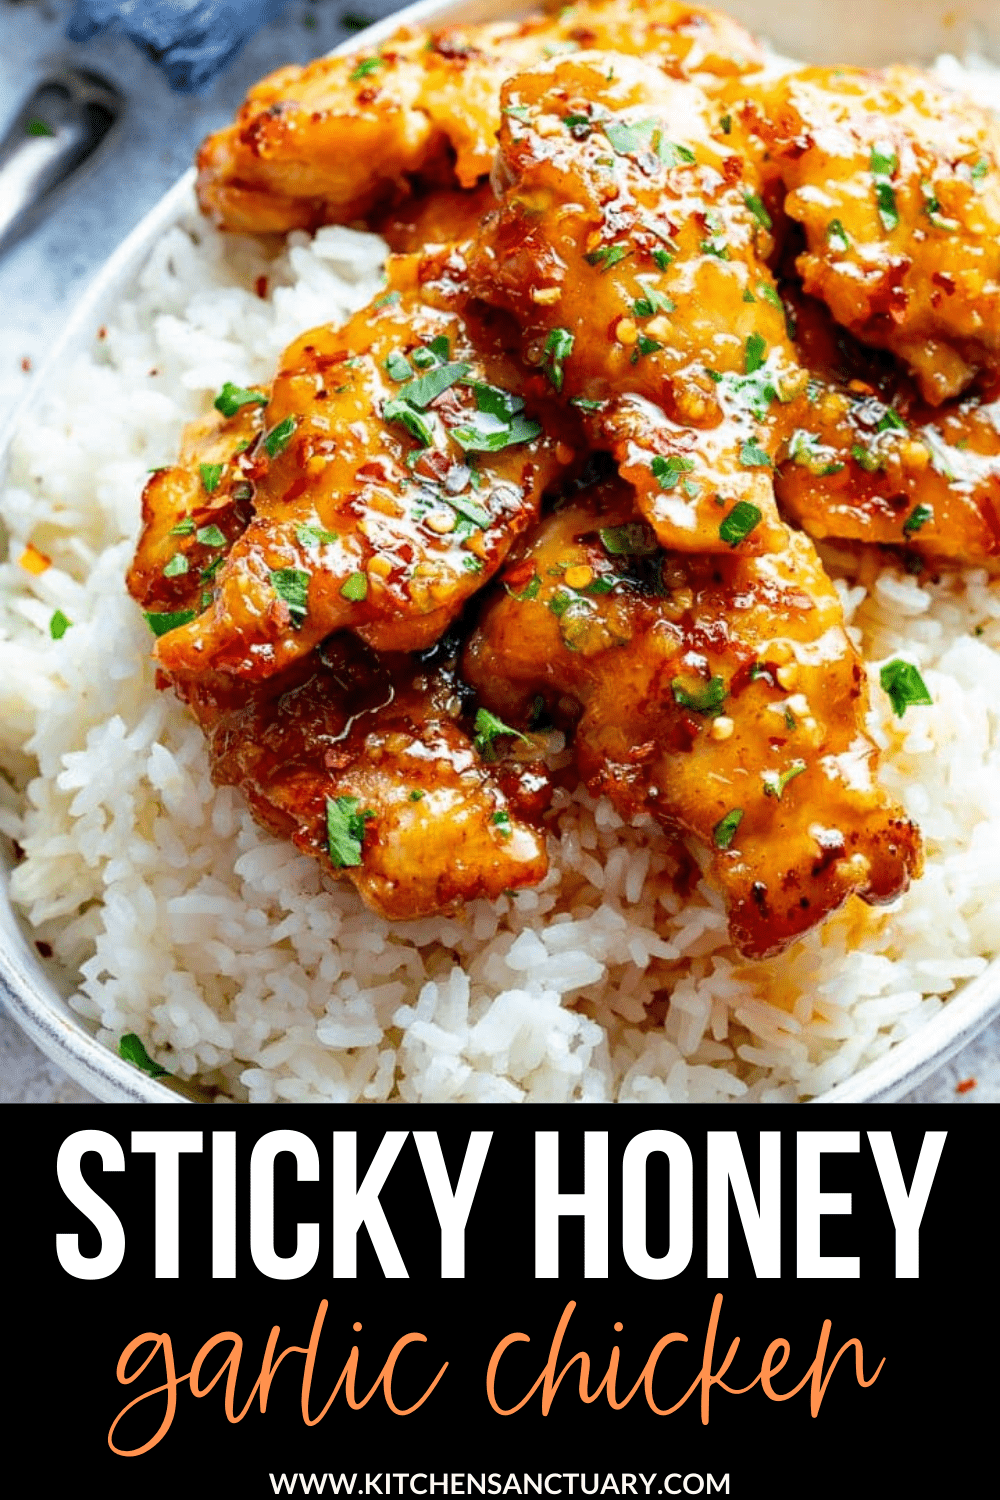
Sticky Honey Garlic Chicken with Rice
Sticky honey garlic chicken with fluffy rice: glossy, sweet-savory thighs caramelized in one pan for a fast weeknight dinner everyone asks for again.
🧂 Ingredients
- 2 lb (900g) boneless skinless chicken thighs
- 1 1/2 tsp kosher salt
- 1/2 tsp freshly cracked black pepper
- 2 tbsp cornstarch
- 2 tbsp vegetable oil
- 6 cloves garlic, finely minced
- 1/3 cup (113g) honey
- 1/3 cup (80ml) low-sodium soy sauce
- 2 tbsp rice vinegar
- 1 tsp toasted sesame oil
- 3 cups cooked jasmine rice (from about 1 cup dry)
- 1 English cucumber, thinly sliced, plus 2 sliced scallions and 1 tsp sesame seeds for garnish
📋 Instructions
- 1Season and Coat the Chicken — Pat 2 lb (900g) chicken thighs completely dry with paper towels, then toss with 1 1/2 tsp kosher salt, 1/2 tsp black pepper, and 2 tbsp cornstarch until every piece is evenly dusted. The cornstarch is what gives the chicken a light crust and helps the glaze cling later.
- 2Whisk the Honey Garlic Sauce — In a small bowl, whisk together 1/3 cup (113g) honey, 1/3 cup (80ml) low-sodium soy sauce, 2 tbsp rice vinegar, and 6 cloves minced garlic until the honey dissolves. Set it near the stove so you can pour it in fast when the pan is hot.
- 3Sear the Chicken Golden — Heat 2 tbsp vegetable oil in a large skillet over medium-high heat, about 375F (190C), until it shimmers. Add the chicken in a single layer and cook 5 to 6 minutes per side, until deeply golden brown and the internal temperature reads 165F (74C), then transfer to a plate. You should hear a steady sizzle, not a violent pop.
- 4Bloom the Garlic Base — Lower the heat to medium and pour off all but about 1 tbsp of the fat. Scrape up the browned bits with a wooden spoon, then pour in the sauce and let it bubble for 1 to 2 minutes until it smells sweet and garlicky. If the garlic starts to darken, pull the pan off the heat for 30 seconds.
- 5Reduce to a Sticky Glaze — Simmer the sauce at medium-low, stirring constantly, for 3 to 4 minutes until it thickens enough to coat the back of a spoon and the edges bubble steadily. It should look like warm honey, not water, at this point.
- 6Glaze the Chicken — Return the chicken and any resting juices to the pan and turn each piece to coat. Cook 2 to 3 minutes, spooning the glaze over the top, until the sauce clings and the chicken reaches 175F (79C) internal for that tender thigh texture. Stir in 1 tsp toasted sesame oil off the heat.
- 7Plate with Rice and Garnish — Spoon 3 cups cooked jasmine rice onto plates, top with the chicken and extra glaze, then add sliced cucumber, scallions, and a sprinkle of sesame seeds on the side. Serve right away while the glaze is still glossy.

Maya writes about sustainable living and zero-waste practices, focusing on small, actionable changes that fit into busy routines. She shares practical tips from her own journey of reducing waste at home and in the community.