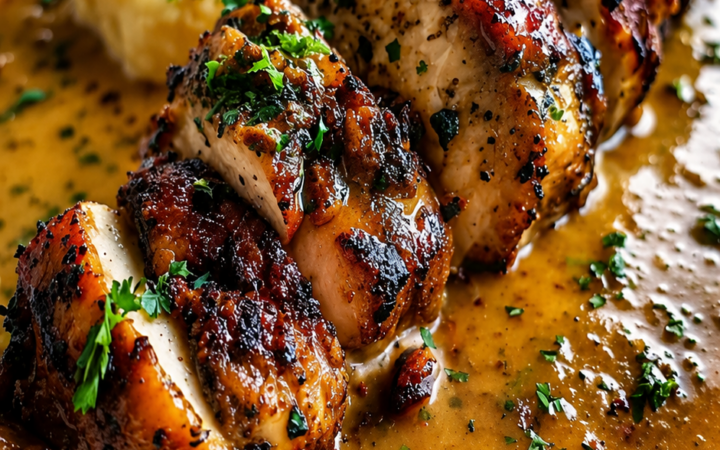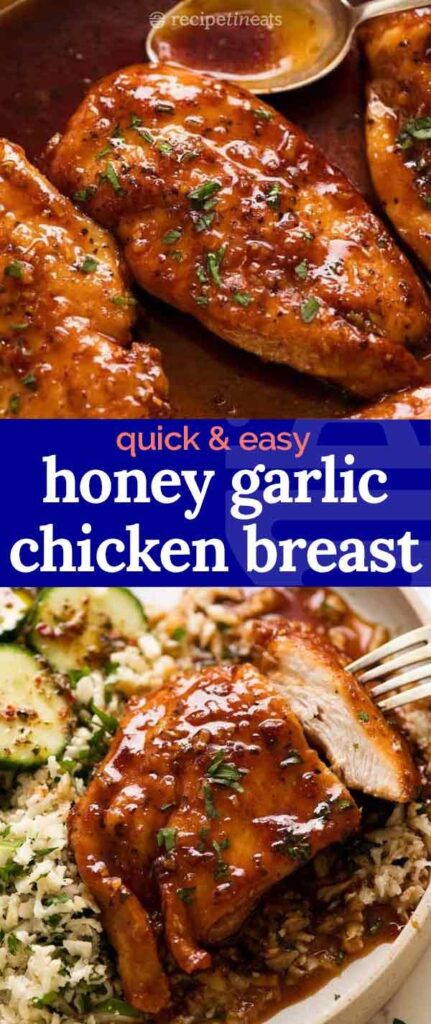
The main takeaway here is simple: you do not need a restaurant to get glossy, sticky honey garlic chicken. You need one pan, six pantry staples, and about 30 minutes of focused cooking. This recipe builds the sauce twice – once as a glaze for the seared chicken and once as a fresh finishing sauce – so the flavor stays bright instead of turning into burnt sugar.
Advertisements1
Here is the number that matters most: the sauce reduces from about 3/4 cup to roughly 1/3 cup in 4 to 5 minutes, and that is exactly when it coats the back of a spoon. If you pull the pan off the heat too early, you get a thin drizzle. Too late, and you get candy. The window is small, so stay at the stove.
Everything below is written so you can cook it once and repeat it from memory. Quantities are complete and cookable, times are real, and the doneness cues are the ones I actually use in my own kitchen.
Why You'll Love This Recipe
About the Ingredients
6 boneless, skinless chicken breasts (about 6 oz / 170 g each, 2 1/4 lb / 1 kg total)
Look for breasts of even thickness so they cook at the same rate. If yours are thick, slice them horizontally into cutlets rather than pounding them, which keeps the juices in.
1 1/2 tsp fine sea salt
Fine sea salt dissolves faster than kosher flakes in a dry rub. If you only have kosher salt, use 2 tsp and rub it in thoroughly.
1 tsp freshly ground black pepper
Freshly ground pepper tastes brighter than pre-ground. A cheap blade grinder works fine here; you want coarse, not powder.
2 tbsp olive oil, divided
Regular olive oil is fine; save the expensive extra-virgin for the finish. Avocado oil works as a neutral high-heat swap.
6 garlic cloves, minced (about 2 tbsp)
Pre-minced jarred garlic is a real shortcut but tastes flatter. If you use it, add 1 extra clove to compensate for the milder flavor.
1/3 cup honey
Clover or wildflower honey keeps the flavor clean. Buckwheat honey is too dark and will dominate the garlic, so avoid it here.
1/4 cup low-sodium soy sauce
Low-sodium matters because the sauce reduces and concentrates salt. Tamari is a great gluten-free substitute with a slightly deeper flavor.
2 tbsp rice vinegar
Rice vinegar adds a gentle tang that balances the honey. Apple cider vinegar works, but use 1 tbsp only, since it is sharper.
1 tbsp unsalted butter
Butter gives the sauce body and shine. For a dairy-free version, use 1 tbsp coconut oil and accept a slightly thinner glaze.
1 tsp cornstarch whisked into 1 tbsp cold water
This slurry is your insurance policy if the sauce stays thin. Arrowroot powder works the same way at a 1:1 ratio.
1 tsp toasted sesame seeds and 2 sliced scallions, for garnish
Toast sesame seeds in a dry pan for 60 seconds to wake up the oils. Skip the garnish if you are meal-prepping; it wilts.
Steamed jasmine rice or broccoli, for serving
Jasmine rice soaks up the glaze best. For a lower-carb plate, serve over cauliflower rice or roasted broccoli florets.
Tips & Tricks
- Do not crowd the pan. Six breasts in a 12-inch skillet is the limit; if yours is 10 inches, cook in two batches or the chicken steams instead of browning.
- Add the garlic off direct heat. Garlic goes from fragrant to bitter in about 20 seconds, so pull the pan aside, add it, and let the residual heat do the work.
- Watch the glaze, not the clock. The sauce is done when it coats the back of a spoon and bubbling slows to lazy pops, which usually happens between 4 and 5 minutes.
Pro Tips
Step-by-Step Instructions
1. Pat and season the chicken
Pat the 6 breasts completely dry with paper towels, then season both sides with the 1 1/2 tsp salt and 1 tsp pepper. Dry surfaces brown; wet surfaces steam.
2. Sear the first side
Heat 1 tbsp olive oil in a 12-inch skillet over medium-high heat until it shimmers, about 2 minutes. Lay the breasts in and cook undisturbed for 5 to 6 minutes at 375 F to 400 F (190 C to 205 C) until the underside is deep golden brown.
3. Flip and finish cooking
Flip the chicken and cook 5 to 6 minutes more at 350 F to 375 F (175 C to 190 C) until the thickest part reads 165 F (74 C) on an instant-read thermometer. Transfer to a plate and tent loosely with foil.
4. Bloom the garlic
Lower the heat to medium-low, add the remaining 1 tbsp olive oil, then add the 2 tbsp minced garlic. Stir constantly for 30 to 45 seconds until fragrant but not browned; pull the pan off the heat if it starts to color.
5. Build the glaze
Pour in the 1/3 cup honey, 1/4 cup soy sauce, and 2 tbsp rice vinegar. Return to medium heat and simmer 4 to 5 minutes at 300 F to 325 F (150 C to 165 C) until the sauce reduces by about half and coats the back of a spoon.
6. Thicken if needed
If the glaze still looks thin after 5 minutes, whisk in the cornstarch slurry and simmer 30 to 60 seconds at 300 F (150 C) until it visibly thickens and the bubbling turns glossy.
7. Coat the chicken
Return the chicken and any resting juices to the pan, spoon the glaze over the tops, and cook 2 minutes at 250 F to 275 F (120 F to 135 C), turning once, until every piece is lacquered and the sauce clings.
8. Finish and serve
Kill the heat, swirl in the 1 tbsp butter until melted and shiny, then scatter the sesame seeds and scallions over the top. Serve immediately over jasmine rice or broccoli.
Delicious Variations
Spicy Honey Garlic
Add 1 to 2 tsp sriracha or chili crisp with the soy sauce for a sweet-heat version that still reduces cleanly.
Honey Garlic Chicken Thighs
Swap in 6 boneless thighs and cook 6 to 7 minutes per side at 375 F (190 C); thighs stay juicy even if you overshoot the thermometer by a few degrees.
Lemon Honey Garlic
Replace the rice vinegar with 2 tbsp fresh lemon juice and add 1 tsp zest at the end for a brighter, summery glaze.
How to Store Honey Garlic Chicken Breast
Refrigerator
Store in an airtight container for up to 4 days; keep the sauce and chicken together so the meat stays moist.
Freezer
Freeze in a freezer-safe container for up to 3 months, leaving 1/2 inch of headspace; thaw overnight in the refrigerator before reheating.
Reheating
Reheat gently in a covered skillet over medium-low heat at 275 F (135 C) for 5 to 7 minutes, adding 1 tbsp water to loosen the glaze.
Frequently Asked Questions
Q: How do I know when honey garlic chicken is fully cooked?
The chicken is done when the thickest part registers 165 F (74 C) on an instant-read thermometer. It should also feel firm but still yield slightly when pressed. If you do not have a thermometer, cut into the thickest piece and check that the juices run clear with no pink in the center.
Q: Why did my honey garlic sauce turn bitter?
Burnt garlic is almost always the culprit, because minced garlic scorches in under a minute over high heat. Add the garlic after lowering the heat to medium-low and stir constantly for no more than 45 seconds. If the sauce already tastes bitter, a squeeze of lemon and an extra teaspoon of honey will mute it slightly, but the best fix is prevention.
Q: Can I make honey garlic chicken ahead of time?
Yes, you can cook it up to 4 days ahead and refrigerate it in the sauce. The flavor actually deepens overnight. Reheat gently in a covered skillet with a splash of water so the honey glaze loosens instead of burning.
Q: Is honey garlic chicken sweet or savory?
It lands right in the middle, with honey providing the sweetness and soy sauce plus rice vinegar providing the savory backbone. The ratio in this recipe is deliberately balanced so it never tastes like dessert. If you prefer it sweeter, add 1 extra tablespoon of honey during the reduction.
Q: Can I use chicken thighs instead of breasts?
Yes, boneless skinless thighs work beautifully and are harder to overcook. Cook them 6 to 7 minutes per side at 375 F (190 C) until they reach 165 F (74 C). The sauce does not need any changes.
Grab a skillet, six pantry staples, and 30 minutes, and you have a dinner that beats takeout on both speed and flavor. Make it once this week, then keep the recipe card where you can reach it, because this one earns a permanent spot in the rotation. Make your money work for you.
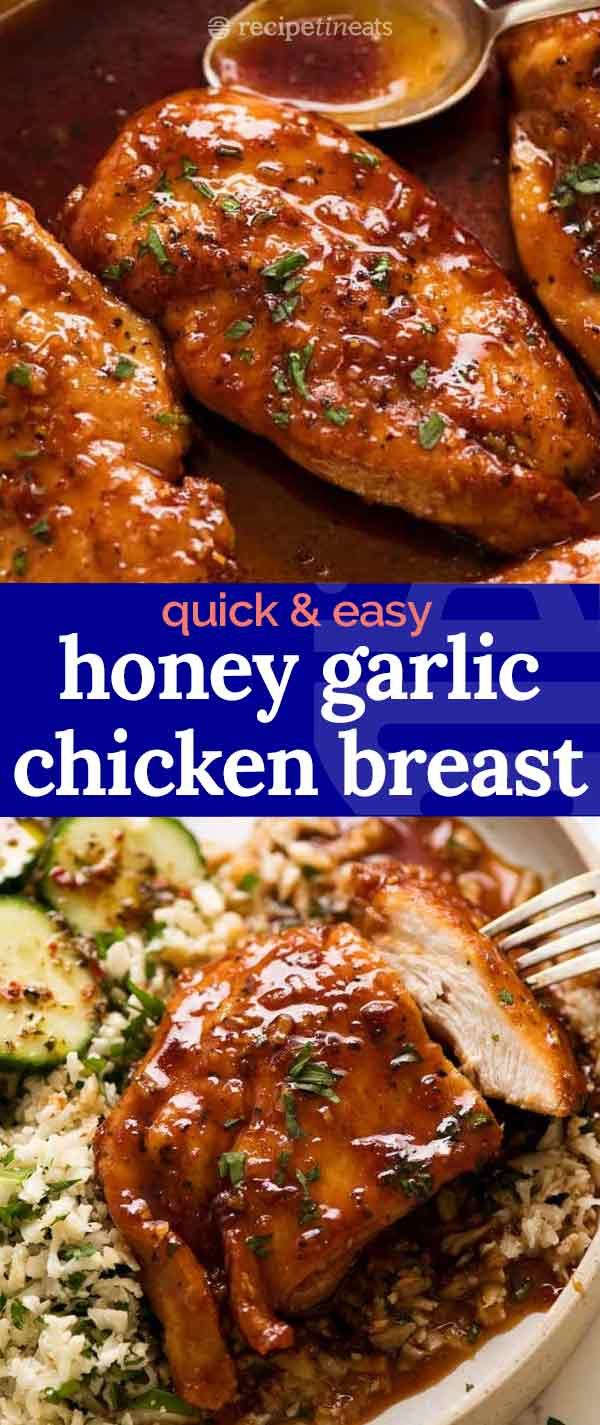
Honey Garlic Chicken Breast
Honey Garlic Chicken Breast is a sticky, sweet-savory one-pan dinner ready in 30 minutes, with a glossy pan sauce that clings to every juicy bite.
🧂 Ingredients
- 6 boneless, skinless chicken breasts (about 6 oz / 170 g each, 2 1/4 lb / 1 kg total)
- 1 1/2 tsp fine sea salt
- 1 tsp freshly ground black pepper
- 2 tbsp olive oil, divided
- 6 garlic cloves, minced (about 2 tbsp)
- 1/3 cup honey
- 1/4 cup low-sodium soy sauce
- 2 tbsp rice vinegar
- 1 tbsp unsalted butter
- 1 tsp cornstarch whisked into 1 tbsp cold water
- 1 tsp toasted sesame seeds and 2 sliced scallions, for garnish
- Steamed jasmine rice or broccoli, for serving
📋 Instructions
- 1Pat and season the chicken — Pat the 6 breasts completely dry with paper towels, then season both sides with the 1 1/2 tsp salt and 1 tsp pepper. Dry surfaces brown; wet surfaces steam.
- 2Sear the first side — Heat 1 tbsp olive oil in a 12-inch skillet over medium-high heat until it shimmers, about 2 minutes. Lay the breasts in and cook undisturbed for 5 to 6 minutes at 375 F to 400 F (190 C to 205 C) until the underside is deep golden brown.
- 3Flip and finish cooking — Flip the chicken and cook 5 to 6 minutes more at 350 F to 375 F (175 C to 190 C) until the thickest part reads 165 F (74 C) on an instant-read thermometer. Transfer to a plate and tent loosely with foil.
- 4Bloom the garlic — Lower the heat to medium-low, add the remaining 1 tbsp olive oil, then add the 2 tbsp minced garlic. Stir constantly for 30 to 45 seconds until fragrant but not browned; pull the pan off the heat if it starts to color.
- 5Build the glaze — Pour in the 1/3 cup honey, 1/4 cup soy sauce, and 2 tbsp rice vinegar. Return to medium heat and simmer 4 to 5 minutes at 300 F to 325 F (150 C to 165 C) until the sauce reduces by about half and coats the back of a spoon.
- 6Thicken if needed — If the glaze still looks thin after 5 minutes, whisk in the cornstarch slurry and simmer 30 to 60 seconds at 300 F (150 C) until it visibly thickens and the bubbling turns glossy.
- 7Coat the chicken — Return the chicken and any resting juices to the pan, spoon the glaze over the tops, and cook 2 minutes at 250 F to 275 F (120 F to 135 C), turning once, until every piece is lacquered and the sauce clings.
- 8Finish and serve — Kill the heat, swirl in the 1 tbsp butter until melted and shiny, then scatter the sesame seeds and scallions over the top. Serve immediately over jasmine rice or broccoli.

Diego covers personal finance for freelancers and gig workers, with a focus on budgeting, taxes, and retirement planning. He breaks down complex money topics into simple, step-by-step guides.