
I remember the first time I tried teriyaki chicken—it was on a camping trip in the Pacific Northwest, and a fellow hiker whipped up a simple version over a campfire. The sweet, glossy sauce clinging to the charred chicken was a revelation. Since then, I've been perfecting my own version, and this Pollo Teriyaki is the result.
Advertisements1
This recipe uses boneless, skinless chicken thighs, which stay juicy and flavorful even with a quick sear. The homemade teriyaki sauce is a perfect balance of soy sauce, mirin, and brown sugar, thickened with a cornstarch slurry to that glossy, takeout-style consistency. It's a weeknight hero that's ready in under 30 minutes.
Whether you're feeding a hungry family or meal-prepping for the week, this dish is a crowd-pleaser. Serve it over steamed rice with a side of veggies, and you've got a complete meal that's better than any restaurant.
Why You'll Love This Recipe
About the Ingredients
1.5 lbs (680g) boneless, skinless chicken thighs
Thighs stay juicier than breasts; if using breasts, reduce cooking time slightly and watch for dryness. You can also use chicken tenders.
1/4 cup (60ml) low-sodium soy sauce
Use tamari for gluten-free. Low-sodium prevents the dish from being too salty.
1/4 cup (60ml) mirin
Sweet Japanese cooking wine; substitute with dry sherry or white wine plus 1 tsp sugar.
2 tbsp (30ml) honey
Adds sweetness; use maple syrup or brown sugar as a substitute.
2 cloves garlic, minced
Fresh garlic is best; use 1/2 tsp garlic powder in a pinch.
1 tsp grated fresh ginger
Gives a zesty kick; use 1/2 tsp ground ginger if fresh isn't available.
1 tbsp (15ml) rice vinegar
Adds tang; substitute with apple cider vinegar.
1 tbsp (8g) cornstarch
Thickens the sauce; mix with 2 tbsp water to make a slurry.
2 tbsp (30ml) vegetable oil
For searing; use any neutral oil like canola or grapeseed.
1 tbsp (15ml) sesame oil (optional)
Adds nutty flavor; skip if you don't have it.
Sliced green onions and sesame seeds for garnish
Fresh garnish adds color and crunch; both are optional but recommended.
Tips & Tricks
Use a hot pan
Make sure the skillet is hot before adding chicken to get a good sear and prevent sticking.
Don't overcrowd the pan
Cook chicken in batches if needed to ensure even browning.
Watch the sauce
The sugar in the sauce can burn quickly; stir frequently and adjust heat if needed.
Pro Tips
Step-by-Step Instructions
1. Make the Sauce
In a small bowl, whisk together soy sauce, mirin, honey, garlic, ginger, and rice vinegar. Set aside. This sauce will be the base of your glaze.
2. Prep the Chicken
Cut chicken thighs into 1-inch chunks. Pat dry with paper towels and season lightly with salt and pepper if desired.
3. Heat the Pan
Heat vegetable oil in a large skillet or wok over medium-high heat (about 375°F/190°C). The oil should shimmer but not smoke.
4. Sear the Chicken
Add chicken in a single layer (work in batches if necessary). Cook for 4-5 minutes per side until golden brown and cooked through (internal temperature reaches 165°F/74°C). Remove chicken and set aside.
5. Simmer the Sauce
Pour the sauce into the skillet. Bring to a boil, then reduce heat to medium-low and simmer for 2-3 minutes until slightly thickened.
6. Thicken the Glaze
In a small bowl, mix cornstarch with 2 tablespoons of water. Whisk the slurry into the sauce. Continue to simmer for 1-2 minutes until the sauce coats the back of a spoon.
7. Combine and Coat
Return the chicken to the skillet. Toss to coat evenly in the glaze. Cook for 1-2 minutes until the chicken is heated through and the sauce is glossy.
8. Finish and Serve
Drizzle with sesame oil if using. Garnish with green onions and sesame seeds. Serve hot over rice or noodles.
Delicious Variations
Spicy Teriyaki
Add 1-2 teaspoons of sriracha or red pepper flakes to the sauce for a kick.
Pineapple Teriyaki
Add 1/2 cup pineapple chunks or juice to the sauce for a tropical twist.
Veggie-Packed
Add bell peppers, broccoli, or snap peas during the last few minutes of cooking.
How to Store Pollo Teriyaki
Refrigerator
Store in an airtight container for up to 4 days.
Freezer
Freeze in a freezer-safe container for up to 3 months. Thaw overnight in the fridge.
Reheating
Reheat in a skillet over medium heat with a splash of water or extra soy sauce to refresh the sauce.
Frequently Asked Questions
Q: Can I use chicken breast instead of thighs?
Yes, you can use chicken breast, but it cooks faster and can dry out. Reduce cooking time to 3-4 minutes per side and check for doneness at 165°F.
Q: Is teriyaki sauce gluten-free?
Traditional teriyaki sauce contains soy sauce, which has gluten. Use tamari or a gluten-free soy sauce to make this recipe gluten-free.
Q: How can I make the sauce thicker?
If your sauce is too thin, mix an additional teaspoon of cornstarch with water and stir it in. Simmer for a minute until thickened.
Q: Can I make this ahead of time?
Yes, you can prepare the sauce and marinate the chicken up to 24 hours ahead. Cook when ready. Leftovers also keep well.
Q: What can I substitute for mirin?
If you don't have mirin, mix 1 tablespoon of dry sherry or white wine with 1 teaspoon of sugar for each tablespoon of mirin.
Ready to ditch the takeout and make this amazing Pollo Teriyaki at home? Try this recipe tonight and let me know how it turns out in the comments below. And as always, get out there and explore—your kitchen is an adventure, too!
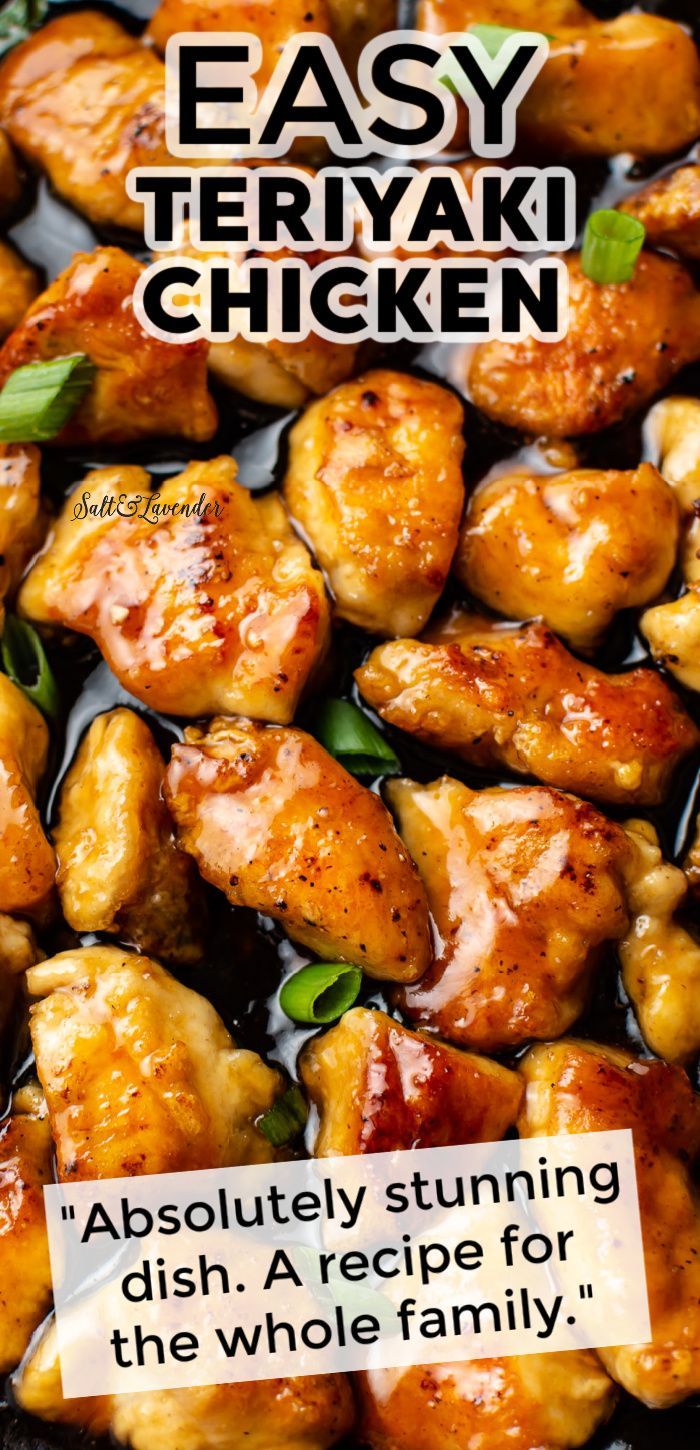
Pollo Teriyaki
Juicy chicken thighs in a sweet-savory homemade teriyaki glaze, ready in 30 minutes. A family favorite that beats takeout!
🧂 Ingredients
- 1.5 lbs (680g) boneless, skinless chicken thighs
- 1/4 cup (60ml) low-sodium soy sauce
- 1/4 cup (60ml) mirin
- 2 tbsp (30ml) honey
- 2 cloves garlic, minced
- 1 tsp grated fresh ginger
- 1 tbsp (15ml) rice vinegar
- 1 tbsp (8g) cornstarch
- 2 tbsp (30ml) vegetable oil
- 1 tbsp (15ml) sesame oil (optional)
- Sliced green onions and sesame seeds for garnish
📋 Instructions
- 1Make the Sauce — In a small bowl, whisk together soy sauce, mirin, honey, garlic, ginger, and rice vinegar. Set aside. This sauce will be the base of your glaze.
- 2Prep the Chicken — Cut chicken thighs into 1-inch chunks. Pat dry with paper towels and season lightly with salt and pepper if desired.
- 3Heat the Pan — Heat vegetable oil in a large skillet or wok over medium-high heat (about 375°F/190°C). The oil should shimmer but not smoke.
- 4Sear the Chicken — Add chicken in a single layer (work in batches if necessary). Cook for 4-5 minutes per side until golden brown and cooked through (internal temperature reaches 165°F/74°C). Remove chicken and set aside.
- 5Simmer the Sauce — Pour the sauce into the skillet. Bring to a boil, then reduce heat to medium-low and simmer for 2-3 minutes until slightly thickened.
- 6Thicken the Glaze — In a small bowl, mix cornstarch with 2 tablespoons of water. Whisk the slurry into the sauce. Continue to simmer for 1-2 minutes until the sauce coats the back of a spoon.
- 7Combine and Coat — Return the chicken to the skillet. Toss to coat evenly in the glaze. Cook for 1-2 minutes until the chicken is heated through and the sauce is glossy.
- 8Finish and Serve — Drizzle with sesame oil if using. Garnish with green onions and sesame seeds. Serve hot over rice or noodles.

Liam writes about outdoor adventure and gear, focusing on budget-friendly options and safety. He tests equipment in real conditions and shares honest assessments for hikers and campers.