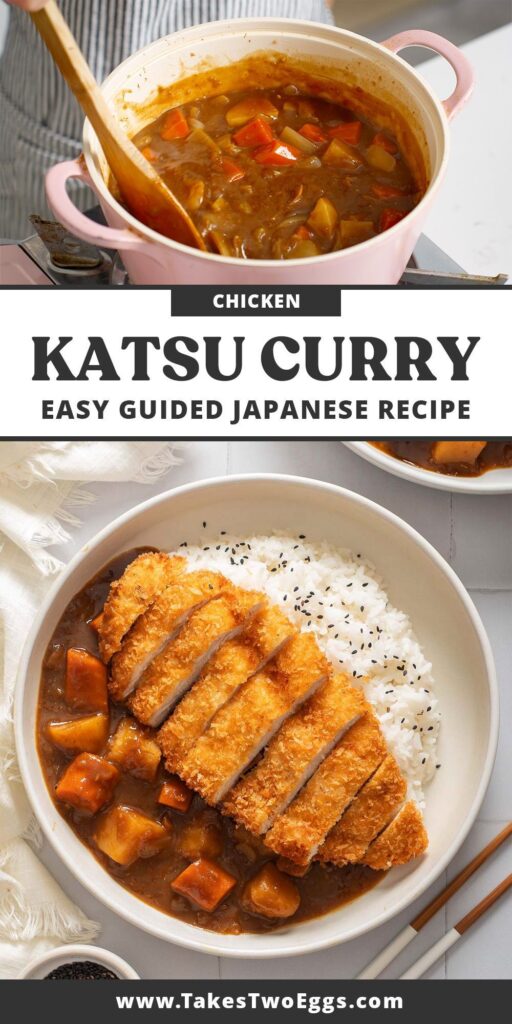
There are some dishes that feel like a warm hug on a plate, and katsu curry is exactly that for me. The first time I made it at home, I was nervous about getting the sauce just right—that perfect balance of sweet, savory, and gently spiced. But as the aroma filled my kitchen, I realized that cooking is less about perfection and more about presence. Each step, from pounding the chicken to stirring the curry roux, became a little meditation.
Advertisements1
This recipe is my invitation to slow down. While the chicken sizzles and the sauce simmers, take a deep breath. Notice the golden hues, the comforting scent of curry and garlic. You're not just making dinner; you're creating a moment of calm. And when you finally sit down to that first crispy, saucy bite, I hope you feel as proud and content as I do.
Whether you're a seasoned cook or a beginner, this homemade katsu curry is forgiving and rewarding. The steps are straightforward, the ingredients are accessible, and the result is deeply satisfying. So put on your favorite music, roll up your sleeves, and let's cook something beautiful together.
Why You'll Love This Recipe
About the Ingredients
4 boneless, skinless chicken breasts (about 1.5 lbs / 680g)
Thinly pounded to an even 1/2-inch thickness for quick, even cooking. If you prefer, use chicken thighs for extra juiciness.
1 cup (120g) all-purpose flour
For the dredging station. You can use gluten-free flour blend if needed.
2 large eggs, beaten
The glue for the panko. For a richer coating, add a tablespoon of milk to the eggs.
2 cups (100g) panko breadcrumbs
Japanese-style breadcrumbs give the crispiest texture. If you can't find panko, use regular breadcrumbs but expect a finer crunch.
1 tablespoon neutral oil (like canola or vegetable), plus more for frying
For sautéing the aromatics. Use a high-smoke-point oil for frying to prevent burning.
1 onion, thinly sliced
Yellow or sweet onion works best. Slice thinly so it melts into the sauce.
2 cloves garlic, minced
Fresh garlic is key. If you're in a pinch, 1/2 teaspoon garlic powder can substitute.
1 tablespoon fresh ginger, grated
Ginger adds warmth and depth. Grate it finely; you can freeze fresh ginger for easier grating.
3 tablespoons curry powder
Use a mild Japanese curry powder if available; otherwise, garam masala or Madras curry powder works. Adjust to your heat preference.
2 cups (480ml) chicken broth
Low-sodium broth lets you control the salt. Vegetable broth works for a vegetarian version.
1 tablespoon honey
Balances the spices. Maple syrup or brown sugar can be used as a substitute.
1 tablespoon soy sauce
Adds umami. Tamari or coconut aminos are great gluten-free alternatives.
1 small apple, grated (about 1/2 cup)
A traditional secret ingredient that adds natural sweetness and body. Use a crisp variety like Fuji or Gala.
2 cups (300g) cooked short-grain rice, for serving
Japanese short-grain rice is sticky and perfect for soaking up sauce. Sushi rice or calrose works well.
Tips & Tricks
- Pound the chicken to an even thickness so it cooks evenly and stays juicy.
- Use a thermometer to check the oil temperature—350°F (175°C) is ideal for a crispy, non-greasy crust.
- Let the fried chicken rest on a wire rack before slicing to keep the crust intact.
- If the sauce thickens too much, add a splash of broth or water to loosen it.
Pro Tips
Step-by-Step Instructions
1. Prepare the Chicken
Place each chicken breast between two sheets of plastic wrap and pound to an even 1/2-inch (1.25 cm) thickness. Season lightly with salt and pepper. This ensures even cooking and a tender bite.
2. Set Up Dredging Station
Place the flour, beaten eggs, and panko in three separate shallow bowls. Set up an assembly line for easy coating. If you like, season the flour with a pinch of salt and pepper.
3. Coat the Chicken
Dredge each chicken piece in flour, shaking off excess, then dip into the egg, and finally press into the panko, ensuring an even coating. Place the coated pieces on a plate while you heat the oil.
4. Fry the Chicken
In a large skillet, heat about 1/2 inch (1.25 cm) of oil over medium-high heat until it reaches 350°F (175°C). Carefully add the chicken and fry for 3-4 minutes per side, until golden brown and the internal temperature reaches 165°F (74°C). The crust should be deeply golden and crispy. Transfer to a wire rack to drain.
5. Start the Curry Sauce
In a separate pot, heat 1 tablespoon of oil over medium heat. Add the sliced onion and sauté for 5-6 minutes, until soft and translucent. Add the garlic and ginger and cook for 1 minute more, until fragrant.
6. Bloom the Spices
Stir in the curry powder and cook for 1 minute, stirring constantly, to toast the spices and release their aroma. This step deepens the flavor of the sauce.
7. Simmer the Sauce
Pour in the chicken broth, honey, soy sauce, and grated apple. Bring to a gentle simmer and cook for 10-15 minutes, until the sauce thickens slightly and the flavors meld. Stir occasionally. The sauce should coat the back of a spoon.
8. Serve and Enjoy
Slice the fried chicken into strips and serve over steamed rice, then ladle the rich curry sauce over the top. Garnish with pickled ginger or fresh herbs if desired. Take a moment to breathe and enjoy the aroma before you dig in.
Delicious Variations
Vegetarian Katsu
Swap the chicken for thick slices of eggplant or firm tofu, and use vegetable broth.
Spicy Katsu Curry
Add 1-2 teaspoons of chili flakes or a chopped fresh chili to the sauce for a kick.
Pork Katsu
Use pork loin cutlets instead of chicken for a classic tonkatsu twist.
How to Store Homemade Katsu Curry
Refrigerator
Store the sauce and fried chicken separately in airtight containers for up to 3 days. The chicken will lose its crispness but still taste great.
Freezer
Freeze the sauce in a freezer-safe container for up to 3 months. The chicken is best enjoyed fresh, but you can freeze it after frying and reheat in the oven.
Reheating
Reheat the sauce in a saucepan over medium heat, adding a splash of broth if too thick. Reheat the chicken in a 350°F (175°C) oven for 5-7 minutes to restore crispness.
Frequently Asked Questions
Q: Can I make katsu curry with store-bought curry roux?
Yes, you can use store-bought Japanese curry roux cubes for a quicker version. Simply dissolve the roux in chicken broth according to package instructions. However, this homemade sauce has a fresher, more balanced flavor that's worth the extra 5 minutes.
Q: What is the best oil for frying katsu?
Use a neutral oil with a high smoke point, like canola, vegetable, or peanut oil. These oils can handle the high heat without burning, ensuring a crisp, clean-tasting crust.
Q: How do I keep the panko crust crispy?
After frying, place the chicken on a wire rack instead of paper towels—this prevents steam from softening the crust. Also, avoid covering the chicken with foil before serving.
Q: Can I make this gluten-free?
Absolutely! Use gluten-free flour for dredging, gluten-free panko (or crushed gluten-free crackers), and tamari or coconut aminos instead of soy sauce. The rest of the ingredients are naturally gluten-free.
Q: What can I serve with katsu curry?
Traditionally, it's served with steamed Japanese rice and pickled ginger or fukujinzuke (Japanese pickles). A simple side salad with a light vinaigrette also balances the richness.
I hope this recipe brings you as much comfort and joy as it does to my family. If you try it, I'd love to hear how it turned out—share your experience in the comments below. And remember, cooking is a journey, not a race. Breathe, reflect, grow.
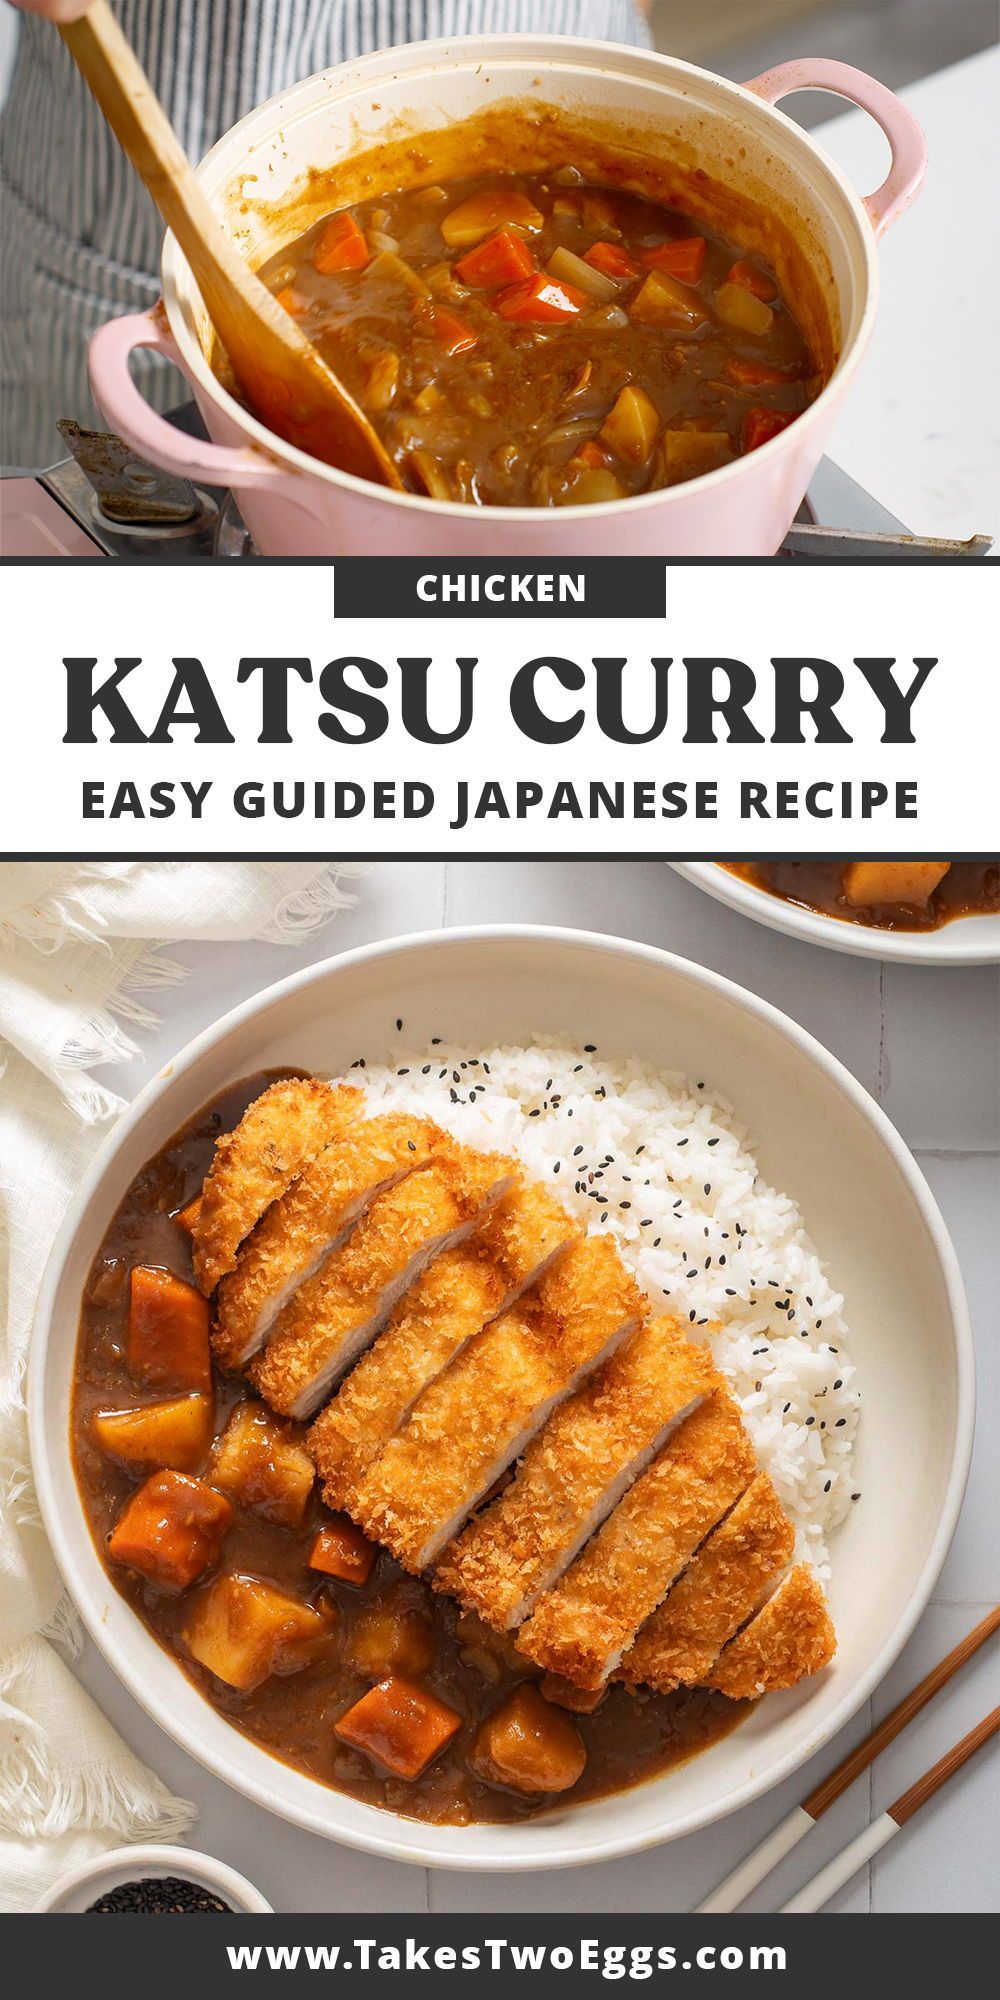
Homemade Katsu Curry
Golden panko-crusted chicken cutlets bathed in a rich, umami-packed curry sauce. A comforting Japanese classic that's surprisingly simple to make at home.
🧂 Ingredients
- 4 boneless, skinless chicken breasts (about 1.5 lbs / 680g)
- 1 cup (120g) all-purpose flour
- 2 large eggs, beaten
- 2 cups (100g) panko breadcrumbs
- 1 tablespoon neutral oil (like canola or vegetable), plus more for frying
- 1 onion, thinly sliced
- 2 cloves garlic, minced
- 1 tablespoon fresh ginger, grated
- 3 tablespoons curry powder
- 2 cups (480ml) chicken broth
- 1 tablespoon honey
- 1 tablespoon soy sauce
- 1 small apple, grated (about 1/2 cup)
- 2 cups (300g) cooked short-grain rice, for serving
📋 Instructions
- 1Prepare the Chicken — Place each chicken breast between two sheets of plastic wrap and pound to an even 1/2-inch (1.25 cm) thickness. Season lightly with salt and pepper. This ensures even cooking and a tender bite.
- 2Set Up Dredging Station — Place the flour, beaten eggs, and panko in three separate shallow bowls. Set up an assembly line for easy coating. If you like, season the flour with a pinch of salt and pepper.
- 3Coat the Chicken — Dredge each chicken piece in flour, shaking off excess, then dip into the egg, and finally press into the panko, ensuring an even coating. Place the coated pieces on a plate while you heat the oil.
- 4Fry the Chicken — In a large skillet, heat about 1/2 inch (1.25 cm) of oil over medium-high heat until it reaches 350°F (175°C). Carefully add the chicken and fry for 3-4 minutes per side, until golden brown and the internal temperature reaches 165°F (74°C). The crust should be deeply golden and crispy. Transfer to a wire rack to drain.
- 5Start the Curry Sauce — In a separate pot, heat 1 tablespoon of oil over medium heat. Add the sliced onion and sauté for 5-6 minutes, until soft and translucent. Add the garlic and ginger and cook for 1 minute more, until fragrant.
- 6Bloom the Spices — Stir in the curry powder and cook for 1 minute, stirring constantly, to toast the spices and release their aroma. This step deepens the flavor of the sauce.
- 7Simmer the Sauce — Pour in the chicken broth, honey, soy sauce, and grated apple. Bring to a gentle simmer and cook for 10-15 minutes, until the sauce thickens slightly and the flavors meld. Stir occasionally. The sauce should coat the back of a spoon.
- 8Serve and Enjoy — Slice the fried chicken into strips and serve over steamed rice, then ladle the rich curry sauce over the top. Garnish with pickled ginger or fresh herbs if desired. Take a moment to breathe and enjoy the aroma before you dig in.

Sofia writes about mindfulness and mental well-being, drawing from her own journey with stress and burnout. She shares gentle, evidence-informed practices for busy lives.