There are some dishes that instantly transport me back to my grandmother's kitchen. The sizzle of chicken hitting hot oil, the aroma of spices filling the air, and the promise of that first crunchy bite – that's the magic of homemade fried chicken. It's more than just a meal; it's a feeling of comfort and togetherness.
Advertisements1
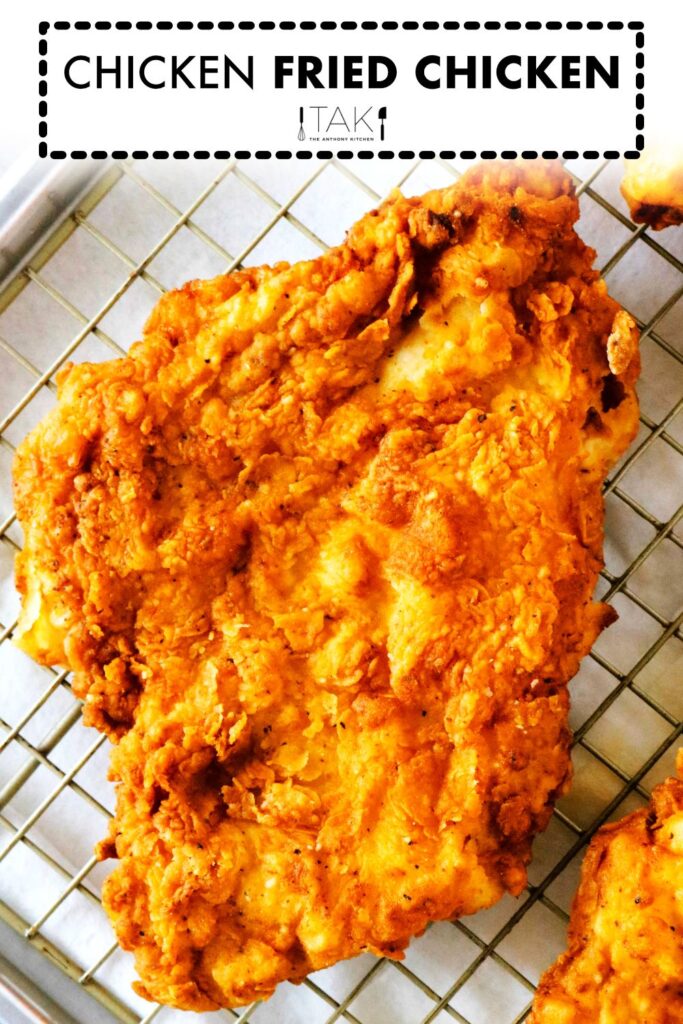
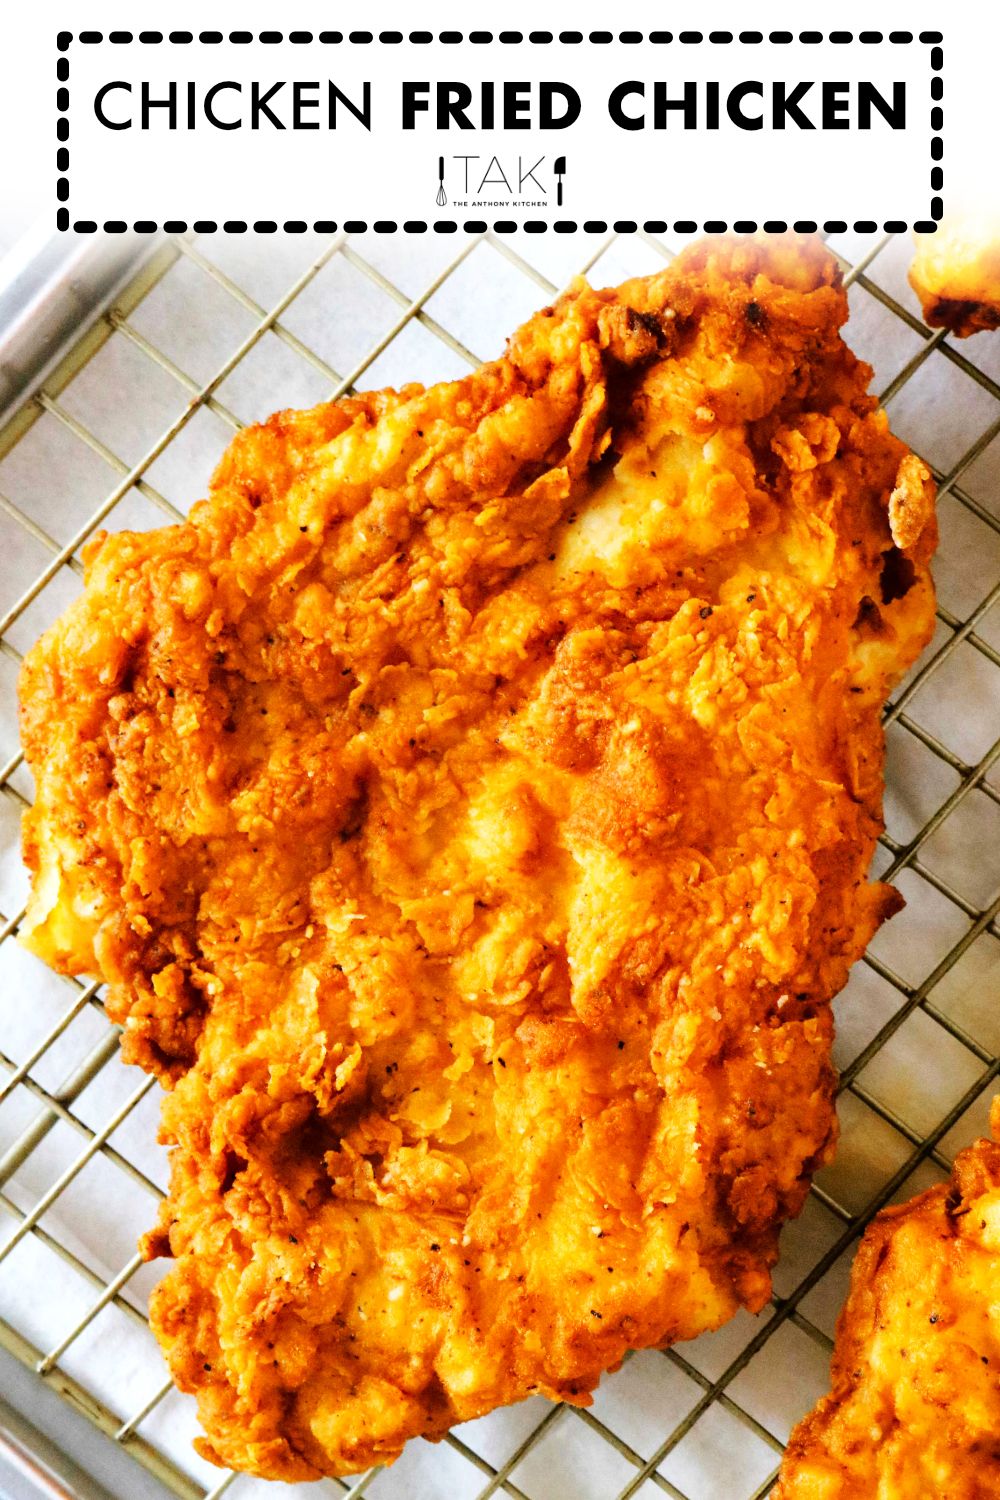
I've spent years perfecting my fried chicken technique, testing different brines, coatings, and frying methods. This recipe is the result of all that experimentation – it delivers a shatteringly crisp crust that clings to every piece, while the meat inside stays succulent and flavorful. The secret? A buttermilk soak, a well-seasoned flour mixture, and a double-dredge that creates those irresistible craggy bits.
Whether you're planning a Sunday dinner, a picnic, or just craving some down-home goodness, this recipe will guide you to fried chicken perfection. So, let's get started and create some crispy, golden memories together.
Why You'll Love This Recipe
About the Ingredients
4 cups (960ml) buttermilk
Use full-fat buttermilk for best flavor and tenderness. If you don't have buttermilk, add 1 tablespoon of lemon juice to regular milk and let sit for 5 minutes.
1 tablespoon hot sauce (such as Frank's RedHot)
Adds a subtle kick and helps tenderize. Use your favorite hot sauce or omit for a mild version.
1 tablespoon kosher salt
For the brine. Use kosher salt for even seasoning; if using table salt, reduce to 2 teaspoons.
1 teaspoon black pepper
Freshly ground is best for aroma and flavor.
3 pounds (1.4kg) chicken pieces (drumsticks, thighs, and breasts)
Use a mix of bone-in, skin-on pieces for juiciest results. You can use all thighs or drumsticks, or a whole cut-up chicken.
2 cups (250g) all-purpose flour
For the dredge. You can substitute with a gluten-free flour blend, but the texture may vary.
2 teaspoons garlic powder
Use granulated garlic for better distribution. You can also use fresh minced garlic in the brine.
2 teaspoons onion powder
Adds savory depth. If you don't have onion powder, you can use dried minced onion ground in a spice grinder.
1 teaspoon smoked paprika
Adds a smoky flavor and beautiful color. Regular paprika works too, but smoked is recommended.
1 teaspoon cayenne pepper (optional, for heat)
Adjust to your spice preference. Use 1/2 teaspoon for mild heat or omit entirely.
1 teaspoon baking powder
Helps create a lighter, crispier crust. Make sure it's fresh for best results.
4 cups (960ml) vegetable oil or peanut oil, for frying
Use a neutral oil with a high smoke point like canola, vegetable, or peanut oil.
Tips & Tricks
- Pat the chicken dry before dredging to help the flour stick better and prevent oil splatter.
- Let the coated chicken rest on a wire rack for 15-20 minutes before frying – this helps the coating adhere and prevents it from falling off.
- Don't overcrowd the pan; fry in batches to maintain oil temperature and ensure even browning.
- Use a thermometer to monitor oil temperature, adjusting heat as needed to keep it steady.
Pro Tips
Step-by-Step Instructions
1. Brine the Chicken
In a large bowl or resealable bag, combine buttermilk, hot sauce, salt, and black pepper. Add the chicken pieces, ensuring they are fully submerged. Cover and refrigerate for at least 4 hours, or up to 24 hours for maximum tenderness.
2. Prepare the Flour Mixture
In a shallow dish (like a pie plate), whisk together flour, garlic powder, onion powder, smoked paprika, cayenne (if using), baking powder, and a pinch of salt and pepper. The baking powder helps create a light, crispy crust.
3. Dredge the Chicken
Remove chicken from the buttermilk, letting excess drip off. Dredge each piece in the flour mixture, pressing firmly to coat all sides. Shake off excess and place on a wire rack. Let rest for 15 minutes to allow the coating to set.
4. Heat the Oil
In a large heavy-bottomed pot or Dutch oven, heat oil over medium-high heat until it reaches 350°F (175°C). Use a deep-fry thermometer to monitor the temperature. While oil heats, place a wire rack over a baking sheet near your frying station.
5. Fry in Batches
Carefully place a few pieces of chicken into the hot oil, skin-side down, without overcrowding. Fry for 12-15 minutes, turning occasionally, until golden brown and cooked through. The internal temperature should reach 165°F (74°C) for white meat and 175°F (80°C) for dark meat. Use a meat thermometer to check.
6. Maintain Oil Temperature
Keep the oil temperature between 325°F and 350°F (163°C-175°C) while frying. Adjust heat as needed. If oil is too hot, the outside will burn before the inside cooks; if too cool, the chicken will absorb oil and become greasy.
7. Drain and Rest
Remove chicken from oil using tongs or a slotted spoon. Place on the wire rack to drain excess oil. Let rest for 5 minutes before serving to allow juices to redistribute.
8. Serve and Enjoy
Serve hot with your favorite sides like mashed potatoes, coleslaw, or biscuits. The crispy crust and juicy meat are best enjoyed fresh.
Delicious Variations
Spicy Nashville Hot
After frying, brush the chicken with a mixture of hot oil and cayenne pepper paste for a fiery kick.
Herb-Crusted
Add 2 tablespoons of dried herbs (like thyme, oregano, and rosemary) to the flour mixture for an aromatic twist.
Oven-Fried
For a lighter version, place the dredged chicken on a baking sheet and bake at 400°F (200°C) for 40-45 minutes, turning halfway, until crispy and cooked through.
How to Store Crispy Fried Chicken Recipe
Refrigerator
Store leftover fried chicken in an airtight container in the refrigerator for up to 4 days. Place a paper towel in the container to absorb excess moisture.
Freezer
To freeze, place cooled fried chicken on a baking sheet and freeze until solid, then transfer to a freezer-safe bag or container. It can be frozen for up to 3 months. Thaw overnight in the refrigerator before reheating.
Reheating
To reheat and maintain crispiness, place on a wire rack over a baking sheet and bake at 375°F (190°C) for 10-15 minutes, or until heated through and crispy. Avoid microwaving as it makes the coating soggy.
Frequently Asked Questions
Q: How do I get crispy fried chicken?
The key to crispy fried chicken is a buttermilk brine, a well-seasoned flour coating, and maintaining proper oil temperature (350°F/175°C). Double-dredging (coating in flour, dipping back in buttermilk, and coating again) also adds extra crunch. Letting the coated chicken rest before frying helps the coating adhere better.
Q: What oil is best for frying chicken?
Use a neutral oil with a high smoke point, such as vegetable, canola, or peanut oil. These oils can withstand the high heat needed for frying without burning or imparting off-flavors. Peanut oil is a popular choice for its high smoke point and subtle nutty flavor.
Q: How long do you fry chicken?
Frying time varies by cut and size. Generally, chicken pieces take about 12-15 minutes to fry at 350°F (175°C). The chicken is done when the internal temperature reaches 165°F (74°C) for white meat and 175°F (80°C) for dark meat, and the crust is golden brown.
Q: Can I use boneless chicken breasts?
Yes, but adjust the frying time to 8-10 minutes since boneless breasts cook faster. Use a meat thermometer to ensure they reach 165°F (74°C). Keep in mind that bone-in, skin-on pieces yield juicier results due to the extra fat and connective tissue.
Q: How do I keep fried chicken crispy?
Place the fried chicken on a wire rack set over a baking sheet to allow air circulation, preventing the bottom from becoming soggy. Avoid stacking the pieces on top of each other. If serving later, keep in a warm oven (200°F/95°C) on the rack until ready to serve.
I hope this recipe brings you the same joy it brings my family. Don't forget to share your crispy creations with me in the comments below – I'd love to hear how it turned out for you!
Crispy Fried Chicken Recipe
Crispy Fried Chicken Recipe with juicy meat, crunchy crust, and perfect seasoning. This easy buttermilk fried chicken is a family favorite.
🧂 Ingredients
- 4 cups (960ml) buttermilk
- 1 tablespoon hot sauce (such as Frank's RedHot)
- 1 tablespoon kosher salt
- 1 teaspoon black pepper
- 3 pounds (1.4kg) chicken pieces (drumsticks, thighs, and breasts)
- 2 cups (250g) all-purpose flour
- 2 teaspoons garlic powder
- 2 teaspoons onion powder
- 1 teaspoon smoked paprika
- 1 teaspoon cayenne pepper (optional, for heat)
- 1 teaspoon baking powder
- 4 cups (960ml) vegetable oil or peanut oil, for frying
📋 Instructions
- 1Brine the Chicken — In a large bowl or resealable bag, combine buttermilk, hot sauce, salt, and black pepper. Add the chicken pieces, ensuring they are fully submerged. Cover and refrigerate for at least 4 hours, or up to 24 hours for maximum tenderness.
- 2Prepare the Flour Mixture — In a shallow dish (like a pie plate), whisk together flour, garlic powder, onion powder, smoked paprika, cayenne (if using), baking powder, and a pinch of salt and pepper. The baking powder helps create a light, crispy crust.
- 3Dredge the Chicken — Remove chicken from the buttermilk, letting excess drip off. Dredge each piece in the flour mixture, pressing firmly to coat all sides. Shake off excess and place on a wire rack. Let rest for 15 minutes to allow the coating to set.
- 4Heat the Oil — In a large heavy-bottomed pot or Dutch oven, heat oil over medium-high heat until it reaches 350°F (175°C). Use a deep-fry thermometer to monitor the temperature. While oil heats, place a wire rack over a baking sheet near your frying station.
- 5Fry in Batches — Carefully place a few pieces of chicken into the hot oil, skin-side down, without overcrowding. Fry for 12-15 minutes, turning occasionally, until golden brown and cooked through. The internal temperature should reach 165°F (74°C) for white meat and 175°F (80°C) for dark meat. Use a meat thermometer to check.
- 6Maintain Oil Temperature — Keep the oil temperature between 325°F and 350°F (163°C-175°C) while frying. Adjust heat as needed. If oil is too hot, the outside will burn before the inside cooks; if too cool, the chicken will absorb oil and become greasy.
- 7Drain and Rest — Remove chicken from oil using tongs or a slotted spoon. Place on the wire rack to drain excess oil. Let rest for 5 minutes before serving to allow juices to redistribute.
- 8Serve and Enjoy — Serve hot with your favorite sides like mashed potatoes, coleslaw, or biscuits. The crispy crust and juicy meat are best enjoyed fresh.

Aisha writes about parenting and child development, emphasizing mindful and gentle approaches. She shares observations and strategies for fostering emotional intelligence and resilience in kids.