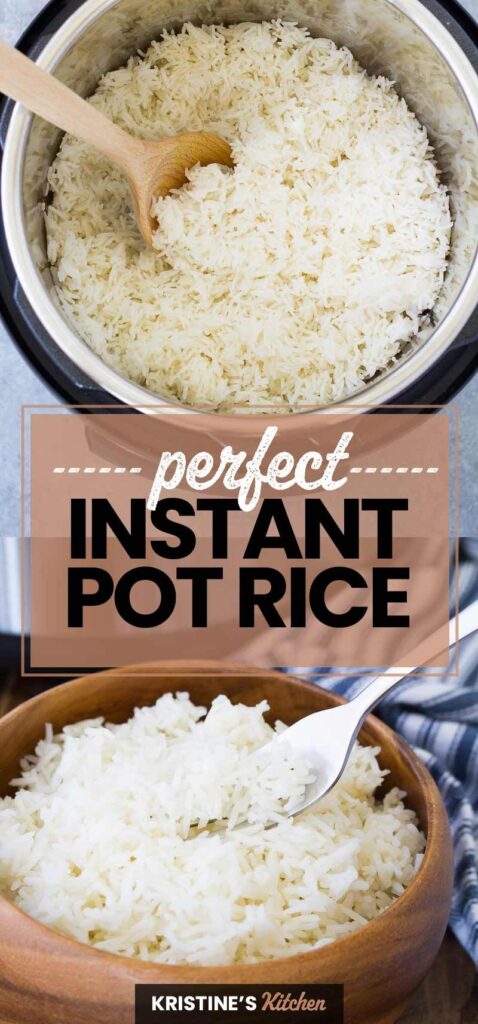
Welcome to the ultimate guide for making perfect rice in your pressure cooker! Whether you're a busy parent juggling weeknight dinners or a meal-prep enthusiast, this method will give you fluffy, separate grains every single time. Say goodbye to sticky clumps and scorched bottoms.
Advertisements1
I'm Maya Chen, and after years of testing, I've cracked the code: the right water-to-rice ratio, a quick rinse, and natural pressure release. This recipe works for white, brown, or jasmine rice – and it's truly hands-off once you lock the lid.
Pressure cooker rice is a game-changer because it frees up your stovetop and gives you perfectly cooked rice on autopilot. Let's dive in!
Why You'll Love This Recipe
About the Ingredients
2 cups (400g) long-grain white rice (or jasmine/basmati)
Rinse until water runs clear to remove excess starch. Substitute brown rice – see note in steps.
2 cups (480ml) water or chicken/vegetable broth
For extra flavor, use broth. For brown rice, increase to 2 1/4 cups.
1 teaspoon salt
Adjust to taste. Omit if using salted broth.
1 tablespoon olive oil or butter (optional)
Adds richness and helps prevent sticking. Use any neutral oil.
Tips & Tricks
Use a 1
1 ratio for white rice. For brown rice, use 1:1.125 (e.g., 2 cups rice to 2.25 cups liquid).
- Always rinse your rice until the water is clear – this prevents gummy rice.
- Never quick-release white rice; let pressure release naturally for 10 minutes to avoid mushy grains.
- If your cooker tends to scorch, add a tablespoon of oil to the pot before cooking.
Pro Tips
Step-by-Step Instructions
1. Rinse the Rice
Place rice in a fine-mesh strainer and rinse under cold running water for 30 seconds, swirling with your hand, until water runs clear. This removes surface starch that causes clumping.
2. Combine Ingredients
In the pressure cooker pot, stir together rinsed rice, water (or broth), salt, and optional oil. Ensure rice is evenly submerged.
3. Lock and Cook
Secure the lid, set valve to sealing. Cook on HIGH pressure: 6 minutes for white rice, 22 minutes for brown rice.
4. Natural Release
When cooking ends, let pressure release naturally for 10 minutes. Then carefully turn valve to venting to release any remaining steam.
5. Fluff and Serve
Remove lid, fluff rice gently with a fork. Let stand for 2 minutes to absorb residual moisture. Serve hot.
Delicious Variations
Cilantro-Lime Rice
Stir in juice of 1 lime, 1/4 cup chopped cilantro, and 1 tsp cumin after cooking.
Garlic Butter Rice
Sauté 3 minced garlic cloves in 1 tbsp butter before adding rice and liquid.
Turmeric Rice
Add 1 tsp turmeric and 1/2 tsp ground cumin to the pot for vibrant color and flavor.
How to Store Pressure Cooker Rice
Refrigerator
Store cooled rice in an airtight container for up to 4 days.
Freezer
Freeze in portion-sized bags for up to 3 months. Thaw overnight in fridge.
Reheating
Microwave with a splash of water, covered, for 1-2 minutes. Or sauté in a pan with a little oil.
Frequently Asked Questions
Q: Why is my pressure cooker rice mushy?
Mushy rice is usually from too much water or not rinsing. Stick to the 1:1 ratio and rinse thoroughly. Also, always use natural pressure release for white rice.
Q: How much water do I use for pressure cooker rice?
For white rice, use equal parts water and rice (1:1 ratio). For brown rice, use 1.125 parts water to rice (e.g., 2 cups rice to 2.25 cups water).
Q: Can I cook brown rice in a pressure cooker?
Yes, brown rice cooks perfectly in a pressure cooker. Use a 1:1.125 ratio and cook on high pressure for 22 minutes, then natural release for 10 minutes.
Q: Do I need to rinse rice before pressure cooking?
Yes, rinsing removes excess starch that causes stickiness. Rinse until water runs clear, about 30 seconds.
Ready to make perfect rice tonight? Try this method and let me know how it turns out! Leave a comment below or tag me in your photos. Happy cooking!
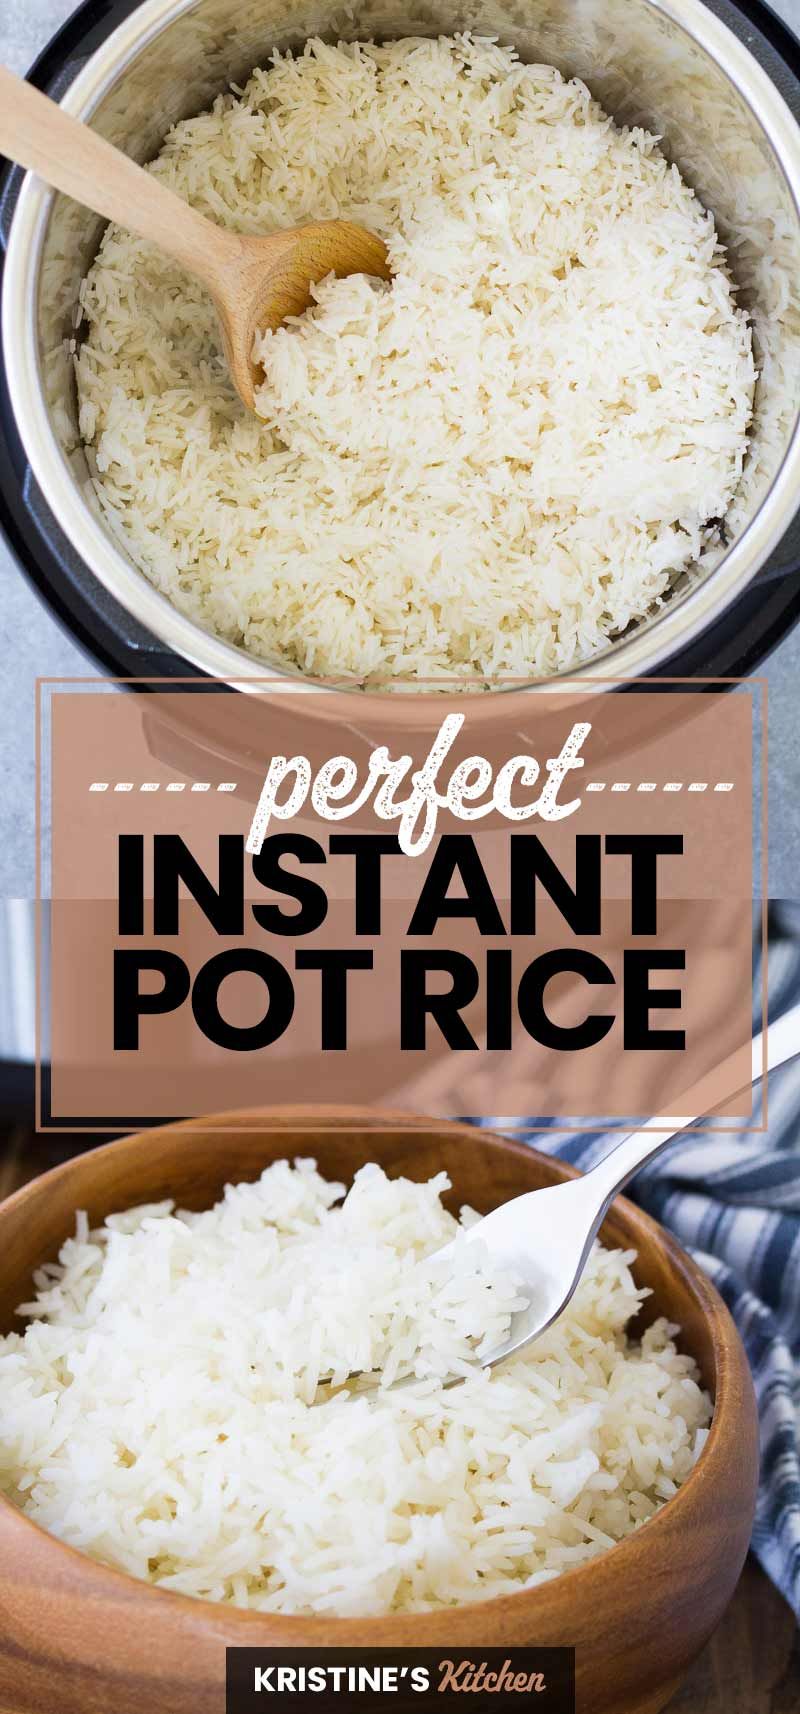
Pressure Cooker Rice
Learn to make flawless pressure cooker rice every time – fluffy, tender, and ready in minutes. No more burnt or gummy results!
🧂 Ingredients
- 2 cups (400g) long-grain white rice (or jasmine/basmati)
- 2 cups (480ml) water or chicken/vegetable broth
- 1 teaspoon salt
- 1 tablespoon olive oil or butter (optional)
📋 Instructions
- 1Rinse the Rice — Place rice in a fine-mesh strainer and rinse under cold running water for 30 seconds, swirling with your hand, until water runs clear. This removes surface starch that causes clumping.
- 2Combine Ingredients — In the pressure cooker pot, stir together rinsed rice, water (or broth), salt, and optional oil. Ensure rice is evenly submerged.
- 3Lock and Cook — Secure the lid, set valve to sealing. Cook on HIGH pressure: 6 minutes for white rice, 22 minutes for brown rice.
- 4Natural Release — When cooking ends, let pressure release naturally for 10 minutes. Then carefully turn valve to venting to release any remaining steam.
- 5Fluff and Serve — Remove lid, fluff rice gently with a fork. Let stand for 2 minutes to absorb residual moisture. Serve hot.

Maya writes about sustainable living and zero-waste practices, focusing on small, actionable changes that fit into busy routines. She shares practical tips from her own journey of reducing waste at home and in the community.