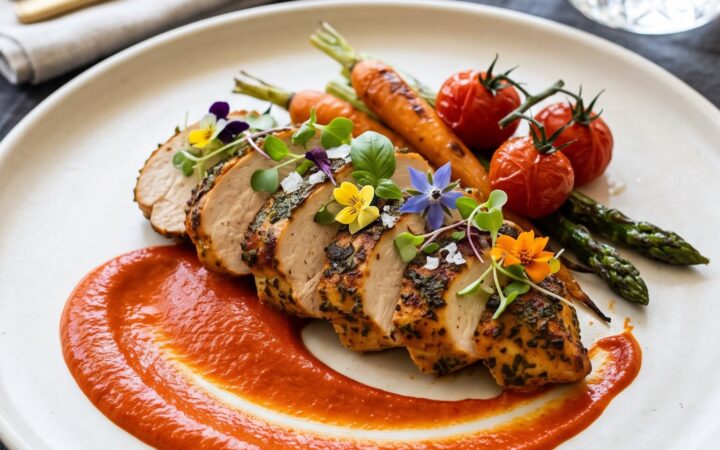
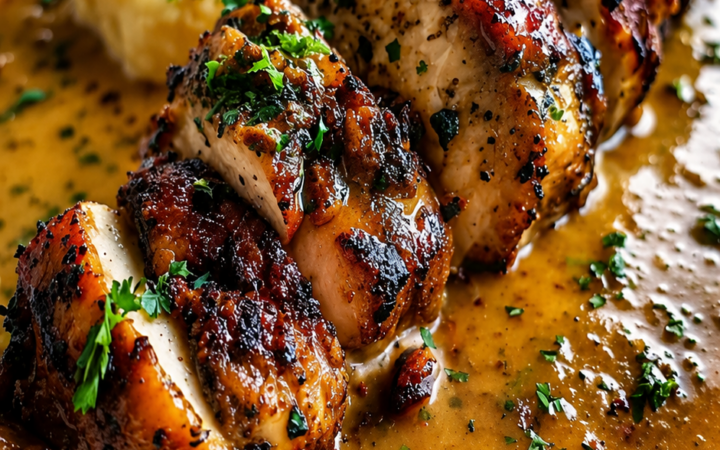
I learned the hard way that chicken doesn't have to be dry. Years ago on a three-day backpacking loop through the Wind River Range, I watched a buddy pull a foil packet of chicken off the coals and it was so tough we joked it could resole boots. That trip taught me one thing: chicken needs two things, a gentle sear and a moment of rest, and if you nail those, you get meat that's juicy all the way through.
Advertisements1
This is the recipe I cook when I get home from a long day on the trail and want something fast, cheap, and reliable. Bone-in, skin-on chicken thighs are forgiving, they're hard to overcook, and they cost a fraction of what breasts do. I picked up a family pack at the grocery store last week for about $6.50, which feeds six people for less than a drive-thru run.
The whole thing happens in one skillet on the stovetop. You sear the skin, build a garlic butter sauce in the same pan, and let the chicken finish in the oven. Cleanup is one pan and one cutting board, which is exactly the kind of cooking I want after a long drive home from the trailhead.
Why You'll Love This Recipe
About the Ingredients
6 bone-in, skin-on chicken thighs (about 2.5 lb / 1.1 kg)
Bone-in thighs are the juiciest cut for this method; if you only have boneless, reduce the oven time to 12 to 15 minutes and check early. Look for thighs with pale pink skin and no gray patches, and buy the family pack to save money.
2 teaspoons kosher salt
Kosher salt seasons more evenly than fine table salt; if using table salt, cut it to 1 1/4 teaspoons. Diamond Crystal and Morton differ in density, so taste-test your first batch.
1 teaspoon smoked paprika
Smoked paprika adds a campfire note; sweet paprika works as a swap but the flavor will be milder. Buy paprika in small jars since it loses punch after about a year.
1 teaspoon garlic powder
Garlic powder sticks to the skin better than fresh garlic at this stage; granulated garlic is a fine substitute. Skip garlic salt here or the chicken will taste too salty.
1/2 teaspoon freshly cracked black pepper
Crack it yourself if you can, the oils are brighter; pre-ground works in a pinch. A cheap blade grinder from a thrift store does the job fine.
2 tablespoons olive oil
Olive oil handles the sear heat well; avocado oil or any high-smoke-point neutral oil is a good substitute. Don't use butter for the sear, it burns before the skin crisps.
4 tablespoons unsalted butter, divided
Dividing the butter keeps the first batch from burning; salted butter works if you drop the kosher salt to 1 1/2 teaspoons. Keep a backup stick in the freezer, butter keeps for months there.
6 garlic cloves, thinly sliced
Sliced garlic toasts gently instead of burning like minced does; jarred minced garlic is a shortcut but tastes flatter. Buy firm, tight heads of garlic and avoid soft or sprouted ones.
1/2 cup (120 ml) low-sodium chicken broth
Low-sodium lets you control the salt; vegetable broth or a splash of dry white wine are both solid swaps. Better Than Bouillon mixed with water is a cheap pantry alternative.
1 tablespoon fresh lemon juice (about 1/2 lemon)
Lemon brightens the pan sauce at the end; apple cider vinegar or a splash of white wine vinegar works if you're out of lemons. Roll the lemon on the counter before juicing to get more out of it.
2 tablespoons chopped fresh parsley
Parsley adds color and freshness; cilantro or thinly sliced green onion are fine substitutes. Flat-leaf parsley has more flavor than curly.
Tips & Tricks
Dry the skin before searing
Pat the thighs completely dry with paper towels. Any moisture steams the skin instead of crisping it, and you'll end up with rubbery skin and no golden crust.
Don't crowd the pan
Six thighs need a 12-inch skillet so they sear instead of steam. If yours is smaller, work in two batches and keep the first batch warm on a plate.
Season under the skin too
Push a little salt and paprika under the skin with your fingers. That's where the flavor lives, and it seasons the meat, not just the surface.
Rest before slicing
Give the chicken five minutes off the heat before cutting. The juices redistribute instead of running out onto the board, which is the difference between juicy and dry.
Pro Tips
Step-by-Step Instructions
1. Dry and season the chicken
Pat the thighs bone-dry with paper towels, then rub 2 teaspoons kosher salt, 1 teaspoon smoked paprika, 1 teaspoon garlic powder, and 1/2 teaspoon pepper all over, including under the skin. Let them sit at room temperature for 15 minutes while the oven heats to 400F (204C).
2. Sear the skin side down
Heat 2 tablespoons olive oil in a 12-inch oven-safe skillet over medium-high heat until it shimmers, about 2 minutes. Lay the thighs skin side down and sear undisturbed for 6 to 8 minutes, until the skin is deep golden brown and releases easily from the pan. If it sticks, give it another minute.
3. Flip and add butter
Flip the thighs and add 2 tablespoons of the butter plus the sliced garlic to the pan. Tilt the pan and spoon the foaming butter over the chicken for 1 minute, until the garlic smells nutty and turns pale gold, not brown.
4. Braise with broth
Pour in 1/2 cup low-sodium chicken broth around the chicken, not over the skin, so it stays crisp. Scrape the browned bits off the bottom with a wooden spoon and let the liquid bubble and reduce for 2 minutes.
5. Roast to temperature
Transfer the skillet to the oven and roast at 400F (204C) for 18 to 22 minutes, until the thickest part near the bone reads 175F (79C) on an instant-read thermometer and the juices run clear. If you don't have a thermometer, pierce the thickest part and check that the juices are clear, not pink.
6. Finish the pan sauce
Move the chicken to a plate and rest for 5 minutes. Set the skillet over medium heat, add the remaining 2 tablespoons butter and 1 tablespoon lemon juice, and swirl for 1 to 2 minutes until the sauce is glossy and slightly thickened. Taste and add salt if needed.
7. Spoon and serve
Spoon the pan sauce over the rested chicken and scatter 2 tablespoons chopped parsley on top. Serve right away with rice, roasted potatoes, or a hunk of bread to soak up the sauce.
Delicious Variations
Lemon Herb Version
Swap the smoked paprika for 1 teaspoon dried oregano and add the zest of one lemon with the butter at the end.
Spicy Honey Glaze
Whisk 2 tablespoons honey with 1 teaspoon sriracha and brush it on during the last 5 minutes of roasting for a sticky, sweet-heat finish.
Mushroom Pan Sauce
After searing, saute 8 ounces sliced cremini mushrooms in the drippings before adding the broth for a deeper, earthier sauce.
How to Store Juicy Chicken 101
Refrigerator
Store cooled chicken and sauce in an airtight container for up to 4 days. Keep the sauce separate if you can so the skin doesn't get soggy.
Freezer
Freeze the chicken and sauce together in a freezer bag for up to 3 months. Thaw overnight in the refrigerator before reheating.
Reheating
Reheat in a 350F (177C) oven for 10 to 12 minutes, covered loosely with foil, to keep the meat moist. Avoid the microwave if you can, it toughens the skin.
Frequently Asked Questions
Q: How do I know when chicken thighs are fully cooked?
Chicken thighs are safe and most tender at an internal temperature of 175F (79C) measured in the thickest part near the bone. That's higher than the 165F (74C) minimum for safety because thigh meat has more connective tissue that breaks down with extra heat. Use an instant-read thermometer for the most reliable read.
Q: Can I use chicken breasts instead of thighs?
Yes, but reduce the oven time to 12 to 15 minutes and pull them at 165F (74C), since breasts dry out faster than thighs. Bone-in, skin-on breasts work best because the bone insulates the meat. Check them early and often.
Q: Why did my chicken skin come out soggy?
Soggy skin almost always means the chicken was wet when it hit the pan or the pan was too crowded. Pat the thighs bone-dry, use a wide skillet, and don't add the broth over the skin. A hot, uncrowded pan is the whole game.
Q: Can I make this recipe in a cast iron skillet?
Absolutely, cast iron is my first choice because it sears better and goes straight into the oven. A 12-inch cast iron skillet runs about $25 to $40 and will outlast most nonstick pans. Just remember the handle gets screaming hot, so keep a towel or mitt on it.
Q: How long does leftover chicken last in the fridge?
Leftover chicken and pan sauce keep for up to 4 days in an airtight container in the refrigerator. Reheat it covered in a 350F (177C) oven for 10 to 12 minutes. If it smells off or looks slimy, toss it, no meal is worth getting sick over.
Give this one a shot on your next busy weeknight and let me know how it turns out. If you try the spicy honey glaze, tell me about it, that's the version my trail crew asks for every time. Get out there and explore.
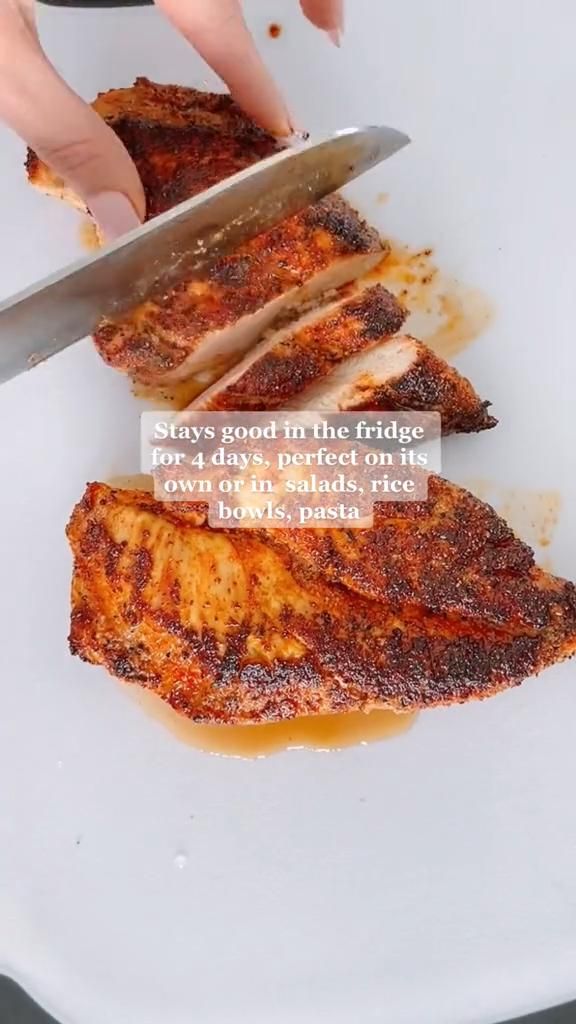
Juicy Chicken 101
Juicy Chicken 101 delivers the most tender, flavor-packed chicken thighs with a garlic butter pan sauce that turns any weeknight into a win.
🧂 Ingredients
- 6 bone-in, skin-on chicken thighs (about 2.5 lb / 1.1 kg)
- 2 teaspoons kosher salt
- 1 teaspoon smoked paprika
- 1 teaspoon garlic powder
- 1/2 teaspoon freshly cracked black pepper
- 2 tablespoons olive oil
- 4 tablespoons unsalted butter, divided
- 6 garlic cloves, thinly sliced
- 1/2 cup (120 ml) low-sodium chicken broth
- 1 tablespoon fresh lemon juice (about 1/2 lemon)
- 2 tablespoons chopped fresh parsley
📋 Instructions
- 1Dry and season the chicken — Pat the thighs bone-dry with paper towels, then rub 2 teaspoons kosher salt, 1 teaspoon smoked paprika, 1 teaspoon garlic powder, and 1/2 teaspoon pepper all over, including under the skin. Let them sit at room temperature for 15 minutes while the oven heats to 400F (204C).
- 2Sear the skin side down — Heat 2 tablespoons olive oil in a 12-inch oven-safe skillet over medium-high heat until it shimmers, about 2 minutes. Lay the thighs skin side down and sear undisturbed for 6 to 8 minutes, until the skin is deep golden brown and releases easily from the pan. If it sticks, give it another minute.
- 3Flip and add butter — Flip the thighs and add 2 tablespoons of the butter plus the sliced garlic to the pan. Tilt the pan and spoon the foaming butter over the chicken for 1 minute, until the garlic smells nutty and turns pale gold, not brown.
- 4Braise with broth — Pour in 1/2 cup low-sodium chicken broth around the chicken, not over the skin, so it stays crisp. Scrape the browned bits off the bottom with a wooden spoon and let the liquid bubble and reduce for 2 minutes.
- 5Roast to temperature — Transfer the skillet to the oven and roast at 400F (204C) for 18 to 22 minutes, until the thickest part near the bone reads 175F (79C) on an instant-read thermometer and the juices run clear. If you don't have a thermometer, pierce the thickest part and check that the juices are clear, not pink.
- 6Finish the pan sauce — Move the chicken to a plate and rest for 5 minutes. Set the skillet over medium heat, add the remaining 2 tablespoons butter and 1 tablespoon lemon juice, and swirl for 1 to 2 minutes until the sauce is glossy and slightly thickened. Taste and add salt if needed.
- 7Spoon and serve — Spoon the pan sauce over the rested chicken and scatter 2 tablespoons chopped parsley on top. Serve right away with rice, roasted potatoes, or a hunk of bread to soak up the sauce.

Liam writes about outdoor adventure and gear, focusing on budget-friendly options and safety. He tests equipment in real conditions and shares honest assessments for hikers and campers.