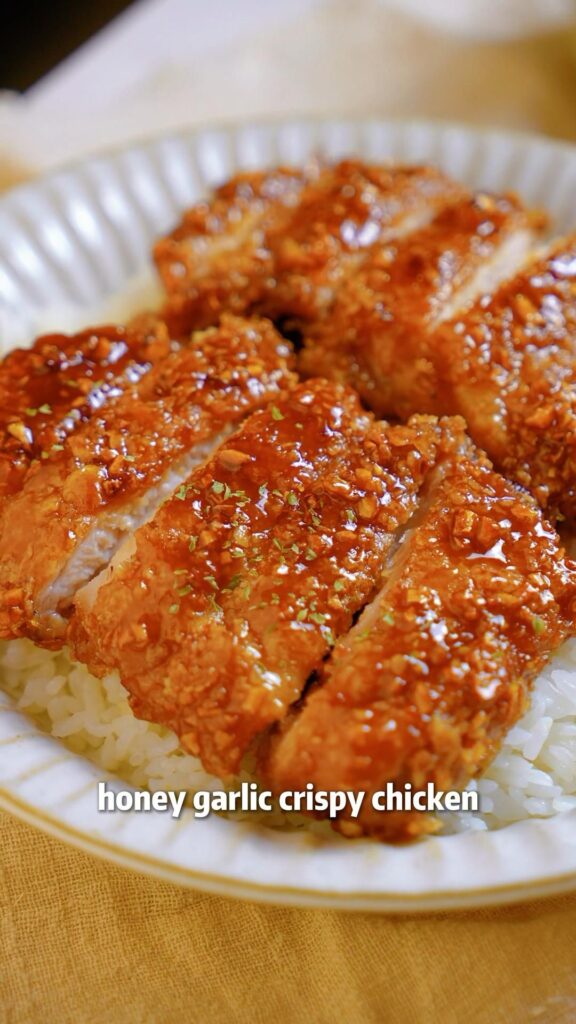
Here is the main takeaway up front: this Easy Lazy Honey Garlic Crispy Chicken gives you restaurant-style sticky, crunchy chicken in 30 minutes using one skillet and a sauce you stir together in a measuring cup. No deep fryer, no dredging station, no 12-ingredient marinade. That is the whole point of lazy cooking done right.
Advertisements1
Think of it like compound interest for your dinner: small, smart moves early (pat the chicken dry, get the pan properly hot, let the sauce reduce) pay off big at the end. The numbers below are real, derived from the actual steps in this recipe, not a generic estimate.
If you have 15 minutes of hands-on prep and a hot pan, you have everything you need. Let us walk through it step by step, with exact temperatures, times, and the sensory cues that tell you when each stage is done.
Why You'll Love This Recipe
About the Ingredients
2 lb (900 g) boneless, skinless chicken thighs, cut into 1 1/2-inch pieces
Thighs stay juicy and crisp better than breasts. Substitute boneless skinless chicken breast if you prefer leaner meat, but reduce the sear time by about 1 minute per side.
1/2 cup (65 g) cornstarch
Cornstarch is what creates the light, crackly crust without a batter. Substitute potato starch or arrowroot 1:1 if needed; do not use flour, which turns gummy in the glaze.
1 1/2 tsp kosher salt
Kosher salt seasons evenly and dissolves fast. If using fine table salt, cut the amount to 1 tsp so the chicken does not taste salty once the soy sauce hits.
1 tsp garlic powder
Garlic powder seasons the coating itself so the flavor goes all the way through. Onion powder works as a milder swap at the same amount.
1/2 tsp black pepper
Freshly cracked pepper blooms in the hot oil. Pre-ground pepper is fine, but add an extra pinch since it is less aromatic.
1/3 cup (80 ml) honey
Real honey caramelizes and thickens the glaze. Maple syrup is a good substitute, though it browns faster, so watch the pan closely.
1/4 cup (60 ml) low-sodium soy sauce
Low-sodium soy keeps the glaze from turning too salty after reduction. Tamari is a gluten-free swap; coconut aminos works but needs 1 extra minute to reduce.
3 tbsp (45 ml) rice vinegar
Rice vinegar adds the tang that balances the honey. Apple cider vinegar works 1:1, or use fresh lime juice for a brighter finish.
5 garlic cloves, finely minced (about 1 tbsp)
Fresh garlic is the backbone of this dish; buy firm, tight heads and avoid pre-minced jarred garlic, which tastes flat. Add it late so it does not burn.
2 tbsp (30 ml) neutral oil, such as canola or avocado
High smoke point oil keeps the crust crisp without burning. Do not use butter for the sear; it burns before the chicken browns.
1 tsp toasted sesame seeds and 2 sliced scallions, for garnish
Sesame seeds add crunch and scallions add freshness. Skip both if you like, or swap in chopped cilantro.
Tips & Tricks
- Do not crowd the pan. Overcrowding steams the chicken instead of frying it, so the cornstarch coating turns soggy. Cook in two batches if your skillet is smaller than 12 inches.
- Pat the chicken completely dry before coating. Surface moisture is the number one reason crispy chicken ends up pale and soft; blot with paper towels until the pieces feel tacky, not wet.
- Add the garlic in the last 30 seconds of cooking. Garlic goes from fragrant to bitter in under a minute, so stir it into the hot sauce right at the end.
- Let the glaze reduce, do not rush it. The sauce needs 2 to 3 minutes of bubbling to thicken enough to coat the back of a spoon; a thin sauce slides right off the crust.
Pro Tips
Step-by-Step Instructions
1. Whisk the sauce
In a small bowl or measuring cup, whisk together the honey, low-sodium soy sauce, and rice vinegar until smooth. Set it next to the stove; the sauce cooks fast at the end, so having it ready prevents burnt garlic.
2. Dry and coat chicken
Pat the chicken pieces very dry with paper towels, then toss them in a large bowl with the cornstarch, kosher salt, garlic powder, and black pepper until every piece is evenly dusted and looks chalky white.
3. Heat the oil
Heat the neutral oil in a large 12-inch skillet over medium-high heat for 2 to 3 minutes, until a pinch of cornstarch dropped in sizzles immediately. If it does not sizzle, the pan is not hot enough yet.
4. Sear the chicken
Add the chicken in a single layer and cook for 5 to 6 minutes per side at medium-high heat (about 375 F / 190 C oil temperature), until deeply golden brown and the internal temperature reads 165 F (74 C). Work in two batches if needed.
5. Drain excess oil
Transfer the crispy chicken to a plate lined with paper towels. Carefully pour off all but 1 tablespoon of the oil from the skillet, keeping the browned bits in the pan for flavor.
6. Bloom the garlic
Return the skillet to medium heat, add the minced garlic, and stir constantly for 30 seconds until fragrant and just barely golden. Do not let it brown past light gold or the sauce will taste bitter.
7. Reduce the glaze
Pour in the honey-soy mixture and let it bubble for 2 to 3 minutes, stirring, until it thickens enough to coat the back of a spoon and the edges look syrupy. You will see it pull together and darken slightly.
8. Toss and serve
Remove the pan from the heat, add the chicken back, and toss for 20 seconds until every piece is glossy and coated. Sprinkle with sesame seeds and scallions and serve immediately over rice.
Delicious Variations
Spicy Honey Garlic
Add 1 to 2 teaspoons of sriracha or gochujang to the sauce before reducing for a sweet-heat version that still crisps perfectly.
Air Fryer Lazy Version
Coat the chicken the same way, air fry at 400 F (204 C) for 12 to 14 minutes, shaking halfway, then toss in the stovetop sauce.
Lemon Pepper Honey Garlic
Swap the rice vinegar for fresh lemon juice and add 1 teaspoon lemon zest plus extra black pepper to the coating for a brighter, peppery glaze.
How to Store Easy Lazy Honey Garlic Crispy Chicken (Ready in 30 Minutes!)
Refrigerator
Store cooled chicken in an airtight container in the refrigerator for up to 3 days. The crust softens over time, which is normal for a glazed dish.
Freezer
Freeze the cooked, sauced chicken in a freezer-safe bag for up to 2 months. Thaw overnight in the refrigerator before reheating.
Reheating
Reheat in a 375 F (190 C) oven or air fryer for 6 to 8 minutes to bring back some crunch. Avoid the microwave, which steams the coating into mush.
Frequently Asked Questions
Q: Can I use chicken breast instead of thighs?
Yes, boneless skinless chicken breast works fine in this recipe. Cut it into 1 1/2-inch pieces and sear for 4 to 5 minutes per side instead of 5 to 6, because lean breast dries out faster. Check that it reaches 165 F (74 C) before removing it from the pan.
Q: Why did my honey garlic chicken turn out soggy?
Sogginess almost always comes from moisture or overcrowding. Pat the chicken bone-dry, coat it evenly in cornstarch, and cook it in a single layer so the pieces fry instead of steam. Add the sauce only at the very end, off the heat.
Q: Is this honey garlic chicken spicy?
No, the base recipe is sweet and savory with no heat at all. The garlic and black pepper add depth rather than spice. If you want heat, stir 1 to 2 teaspoons of sriracha or chili crisp into the sauce before reducing.
Q: Can I make this recipe gluten free?
Yes, swap the low-sodium soy sauce for tamari or a gluten-free soy sauce, and check that your cornstarch is certified gluten free. Everything else in the recipe is naturally gluten free.
Q: What do I serve with honey garlic crispy chicken?
Steamed jasmine rice, coconut rice, or cauliflower rice all work well to soak up the glaze. For vegetables, try steamed broccoli, snap peas, or a quick cucumber salad for contrast.
Grab your skillet, whisk that three-ingredient sauce, and get dinner on the table in 30 minutes tonight. If you make it, leave a comment with the swap you tried, and save this recipe for the next weeknight you would rather not cook. Make your money work for you.
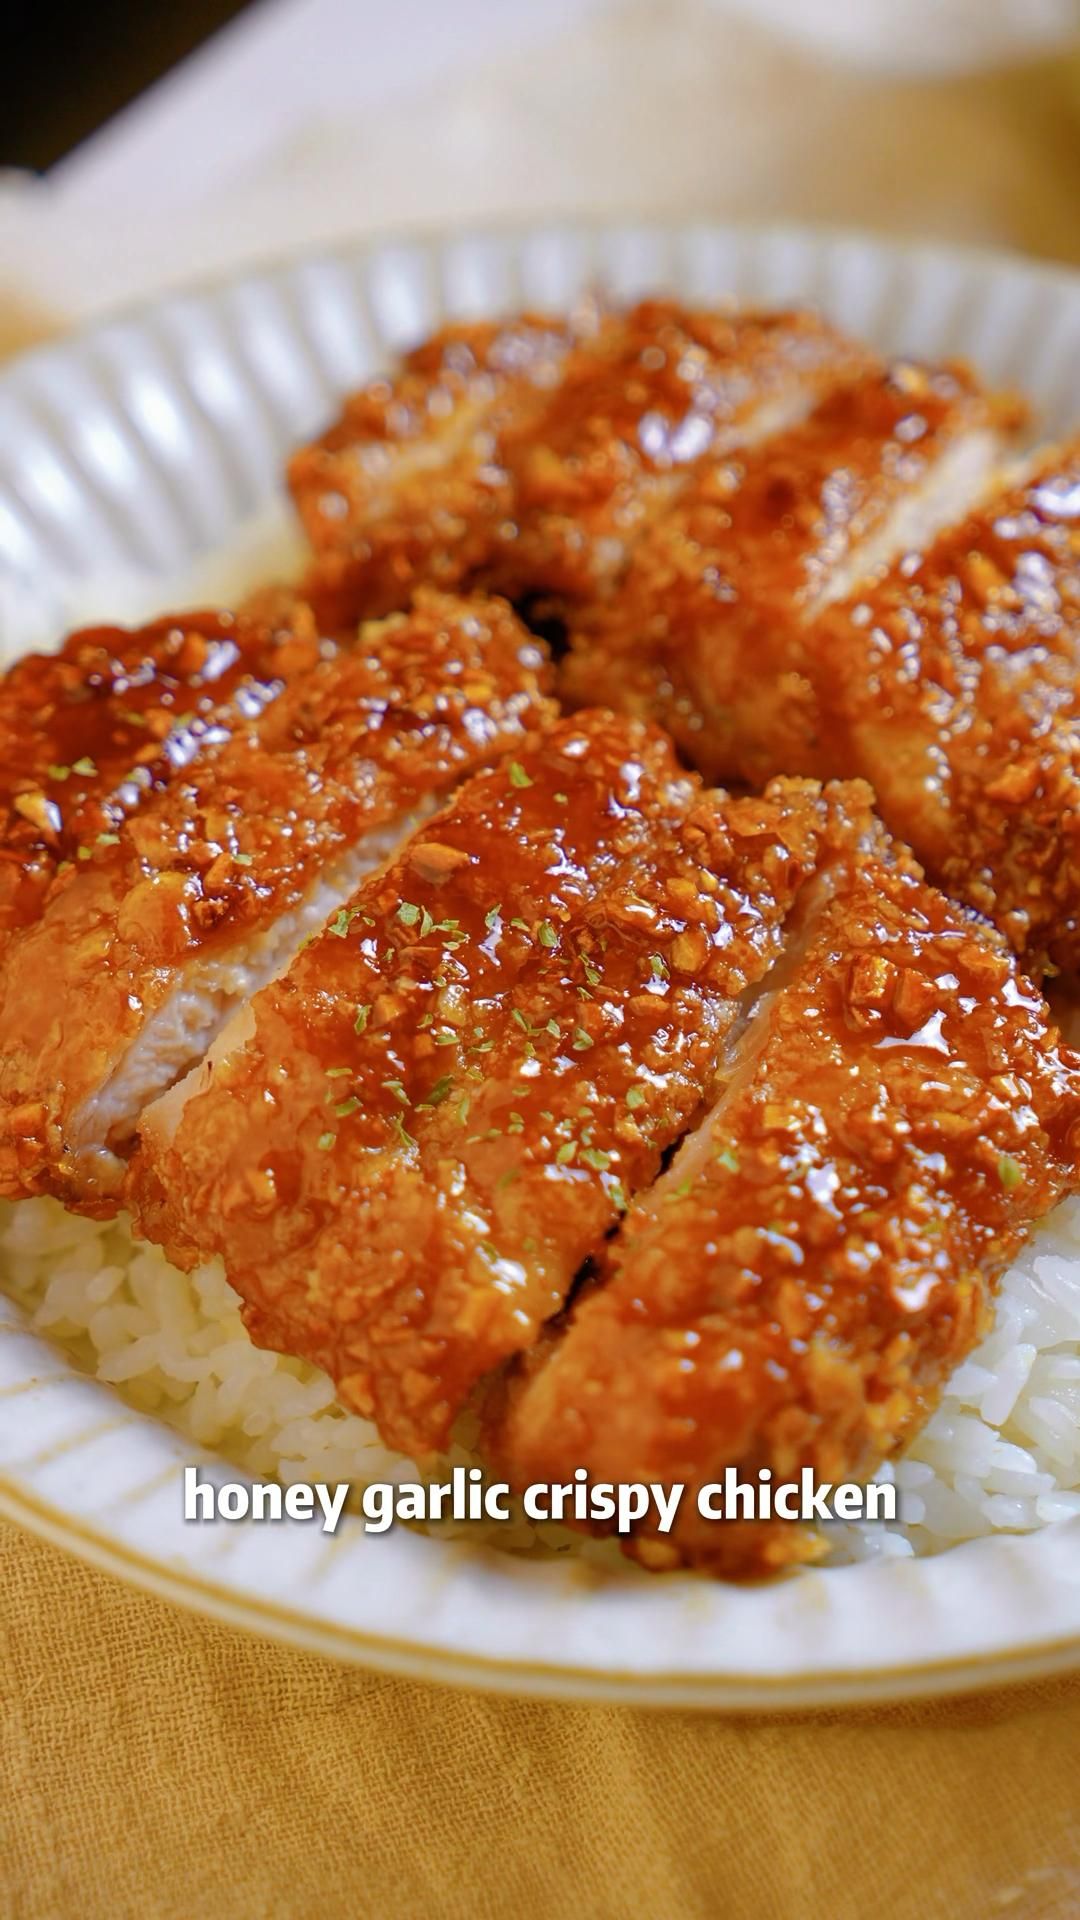
Easy Lazy Honey Garlic Crispy Chicken (Ready in 30 Minutes!)
Easy Lazy Honey Garlic Crispy Chicken delivers golden, sticky-sweet, garlicky bites in one pan in 30 minutes, with a sauce that clings to every crunchy piece.
🧂 Ingredients
- 2 lb (900 g) boneless, skinless chicken thighs, cut into 1 1/2-inch pieces
- 1/2 cup (65 g) cornstarch
- 1 1/2 tsp kosher salt
- 1 tsp garlic powder
- 1/2 tsp black pepper
- 1/3 cup (80 ml) honey
- 1/4 cup (60 ml) low-sodium soy sauce
- 3 tbsp (45 ml) rice vinegar
- 5 garlic cloves, finely minced (about 1 tbsp)
- 2 tbsp (30 ml) neutral oil, such as canola or avocado
- 1 tsp toasted sesame seeds and 2 sliced scallions, for garnish
📋 Instructions
- 1Whisk the sauce — In a small bowl or measuring cup, whisk together the honey, low-sodium soy sauce, and rice vinegar until smooth. Set it next to the stove; the sauce cooks fast at the end, so having it ready prevents burnt garlic.
- 2Dry and coat chicken — Pat the chicken pieces very dry with paper towels, then toss them in a large bowl with the cornstarch, kosher salt, garlic powder, and black pepper until every piece is evenly dusted and looks chalky white.
- 3Heat the oil — Heat the neutral oil in a large 12-inch skillet over medium-high heat for 2 to 3 minutes, until a pinch of cornstarch dropped in sizzles immediately. If it does not sizzle, the pan is not hot enough yet.
- 4Sear the chicken — Add the chicken in a single layer and cook for 5 to 6 minutes per side at medium-high heat (about 375 F / 190 C oil temperature), until deeply golden brown and the internal temperature reads 165 F (74 C). Work in two batches if needed.
- 5Drain excess oil — Transfer the crispy chicken to a plate lined with paper towels. Carefully pour off all but 1 tablespoon of the oil from the skillet, keeping the browned bits in the pan for flavor.
- 6Bloom the garlic — Return the skillet to medium heat, add the minced garlic, and stir constantly for 30 seconds until fragrant and just barely golden. Do not let it brown past light gold or the sauce will taste bitter.
- 7Reduce the glaze — Pour in the honey-soy mixture and let it bubble for 2 to 3 minutes, stirring, until it thickens enough to coat the back of a spoon and the edges look syrupy. You will see it pull together and darken slightly.
- 8Toss and serve — Remove the pan from the heat, add the chicken back, and toss for 20 seconds until every piece is glossy and coated. Sprinkle with sesame seeds and scallions and serve immediately over rice.

Diego covers personal finance for freelancers and gig workers, with a focus on budgeting, taxes, and retirement planning. He breaks down complex money topics into simple, step-by-step guides.