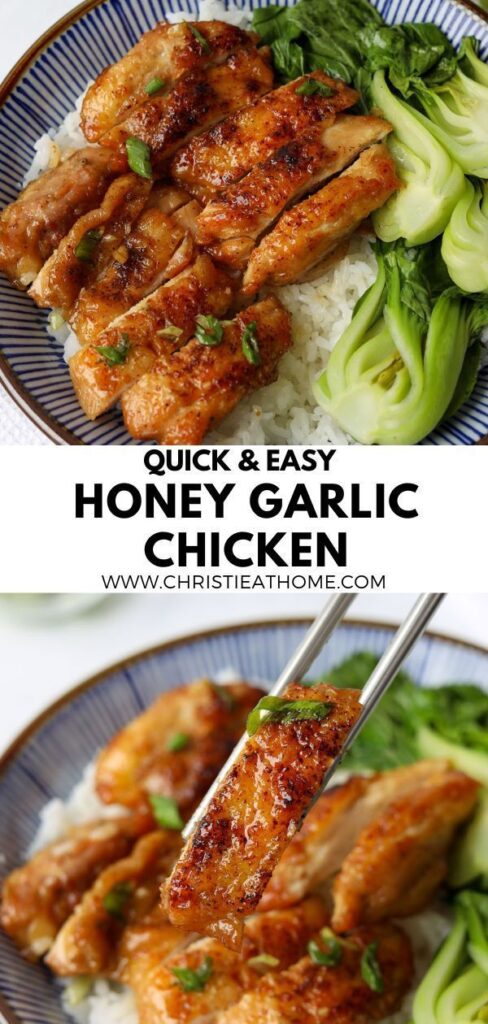
Some evenings call for a dinner that feels like a warm hug—simple, comforting, and made with love. This honey garlic chicken is exactly that for me. It's the kind of meal that comes together in a flash, yet tastes like you spent hours tending to it.
Advertisements1
I remember the first time I made this for my family on a hectic Tuesday. The kitchen filled with the aroma of garlic and honey, and for a moment, the world felt a little slower. That's the magic of a good one-pan dish: it nourishes more than just our bodies.
As you cook, notice the sizzle of the chicken hitting the pan, the way the sauce thickens into a glossy glaze. Let this be a mindful pause in your day—a chance to breathe, focus on simple tasks, and create something delicious.
Why You'll Love This Recipe
About the Ingredients
1 1/2 lbs (680g) boneless, skinless chicken thighs
Thighs stay juicy and flavorful; substitute with chicken breast, but reduce cooking time by 2-3 minutes to avoid dryness.
1/2 cup (120ml) low-sodium soy sauce
Use tamari or coconut aminos for gluten-free; low-sodium lets you control saltiness.
1/3 cup (113g) honey
Raw honey adds floral notes; if you're out, use maple syrup or brown sugar mixed with a little water.
4 cloves garlic, minced
Fresh garlic is key; in a pinch, use 1 teaspoon garlic powder, but fresh gives the best aroma.
1 tablespoon rice vinegar
Adds brightness; substitute with apple cider vinegar or white wine vinegar.
1 tablespoon olive oil
For searing; use avocado or canola oil if you prefer a higher smoke point.
1 tablespoon cornstarch
Helps thicken the sauce; mix with 2 tablespoons water to make a slurry. Arrowroot works too.
2 green onions, sliced
For garnish; optional but adds freshness and color. Chives work as a substitute.
1 teaspoon sesame seeds
Toasted sesame seeds add nuttiness; skip if you don't have them or use chopped peanuts.
Tips & Tricks
Don't overcrowd the pan
Sear chicken in batches if needed to get a golden crust, not steamed.
Control the heat
Keep the sauce at a gentle simmer to prevent burning; honey can caramelize too quickly on high.
Thicken properly
Mix cornstarch with cold water before adding to the sauce to avoid lumps.
Pro Tips
Step-by-Step Instructions
1. Season and Sear Chicken
Pat chicken dry and season with a pinch of salt and pepper. Heat olive oil in a large skillet over medium-high heat (375°F/190°C). Add chicken in a single layer and cook 5-6 minutes per side until golden brown and internal temperature reaches 165°F (74°C). Transfer to a plate.
2. Make the Sauce
In the same skillet, reduce heat to medium (350°F/175°C). Add minced garlic and sauté for 30 seconds until fragrant. Pour in soy sauce, honey, and rice vinegar. Stir and bring to a simmer, scraping up browned bits.
3. Thicken the Glaze
In a small bowl, whisk cornstarch with 2 tablespoons water to create a slurry. Slowly pour into the sauce while stirring constantly. Let it simmer for 2-3 minutes until the sauce thickens and coats the back of a spoon.
4. Return Chicken to Pan
Nestle the seared chicken back into the skillet, turning to coat each piece evenly with the glaze. Let it cook for 2-3 minutes on medium-low (300°F/150°C) until heated through and the sauce is glossy.
5. Garnish and Serve
Sprinkle with sliced green onions and sesame seeds. Serve immediately over steamed rice or with your favorite vegetables.
Delicious Variations
Spicy Honey Garlic
Add 1/2 teaspoon red pepper flakes or a dash of sriracha to the sauce for heat.
Lemon Honey Garlic
Stir in 1 tablespoon fresh lemon juice at the end for a citrusy twist.
Vegetable Stir-In
Add broccoli or bell peppers during the last 5 minutes of cooking for a complete meal.
How to Store Easy & Quick Honey Garlic Chicken
Refrigerator
Store in an airtight container for up to 4 days.
Freezer
Freeze in a sealed container for up to 3 months. Thaw overnight in the fridge before reheating.
Reheating
Reheat gently in a skillet over medium-low heat, adding a splash of water to loosen the sauce, or microwave in 30-second bursts.
Frequently Asked Questions
Q: Can I use chicken breast instead of thighs?
Yes, you can. Use boneless, skinless breasts, but reduce the searing time to 4-5 minutes per side and check for doneness at 165°F (74°C) to avoid dryness.
Q: How do I make this gluten-free?
Simply use tamari or coconut aminos instead of soy sauce, and ensure your cornstarch is certified gluten-free. All other ingredients are naturally gluten-free.
Q: Can I meal prep this honey garlic chicken?
Absolutely. Cook the chicken and sauce, then store separately in the fridge. Reheat gently and serve with fresh sides for up to 4 days.
Q: How can I thicken the sauce without cornstarch?
You can simmer the sauce longer to reduce and naturally thicken, or use arrowroot powder mixed with water as a substitute. Both work well.
I hope this honey garlic chicken brings a little calm and a lot of flavor to your table. If you try it, let me know how it went in the comments below. Breathe, reflect, grow.
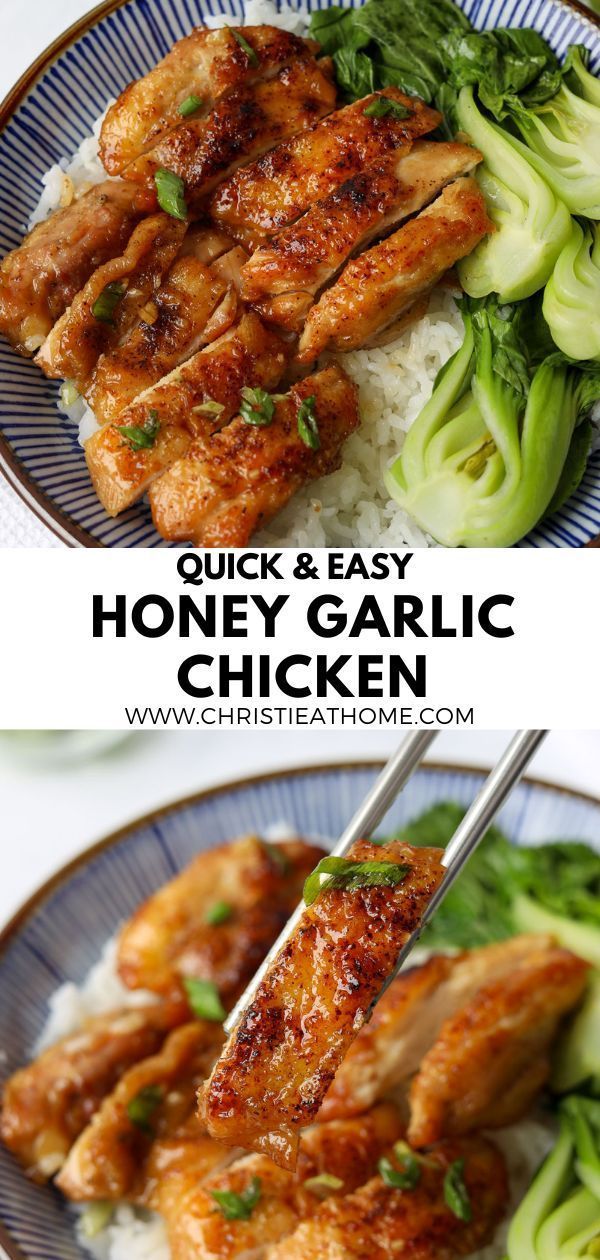
Easy & Quick Honey Garlic Chicken
Easy & Quick Honey Garlic Chicken: juicy, sticky-sweet, savory-satisfying, ready in 30 minutes for a busy weeknight.
🧂 Ingredients
- 1 1/2 lbs (680g) boneless, skinless chicken thighs
- 1/2 cup (120ml) low-sodium soy sauce
- 1/3 cup (113g) honey
- 4 cloves garlic, minced
- 1 tablespoon rice vinegar
- 1 tablespoon olive oil
- 1 tablespoon cornstarch
- 2 green onions, sliced
- 1 teaspoon sesame seeds
📋 Instructions
- 1Season and Sear Chicken — Pat chicken dry and season with a pinch of salt and pepper. Heat olive oil in a large skillet over medium-high heat (375°F/190°C). Add chicken in a single layer and cook 5-6 minutes per side until golden brown and internal temperature reaches 165°F (74°C). Transfer to a plate.
- 2Make the Sauce — In the same skillet, reduce heat to medium (350°F/175°C). Add minced garlic and sauté for 30 seconds until fragrant. Pour in soy sauce, honey, and rice vinegar. Stir and bring to a simmer, scraping up browned bits.
- 3Thicken the Glaze — In a small bowl, whisk cornstarch with 2 tablespoons water to create a slurry. Slowly pour into the sauce while stirring constantly. Let it simmer for 2-3 minutes until the sauce thickens and coats the back of a spoon.
- 4Return Chicken to Pan — Nestle the seared chicken back into the skillet, turning to coat each piece evenly with the glaze. Let it cook for 2-3 minutes on medium-low (300°F/150°C) until heated through and the sauce is glossy.
- 5Garnish and Serve — Sprinkle with sliced green onions and sesame seeds. Serve immediately over steamed rice or with your favorite vegetables.

Sofia writes about mindfulness and mental well-being, drawing from her own journey with stress and burnout. She shares gentle, evidence-informed practices for busy lives.