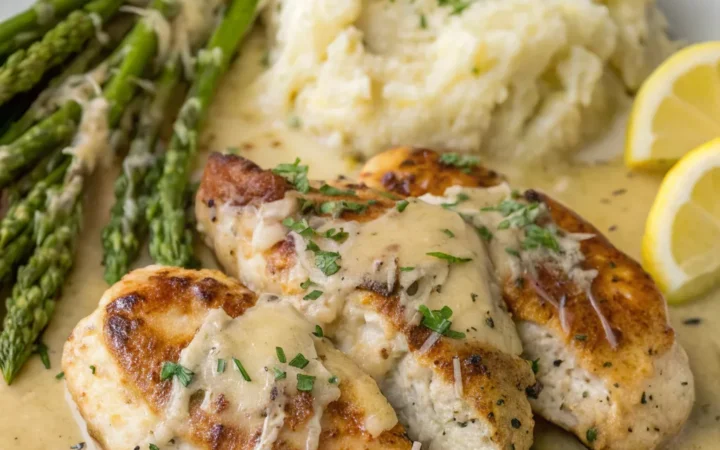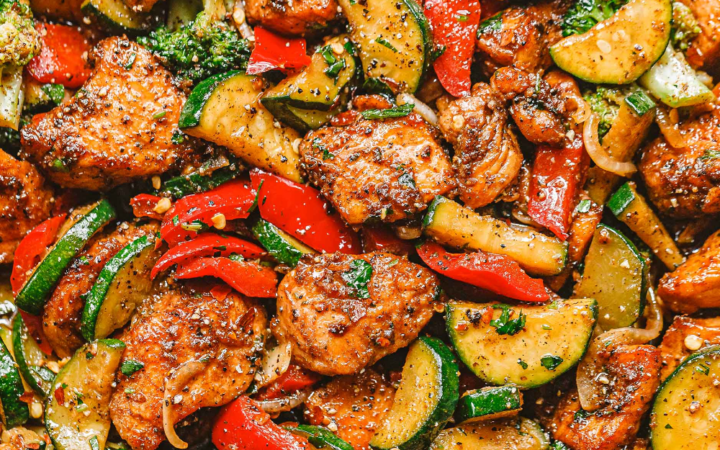
There are nights when the trail calls, and then there are nights when the call of a sizzling skillet is just as strong. This 20 Minute Honey Garlic Chicken is my go-to when I roll into camp (or my kitchen) hungry and short on time. It's a recipe born from a love of bold flavors and a healthy respect for a hot pan.
Advertisements1
The magic happens in one skillet, with pantry staples you probably already have – honey, soy sauce, garlic, and a little cornstarch to get that glossy, restaurant-quality sauce that clings to every piece of chicken. No marinating, no complicated steps, just real food that comes together faster than you can decide on a takeout order.
I've tested this over campfires and gas stoves alike, and it never fails. The key is getting that beautiful golden sear on the chicken first – that's where the flavor lives. Then the sauce goes in, thickens in minutes, and coats everything in sticky, sweet, savory goodness. Serve it over rice or noodles, and you've got a meal that tastes like you spent hours on it, not twenty minutes.
Why You'll Love This Recipe
About the Ingredients
1 ½ lbs (680g) boneless, skinless chicken thighs, cut into 1-inch pieces
Thighs stay juicy and flavorful; you can substitute chicken breast, but reduce cook time by a minute or two to avoid drying out.
1 tablespoon (15ml) olive oil
Use a neutral oil with a high smoke point like avocado oil if you prefer.
Salt and freshly ground black pepper, to taste
Season generously – it enhances all the other flavors.
⅓ cup (80ml) low-sodium soy sauce
Regular soy sauce works, but low-sodium keeps the dish from getting too salty. For gluten-free, use tamari or coconut aminos.
⅓ cup (80ml) honey
Use a good quality honey; if it's crystallized, warm it slightly. Maple syrup or brown sugar can be substituted.
4 cloves garlic, minced
Fresh garlic is key; garlic powder won't give the same punch. Adjust to your love of garlic.
1 teaspoon (5ml) rice vinegar
Adds a subtle tang; apple cider vinegar or white wine vinegar are fine substitutes.
1 teaspoon (5ml) sesame oil
Toasted sesame oil adds a nutty aroma; if you don't have it, skip it or use a drop of regular oil.
1 tablespoon (8g) cornstarch mixed with 2 tablespoons (30ml) water (slurry)
This thickens the sauce to a glossy glaze. You can use arrowroot starch instead.
Sliced green onions and sesame seeds, for garnish
Optional but adds color and freshness.
Tips & Tricks
- Cut chicken pieces evenly so they cook at the same rate.
- Don't overcrowd the pan – sear in batches if needed to get a golden crust.
- Have all sauce ingredients measured and ready before you start cooking – it goes fast.
Pro Tips
Step-by-Step Instructions
1. Prep the Chicken
Pat the chicken pieces dry with paper towels, then season generously with salt and pepper. Drying ensures a good sear.
2. Sear the Chicken
Heat olive oil in a large skillet over medium-high heat (375°F / 190°C). Add chicken in a single layer and cook without moving for 3-4 minutes until golden brown on the bottom. Flip and cook another 2-3 minutes until cooked through (internal temperature reaches 165°F / 74°C). Transfer to a plate.
3. Make the Sauce
In the same skillet, reduce heat to medium. Add soy sauce, honey, garlic, rice vinegar, and sesame oil. Stir and bring to a simmer, scraping up any browned bits from the bottom.
4. Thicken the Sauce
Whisk the cornstarch slurry again, then pour into the simmering sauce. Stir continuously for 1-2 minutes until the sauce thickens and coats the back of a spoon.
5. Coat the Chicken
Return the chicken to the skillet, tossing to coat every piece in the glossy sauce. Let it bubble for another minute so the flavors meld.
6. Garnish and Serve
Remove from heat, sprinkle with green onions and sesame seeds. Serve hot over rice, noodles, or steamed vegetables.
Delicious Variations
Spicy Honey Garlic Chicken
Add 1-2 teaspoons sriracha or red pepper flakes to the sauce for a kick.
Honey Garlic Chicken Stir-Fry
Add bell peppers, broccoli, or snap peas in the last few minutes of cooking for extra veggies.
Slow Cooker Honey Garlic Chicken
Brown the chicken, then transfer everything to a slow cooker and cook on low for 4 hours.
How to Store 20 Minute Honey Garlic Chicken
Refrigerator
Store in an airtight container for up to 4 days.
Freezer
Freeze in a freezer-safe container for up to 3 months. Thaw overnight in the fridge before reheating.
Reheating
Reheat in a skillet over medium heat, adding a splash of water to loosen the sauce, or microwave in 30-second bursts.
Frequently Asked Questions
Q: Can I use chicken breast instead of thighs?
Yes, but breast meat cooks faster and can dry out. Cut into uniform pieces and watch the internal temperature – pull them at 165°F (74°C).
Q: Can I make this honey garlic chicken gluten-free?
Absolutely! Use tamari or coconut aminos instead of soy sauce, and ensure your cornstarch is certified gluten-free (it usually is).
Q: How can I make the sauce less sweet?
Reduce the honey to ¼ cup (60ml) and add a teaspoon of extra vinegar or a squeeze of lemon juice to balance the sweetness.
Q: Can I prep this ahead of time?
You can mix the sauce (minus the cornstarch slurry) and store it in the fridge for up to 3 days. Cut the chicken and store separately. Add the slurry when you cook.
Q: What can I serve with honey garlic chicken?
This dish is perfect over steamed jasmine rice, brown rice, or noodles. For a low-carb option, serve with cauliflower rice or a side of sautéed greens.
Fire up that skillet and get this 20-minute wonder on the table tonight. Your taste buds will thank you, and you might just have time for a quick walk afterward. Get out there and explore.
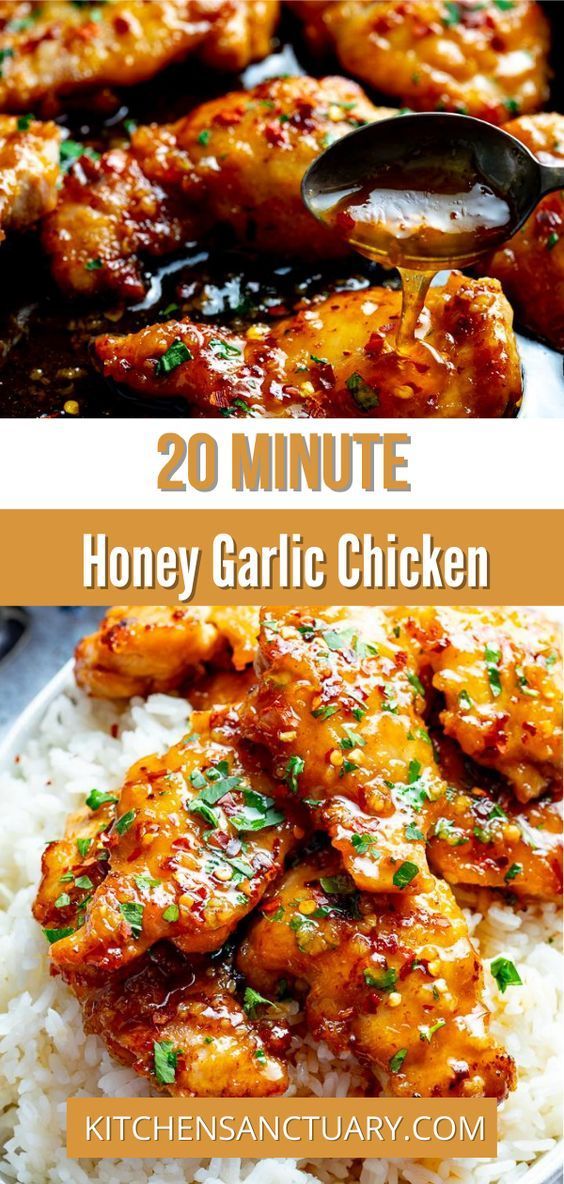
20 Minute Honey Garlic Chicken
20 Minute Honey Garlic Chicken is a sticky-sweet, savory one-pan dinner that's faster than takeout and perfect for busy weeknights.
🧂 Ingredients
- 1 ½ lbs (680g) boneless, skinless chicken thighs, cut into 1-inch pieces
- 1 tablespoon (15ml) olive oil
- Salt and freshly ground black pepper, to taste
- ⅓ cup (80ml) low-sodium soy sauce
- ⅓ cup (80ml) honey
- 4 cloves garlic, minced
- 1 teaspoon (5ml) rice vinegar
- 1 teaspoon (5ml) sesame oil
- 1 tablespoon (8g) cornstarch mixed with 2 tablespoons (30ml) water (slurry)
- Sliced green onions and sesame seeds, for garnish
📋 Instructions
- 1Prep the Chicken — Pat the chicken pieces dry with paper towels, then season generously with salt and pepper. Drying ensures a good sear.
- 2Sear the Chicken — Heat olive oil in a large skillet over medium-high heat (375°F / 190°C). Add chicken in a single layer and cook without moving for 3-4 minutes until golden brown on the bottom. Flip and cook another 2-3 minutes until cooked through (internal temperature reaches 165°F / 74°C). Transfer to a plate.
- 3Make the Sauce — In the same skillet, reduce heat to medium. Add soy sauce, honey, garlic, rice vinegar, and sesame oil. Stir and bring to a simmer, scraping up any browned bits from the bottom.
- 4Thicken the Sauce — Whisk the cornstarch slurry again, then pour into the simmering sauce. Stir continuously for 1-2 minutes until the sauce thickens and coats the back of a spoon.
- 5Coat the Chicken — Return the chicken to the skillet, tossing to coat every piece in the glossy sauce. Let it bubble for another minute so the flavors meld.
- 6Garnish and Serve — Remove from heat, sprinkle with green onions and sesame seeds. Serve hot over rice, noodles, or steamed vegetables.

Liam writes about outdoor adventure and gear, focusing on budget-friendly options and safety. He tests equipment in real conditions and shares honest assessments for hikers and campers.