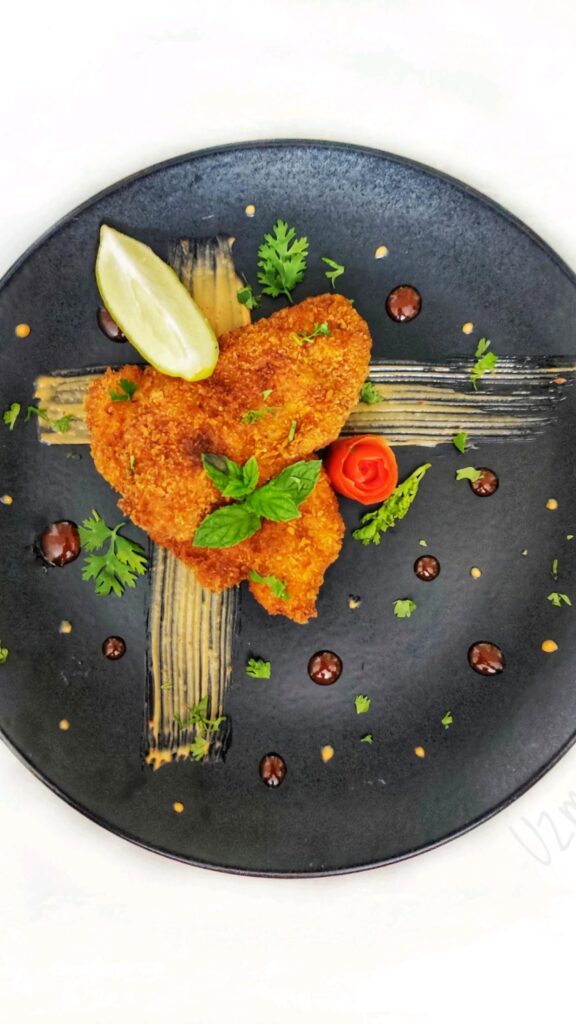
Crispy Fried Chicken Breast is the kind of dinner that quiets a noisy kitchen. I remember standing at my grandmother's stove, watching the oil shimmer like a small pond at sunrise, learning that good frying is really just patience wearing a golden coat.
Advertisements1
There is a gentle rhythm to this recipe: soak, dredge, rest, fry. Each step asks very little of you, and the reward is a crust that crackles when your fork touches it and meat that stays tender all the way through. You do not need to be a perfect cook here. You only need to pay attention.
While the chicken rests, try this: close your eyes, breathe in for four counts, hold for four, and out for six. Frying is loud, but your body does not have to be. Let the sizzle be background music, not alarm bells.
Why You'll Love This Recipe
About the Ingredients
6 boneless, skinless chicken breasts (about 6 oz / 170 g each), pounded to 1/2-inch thickness
Pounding to an even thickness is what keeps every bite juicy instead of dry at the edges. If you only have chicken thighs, use 8 boneless thighs and add 2 minutes to the frying time.
2 cups (480 ml) buttermilk
Buttermilk's mild acid tenderizes the surface without making the meat mushy. No buttermilk? Stir 2 tablespoons lemon juice into 2 cups whole milk and let it sit 10 minutes.
2 large eggs
Eggs help the flour stick in a thick, even coat. For a lighter crust, swap in 1/2 cup mayonnaise whisked with 2 tablespoons water.
2 cups (250 g) all-purpose flour
All-purpose gives a classic sturdy crust. For a gluten-free version, use a 1-to-1 gluten-free flour blend plus 2 tablespoons cornstarch for extra crunch.
1/2 cup (60 g) cornstarch
Cornstarch is the quiet hero here, creating that shattering, craggy texture. Potato starch works as an equal swap.
2 teaspoons smoked paprika
Smoked paprika adds warmth without much heat. Sweet paprika plus 1/4 teaspoon liquid smoke is a good substitute.
2 teaspoons garlic powder
Granulated garlic blends into the flour better than fresh, which can burn in hot oil. Onion powder can stand in if that is what you have.
1 teaspoon cayenne pepper
Cayenne brings gentle heat; reduce to 1/2 teaspoon for kids or increase to 1 1/2 teaspoons if you like a kick. Ancho chili powder is a milder alternative.
2 teaspoons kosher salt, plus more for finishing
Kosher salt seasons more evenly than fine table salt. If using table salt, cut the amount to 1 1/2 teaspoons.
1 teaspoon freshly ground black pepper
Fresh-cracked pepper tastes brighter than pre-ground. White pepper gives the same heat with a cleaner look on the crust.
4 cups (960 ml) neutral oil, such as canola or peanut, for frying
Neutral oil handles high heat without flavoring the chicken. Peanut oil gives the crispest results; avocado oil is a solid, pricier option.
Tips & Tricks
Watch the Oil Temperature
Keep it between 325°F and 350°F (163°C to 177°C). If it climbs higher, the crust browns before the center cooks; if it drops, the chicken turns greasy.
Do Not Crowd the Pan
Fry 2 to 3 pieces at a time so the oil recovers its heat. Overcrowding steams the crust instead of crisping it.
Rest Before Frying
Let the dredged chicken sit on a wire rack for 10 minutes so the coating hydrates and clings. This one pause prevents bare patches.
Check With a Thermometer
The thickest part should read 165°F (74°C). Pull it at 160°F (71°C) and let carryover heat finish the job for juicier meat.
Pro Tips
Step-by-Step Instructions
1. Pound the Chicken
Place each breast between two sheets of plastic wrap and pound to an even 1/2-inch thickness. Even thickness means even cooking, so no dry edges and no pink centers.
2. Soak in Buttermilk
In a large bowl, whisk the buttermilk and eggs, then submerge the chicken. Let it sit at room temperature for 15 minutes while you prepare the coating.
3. Mix the Dredge
In a wide dish, whisk the flour, cornstarch, smoked paprika, garlic powder, cayenne, kosher salt, and black pepper until no streaks remain. This is your crust's whole personality.
4. Heat the Oil
Pour 1 1/2 inches of oil into a deep skillet and heat over medium-high to 350°F (177°C). A pinch of flour should sizzle and bubble the moment it touches the surface.
5. Dredge and Rest
Lift one breast from the buttermilk, letting excess drip back, then press it firmly into the flour on both sides. Set it on a wire rack and repeat; rest 10 minutes so the coating sets.
6. Fry Until Golden
Lower 2 to 3 pieces into the oil and fry for 6 to 8 minutes per side, until deep golden brown and the edges bubble steadily. The internal temperature should reach 165°F (74°C).
7. Drain and Salt
Transfer the chicken to a clean wire rack, not paper towels, so the bottom stays crisp. Sprinkle with flaky salt while it is still hot.
8. Rest and Serve
Let the chicken rest 5 minutes before slicing. This brief pause lets the juices settle so they stay in the meat instead of running onto the plate.
Delicious Variations
Spicy Nashville Style
Add 2 tablespoons hot sauce to the buttermilk and brush the finished chicken with a cayenne-honey glaze.
Parmesan Herb Crust
Replace 1/2 cup of the flour with finely grated Parmesan and add 1 teaspoon dried Italian herbs to the dredge.
Air Fryer Light
Spray the dredged chicken generously with oil and air fry at 380°F (193°C) for 12 to 14 minutes, flipping halfway, for 80 percent of the crunch with far less oil.
How to Store Crispy Fried Chicken Breast
Refrigerator
Store cooled chicken in an airtight container for up to 4 days. Keep it in a single layer if possible so the crust does not steam and soften.
Freezer
Freeze fried chicken on a sheet pan until solid, then transfer to a freezer bag for up to 3 months. Reheat without thawing for the best texture.
Reheating
Reheat in a 375°F (190°C) oven or air fryer for 10 to 12 minutes until the crust re-crisps and the center reaches 165°F (74°C). Avoid the microwave, which turns the coating soggy.
Frequently Asked Questions
Q: How much chicken should I fry at one time?
Fry 2 to 3 pieces per batch in a deep skillet, keeping them at least an inch apart. Crowding drops the oil temperature, which makes the crust absorb grease and turn pale instead of golden.
I hope this Crispy Fried Chicken Breast becomes a small ritual in your kitchen, one where the sizzle feels less like chaos and more like comfort. If you make it, tell me in the comments which variation you tried, and share a photo so we can celebrate your golden, imperfect, delicious result together. Breathe, reflect, grow.
Crispy Fried Chicken Breast
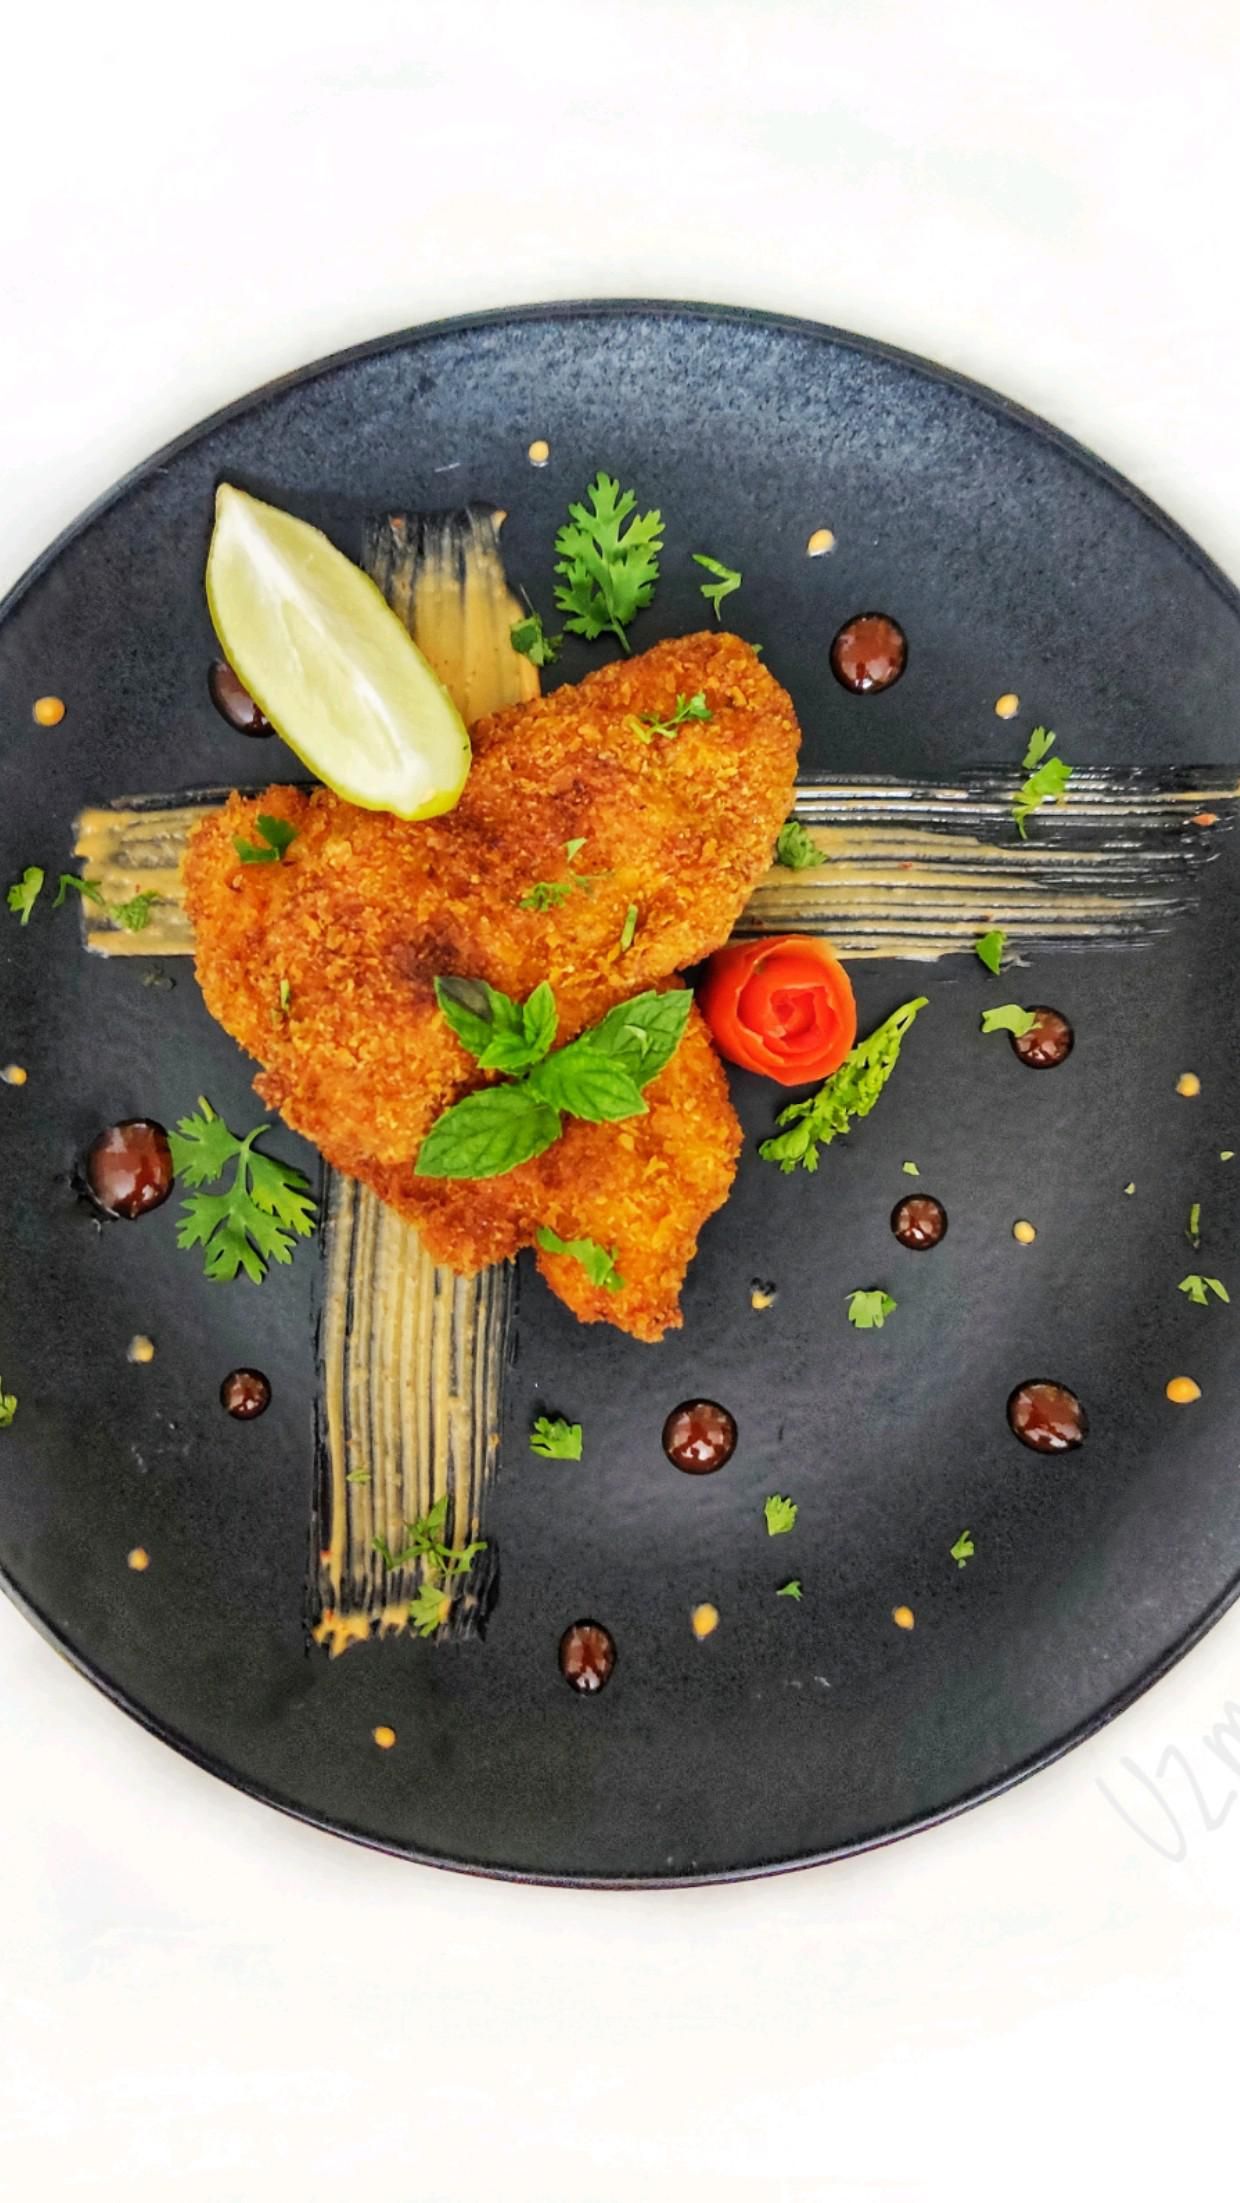
Crispy Fried Chicken Breast delivers a shatteringly golden crust around juicy meat, ready in about 30 minutes with a simple buttermilk soak.
🧂 Ingredients
- 6 boneless, skinless chicken breasts (about 6 oz / 170 g each), pounded to 1/2-inch thickness
- 2 cups (480 ml) buttermilk
- 2 large eggs
- 2 cups (250 g) all-purpose flour
- 1/2 cup (60 g) cornstarch
- 2 teaspoons smoked paprika
- 2 teaspoons garlic powder
- 1 teaspoon cayenne pepper
- 2 teaspoons kosher salt, plus more for finishing
- 1 teaspoon freshly ground black pepper
- 4 cups (960 ml) neutral oil, such as canola or peanut, for frying
📋 Instructions
- 1Pound the Chicken — Place each breast between two sheets of plastic wrap and pound to an even 1/2-inch thickness. Even thickness means even cooking, so no dry edges and no pink centers.
- 2Soak in Buttermilk — In a large bowl, whisk the buttermilk and eggs, then submerge the chicken. Let it sit at room temperature for 15 minutes while you prepare the coating.
- 3Mix the Dredge — In a wide dish, whisk the flour, cornstarch, smoked paprika, garlic powder, cayenne, kosher salt, and black pepper until no streaks remain. This is your crust's whole personality.
- 4Heat the Oil — Pour 1 1/2 inches of oil into a deep skillet and heat over medium-high to 350°F (177°C). A pinch of flour should sizzle and bubble the moment it touches the surface.
- 5Dredge and Rest — Lift one breast from the buttermilk, letting excess drip back, then press it firmly into the flour on both sides. Set it on a wire rack and repeat; rest 10 minutes so the coating sets.
- 6Fry Until Golden — Lower 2 to 3 pieces into the oil and fry for 6 to 8 minutes per side, until deep golden brown and the edges bubble steadily. The internal temperature should reach 165°F (74°C).
- 7Drain and Salt — Transfer the chicken to a clean wire rack, not paper towels, so the bottom stays crisp. Sprinkle with flaky salt while it is still hot.
- 8Rest and Serve — Let the chicken rest 5 minutes before slicing. This brief pause lets the juices settle so they stay in the meat instead of running onto the plate.

Sofia writes about mindfulness and mental well-being, drawing from her own journey with stress and burnout. She shares gentle, evidence-informed practices for busy lives.