
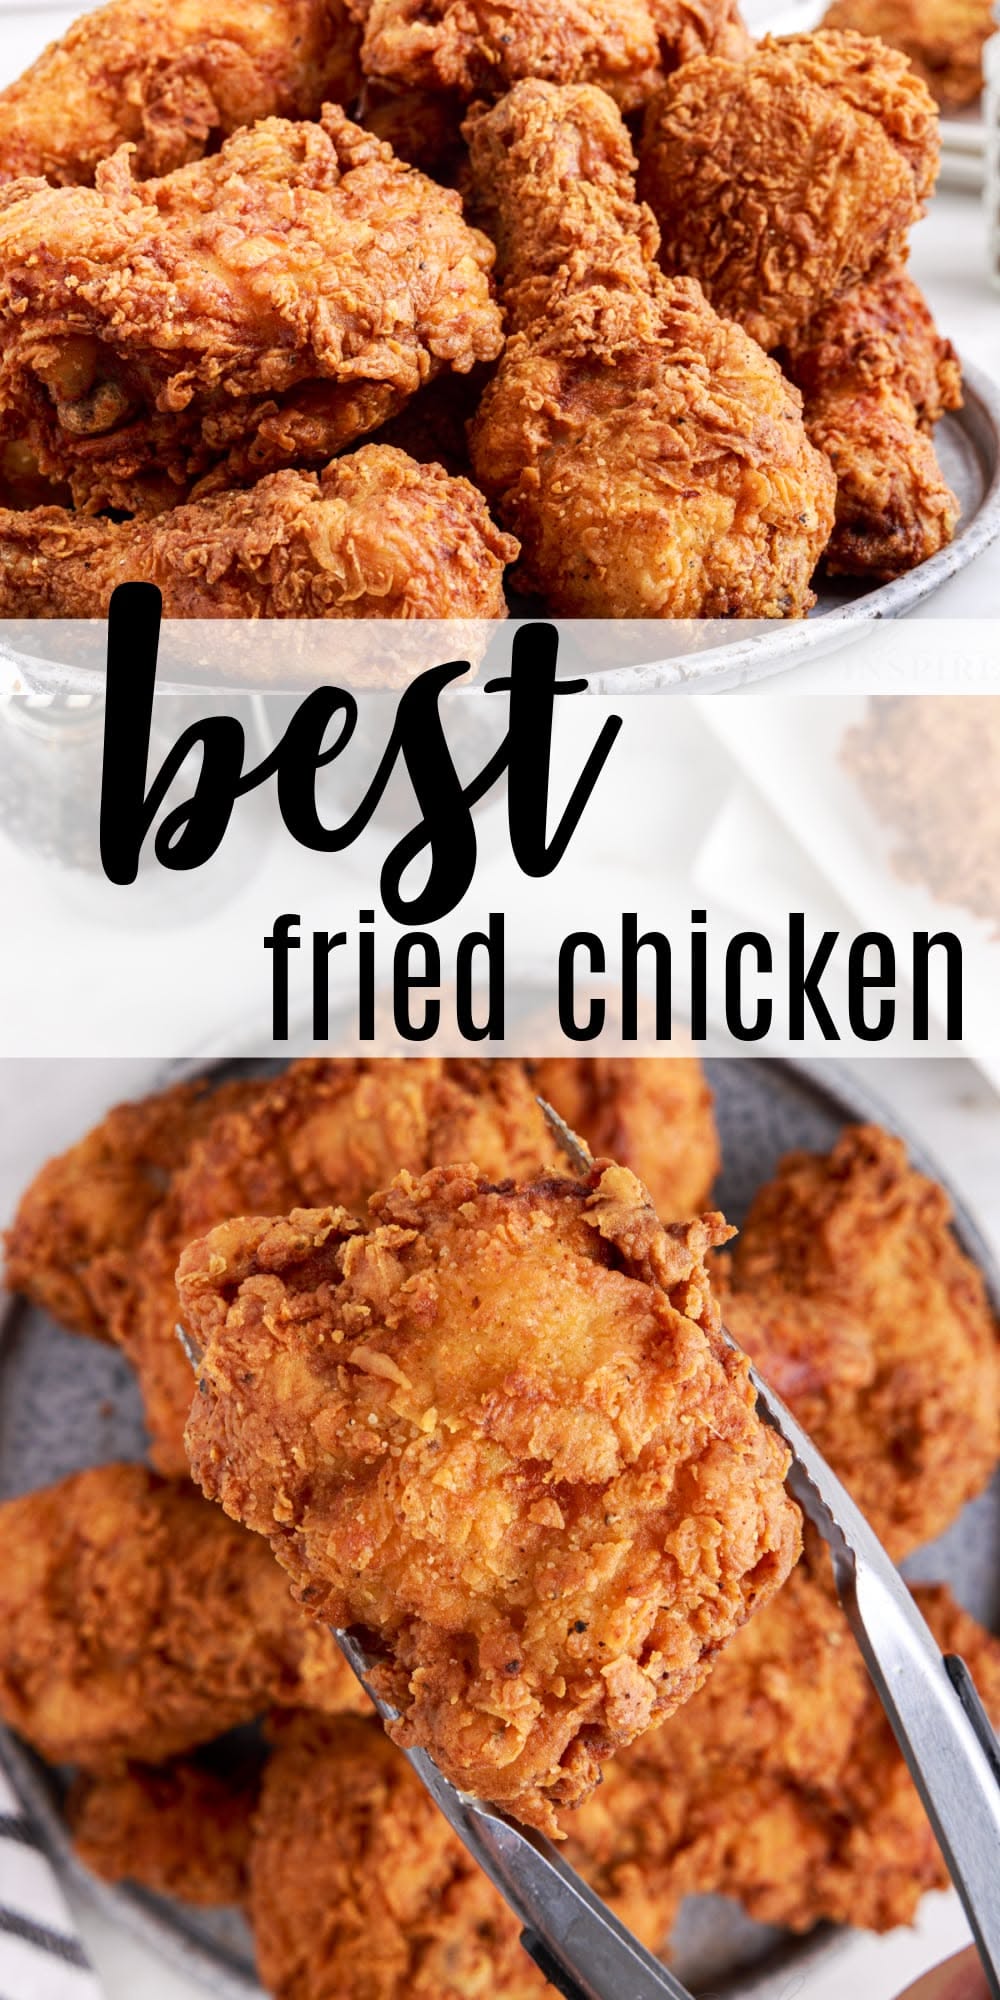
This Chicken Fried Chicken No Buttermilk is a Southern comfort classic that skips the buttermilk without losing an ounce of flavor or tenderness. Using a simple milk-and-lemon marinade, you get that same tangy, tenderizing effect, while a double-dredge in seasoned flour ensures an ultra-crispy crust that clings to every bite.
Advertisements1
Growing up, my grandmother always had buttermilk on hand, but I know that's not always the case. This version uses ingredients you likely already have: milk, lemon juice, and all-purpose flour. It's perfect for a weeknight dinner when you're craving something hearty and satisfying without a special trip to the store.
The key is to let the chicken rest in the marinade for at least 15 minutes (or up to 2 hours), which helps the milk and lemon mimic buttermilk's acidity. Then, a double-dredge in seasoned flour creates a shaggy, crunchy coating that fries up golden and delicious. Serve it with mashed potatoes and cream gravy for the ultimate comfort meal.
Why You'll Love This Recipe
About the Ingredients
4 boneless, skinless chicken breasts (about 1.5 lbs / 680g), pounded to 1/2-inch thickness
Pounding ensures even cooking. If you prefer, use chicken thighs for extra juiciness.
1 cup (240ml) whole milk
Whole milk works best for the marinade. You can use 2% or even almond milk, but whole milk gives the most tender result.
1 tablespoon (15ml) lemon juice
Fresh lemon juice is ideal, but bottled works. This acid helps tenderize the chicken and mimic buttermilk's tang.
2 cups (250g) all-purpose flour
All-purpose flour is standard. For a gluten-free option, use a 1:1 gluten-free flour blend.
1 teaspoon (5g) garlic powder
Garlic powder adds savory depth. You can substitute with 1/2 teaspoon garlic granules.
1 teaspoon (5g) onion powder
Onion powder enhances the savory flavor. Use 1/2 teaspoon if you prefer a milder taste.
1 teaspoon (5g) paprika
Paprika adds color and a mild smokiness. Smoked paprika will give a deeper flavor.
1/2 teaspoon (2.5g) cayenne pepper (optional)
Cayenne adds a kick. Omit for a milder version or increase to 1 teaspoon for extra heat.
1 teaspoon (5g) salt
Kosher salt is best. Adjust to taste, especially if using salted butter.
1/2 teaspoon (2.5g) black pepper
Freshly ground black pepper is preferred. Pre-ground also works.
1 large egg
The egg helps the flour stick to the chicken. For an egg-free version, use 1/4 cup (60ml) milk mixed with 1 tablespoon (8g) cornstarch.
Vegetable oil, for frying (about 2 cups / 480ml)
Use a neutral oil with a high smoke point like canola, peanut, or vegetable oil.
Tips & Tricks
- Pound the chicken to an even 1/2-inch thickness for uniform cooking and maximum crispiness.
- Let the chicken rest in the marinade for at least 15 minutes (or up to 2 hours) to tenderize properly.
- Don't overcrowd the skillet when frying; work in batches to maintain oil temperature and avoid soggy crust.
- Use a meat thermometer to ensure the internal temperature reaches 165°F (74°C) for safe eating.
Pro Tips
Step-by-Step Instructions
1. Pound and Marinate
Place each chicken breast between plastic wrap and pound to 1/2-inch thickness. In a shallow dish, whisk together milk and lemon juice. Add the chicken, turning to coat. Cover and refrigerate for at least 15 minutes (or up to 2 hours).
2. Prepare the Flour Mixture
In a large shallow dish, whisk together flour, garlic powder, onion powder, paprika, cayenne (if using), salt, and black pepper. In a separate shallow dish, beat the egg with 2 tablespoons (30ml) of water until well combined.
3. Dredge the Chicken
Remove chicken from marinade, letting excess drip off. Dip each piece into the egg mixture, then coat thoroughly in the flour mixture, pressing firmly to adhere. Place on a wire rack and let rest for 10 minutes while you heat the oil.
4. Heat the Oil
In a large cast-iron skillet or heavy-bottomed pan, pour oil to a depth of 1/4 inch (6mm). Heat over medium-high heat until it reaches 350°F (175°C). A drop of flour should sizzle immediately when added.
5. Fry the Chicken
Carefully place 2-3 chicken pieces in the hot oil, being careful not to overcrowd. Fry for 5-7 minutes per side, until golden brown and crispy, and internal temperature reaches 165°F (74°C). Adjust heat to maintain 350°F (175°C).
6. Drain and Rest
Transfer fried chicken to a wire rack set over a baking sheet to drain. Let rest for 5 minutes before serving to allow juices to redistribute.
7. Serve and Enjoy
Serve hot with mashed potatoes, gravy, or your favorite sides. Enjoy the crispy, juicy perfection!
Delicious Variations
Spicy Nashville Hot
After frying, brush with a mixture of cayenne, brown sugar, and melted butter for a fiery kick.
Herb-Crusted
Add 1 tablespoon of dried thyme, oregano, or rosemary to the flour mixture for an aromatic twist.
Gluten-Free
Substitute all-purpose flour with a 1:1 gluten-free flour blend and ensure your other ingredients are gluten-free.
How to Store Chicken Fried Chicken No Buttermilk
Refrigerator
Store leftovers in an airtight container in the refrigerator for up to 3 days.
Freezer
Freeze cooked chicken in a single layer on a baking sheet, then transfer to a freezer-safe bag for up to 2 months.
Reheating
Reheat in a 375°F (190°C) oven for 10-15 minutes, or until heated through and crispy. Avoid microwaving to maintain crunch.
Frequently Asked Questions
Q: Can I use chicken thighs instead of breasts?
Yes, you can. Chicken thighs are more forgiving and stay juicy. Adjust cooking time to ensure they reach 165°F (74°C).
Q: How do I get the crust to stay on?
The key is to let the dredged chicken rest for 10 minutes before frying, and ensure the oil is at the right temperature (350°F/175°C) so the crust sets quickly.
Q: Can I bake this instead of frying?
Yes, you can. Place the dredged chicken on a greased baking sheet and bake at 400°F (200°C) for 25-30 minutes, turning halfway, until internal temperature reaches 165°F (74°C).
Q: What can I use instead of lemon juice?
White vinegar or apple cider vinegar can be used in the same amount. Or, you can use plain yogurt thinned with a little milk.
If you loved this crispy, no-buttermilk chicken fried chicken, don't forget to share your results in the comments below! And for more comforting recipes, subscribe to my newsletter so you never miss a delicious post.
Chicken Fried Chicken No Buttermilk
Crispy, juicy chicken fried chicken without buttermilk, ready in 50 minutes. A southern classic made simple with pantry staples.
🧂 Ingredients
- 4 boneless, skinless chicken breasts (about 1.5 lbs / 680g), pounded to 1/2-inch thickness
- 1 cup (240ml) whole milk
- 1 tablespoon (15ml) lemon juice
- 2 cups (250g) all-purpose flour
- 1 teaspoon (5g) garlic powder
- 1 teaspoon (5g) onion powder
- 1 teaspoon (5g) paprika
- 1/2 teaspoon (2.5g) cayenne pepper (optional)
- 1 teaspoon (5g) salt
- 1/2 teaspoon (2.5g) black pepper
- 1 large egg
- Vegetable oil, for frying (about 2 cups / 480ml)
📋 Instructions
- 1Pound and Marinate — Place each chicken breast between plastic wrap and pound to 1/2-inch thickness. In a shallow dish, whisk together milk and lemon juice. Add the chicken, turning to coat. Cover and refrigerate for at least 15 minutes (or up to 2 hours).
- 2Prepare the Flour Mixture — In a large shallow dish, whisk together flour, garlic powder, onion powder, paprika, cayenne (if using), salt, and black pepper. In a separate shallow dish, beat the egg with 2 tablespoons (30ml) of water until well combined.
- 3Dredge the Chicken — Remove chicken from marinade, letting excess drip off. Dip each piece into the egg mixture, then coat thoroughly in the flour mixture, pressing firmly to adhere. Place on a wire rack and let rest for 10 minutes while you heat the oil.
- 4Heat the Oil — In a large cast-iron skillet or heavy-bottomed pan, pour oil to a depth of 1/4 inch (6mm). Heat over medium-high heat until it reaches 350°F (175°C). A drop of flour should sizzle immediately when added.
- 5Fry the Chicken — Carefully place 2-3 chicken pieces in the hot oil, being careful not to overcrowd. Fry for 5-7 minutes per side, until golden brown and crispy, and internal temperature reaches 165°F (74°C). Adjust heat to maintain 350°F (175°C).
- 6Drain and Rest — Transfer fried chicken to a wire rack set over a baking sheet to drain. Let rest for 5 minutes before serving to allow juices to redistribute.
- 7Serve and Enjoy — Serve hot with mashed potatoes, gravy, or your favorite sides. Enjoy the crispy, juicy perfection!

Yuki writes about technology and digital minimalism, helping readers declutter their digital lives and use tech mindfully. She explores apps, tools, and habits that promote focus and well-being.