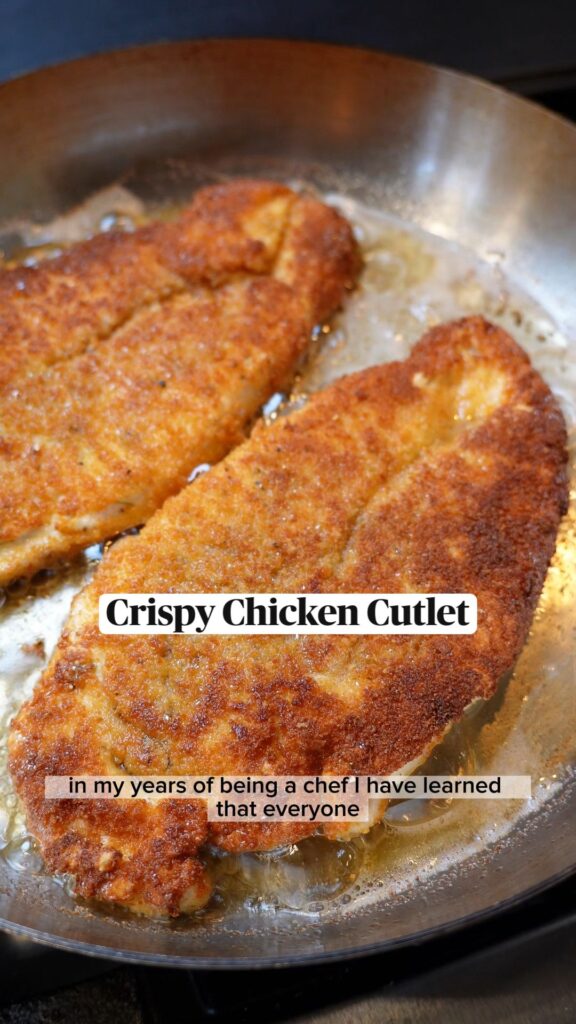
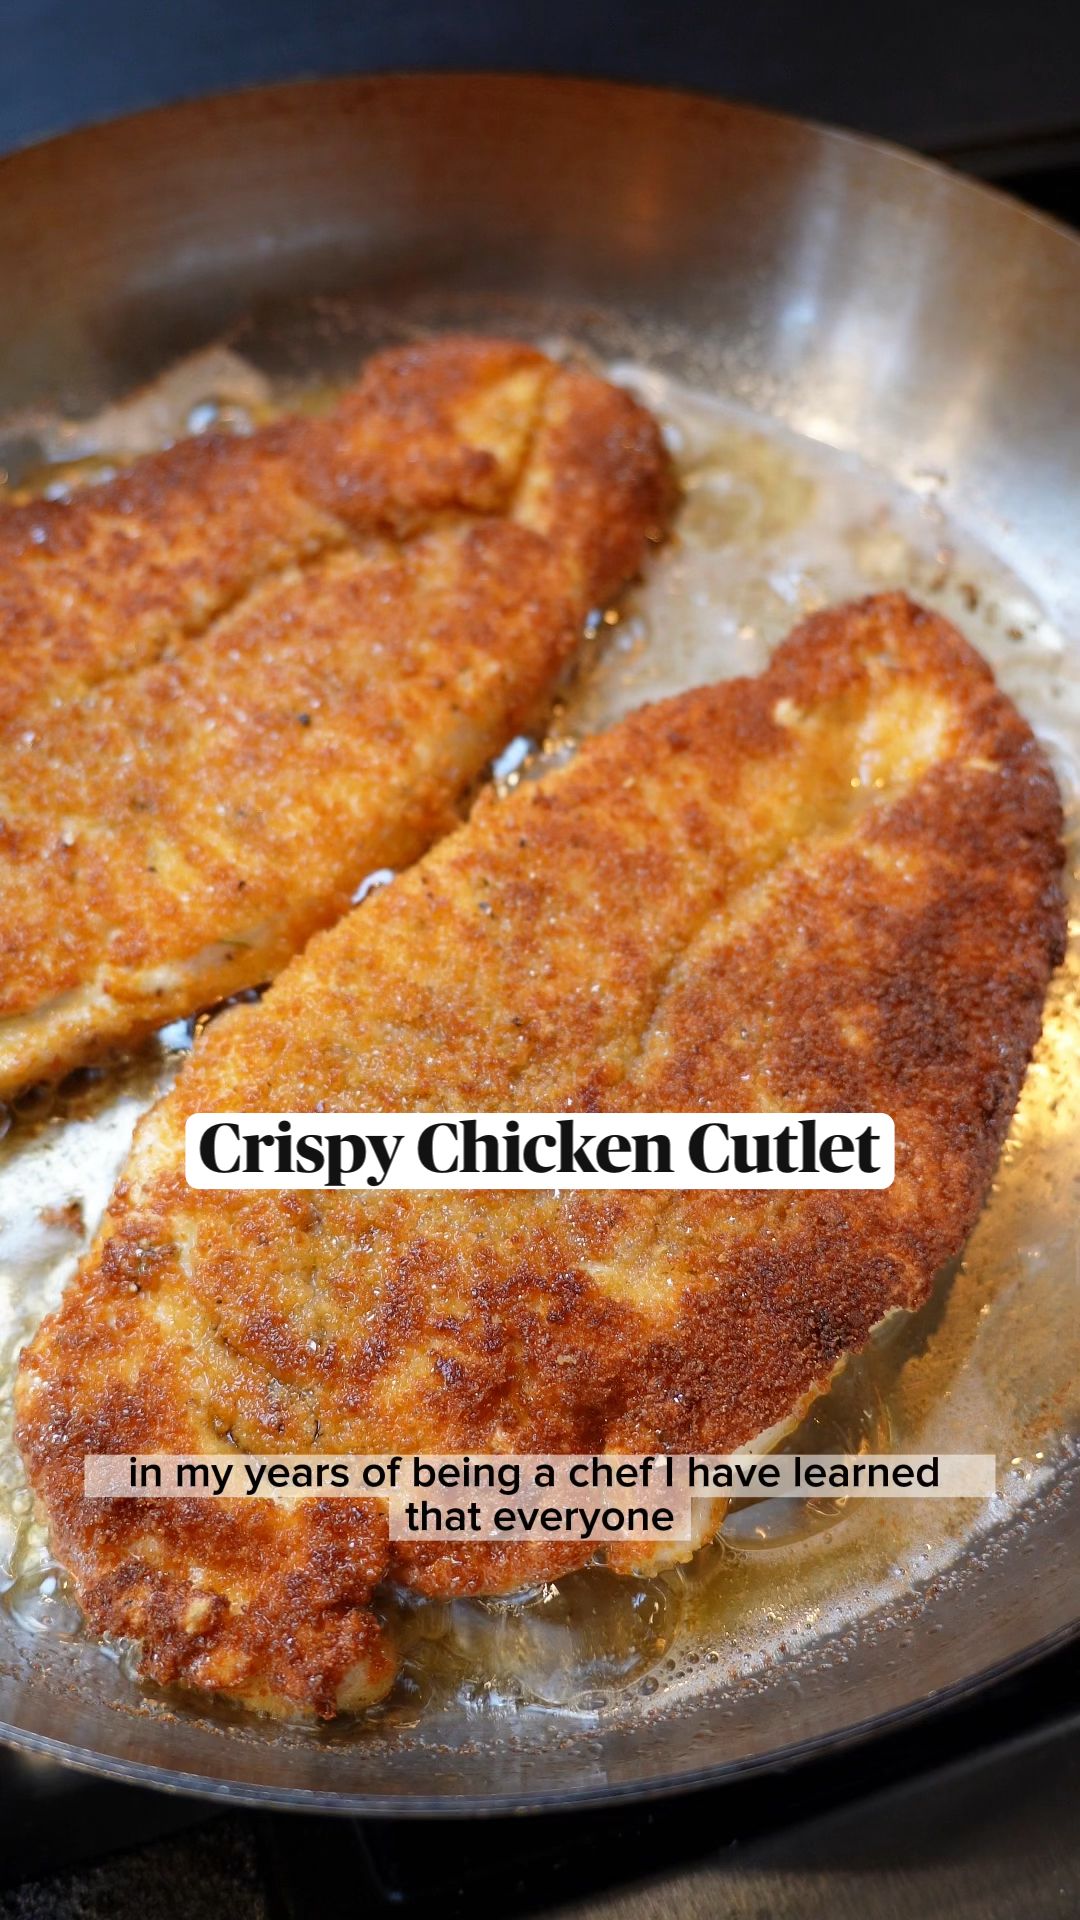
A crispy chicken cutlet is a thin, pounded piece of chicken breast that gets dredged in flour, egg, and breadcrumbs, then pan-fried until the crust turns deep golden brown. The technique is simple, but the margin for error is real: too thick and the center stays raw while the crust burns, too thin and you get a dry, leathery disc.
Advertisements1
Think of the breading like a bond. Flour is the primer that sticks to the meat, egg is the adhesive layer, and breadcrumbs are the finish coat. Skip a layer and the coating peels off in the pan, exactly like a bad investment losing value the moment conditions shift.
This recipe uses a 350F (177C) oil temperature, a 3-to-4 minute fry per side, and a 165F (74C) internal temperature target. Follow those numbers and you get consistent results every single time.
Why You'll Love This Recipe
About the Ingredients
6 boneless, skinless chicken breasts (about 2 lb / 900g total)
Buy breasts of similar size so they cook at the same rate; uneven sizes mean one cutlet overcooks while another stays pink. Substitute boneless thighs if you prefer darker, juicier meat, but add 1 minute per side.
1 1/2 cups (190g) all-purpose flour
Flour is the dry primer that helps the egg adhere to the meat. Cornstarch works as a gluten-free swap in the same quantity and actually fries slightly crisper.
3 large eggs
Eggs are the binding layer between flour and crumbs. If you are out of eggs, whisk 1/2 cup (120ml) buttermilk or 1/4 cup (60ml) heavy cream with 2 tablespoons water.
3 cups (180g) panko breadcrumbs
Panko's large flakes create a lighter, crunchier crust than standard breadcrumbs. If using regular breadcrumbs, add 2 tablespoons grated Parmesan to boost browning and flavor.
1 1/2 teaspoons kosher salt, plus more for finishing
Kosher salt dissolves evenly and seasons the crust from within. Table salt is twice as salty per pinch, so use only 3/4 teaspoon if substituting.
1 teaspoon freshly ground black pepper
Fresh-cracked pepper has more volatile oils and stronger aroma than pre-ground. Paprika or garlic powder can be added at 1 teaspoon each for a seasoned crust.
1 teaspoon garlic powder
Garlic powder blends into the flour for even distribution. Onion powder or smoked paprika are direct one-to-one substitutes.
2 cups (480ml) neutral oil, such as canola or peanut, for frying
Neutral oil has a high smoke point near 450F (232C), so it holds at 350F (177C) without burning. Olive oil smokes too early for deep frying; reserve it for shallow pan-frying only.
1 lemon, cut into wedges, for serving
Acid cuts through the fried crust and brightens each bite. Bottled lemon juice works in a pinch but tastes flatter.
Tips & Tricks
Pound to Even Thickness
Place each breast between two sheets of plastic wrap and pound to a uniform 1/2 inch (1.3cm). Uneven thickness is the number one cause of burnt crust with a raw center.
Keep One Hand Dry
Use one hand for the flour and crumbs, the other for the egg. This prevents the breadcrumb bowl from turning into a sticky paste that clings in clumps instead of coating evenly.
Hold at 350F (177C)
Use a clip-on thermometer and adjust the burner constantly. Oil that drops to 300F (149C) soaks into the crust; oil above 375F (190C) burns the outside before the chicken cooks through.
Drain on a Rack, Not Paper
A wire rack lets steam escape from all sides. Paper towels trap moisture underneath and turn the bottom crust soggy within minutes.
Pro Tips
Step-by-Step Instructions
1. Pound the Chicken
Place each breast between two sheets of plastic wrap and pound with a flat mallet to an even 1/2 inch (1.3cm). Uniform thickness guarantees the center reaches 165F (74C) at the same moment the crust turns golden.
2. Set Up Breading Station
Arrange three shallow dishes: flour mixed with salt, pepper, and garlic powder in the first; beaten eggs in the second; panko in the third. A left-to-right assembly line prevents cross-contamination and keeps the process moving.
3. Dredge and Coat
Press each cutlet into flour, shake off excess, dip fully into egg, then press firmly into panko on both sides. Firm pressure is what makes the crumbs stick; a loose coating falls off in the oil.
4. Heat the Oil
Pour 1/2 inch (1.3cm) of oil into a large skillet and heat over medium-high until it reaches 350F (177C) on a thermometer. Oil at the correct temperature creates immediate bubbling at the edges the second the chicken touches it.
5. Fry the First Side
Lay two cutlets in the pan without crowding and fry 3 to 4 minutes until the underside is deep golden brown and the edges bubble steadily. If the crust darkens in under 2 minutes, the oil is too hot; pull the pan off the heat for 30 seconds.
6. Flip and Finish
Flip carefully with tongs and fry another 3 to 4 minutes until the second side matches in color. Insert a thermometer into the thickest point; it should read 165F (74C).
7. Drain and Season
Transfer cutlets to a wire rack set over a sheet pan and sprinkle immediately with kosher salt. Salting while hot makes the seasoning stick to the crust instead of falling off.
8. Serve Immediately
Plate with lemon wedges and serve within 5 minutes for maximum crunch. The crust softens as it sits, so timing matters more here than in most recipes.
Delicious Variations
Parmesan Crust
Replace 1/2 cup (30g) of the panko with finely grated Parmesan for a nutty, extra-browned crust that needs 30 seconds less per side.
Spicy Nashville Style
Add 1 tablespoon cayenne to the flour and brush finished cutlets with a honey-cayenne glaze for a sweet-heat version.
Air Fryer Version
Spray breaded cutlets with oil and air fry at 400F (204C) for 6 minutes per side; the crust is 80 percent as crisp with roughly half the fat.
How to Store Crispy Chicken Cutlet
Refrigerator
Store cooled cutlets in an airtight container for up to 3 days. Keep them in a single layer with parchment between pieces so the crust does not fuse together.
Freezer
Freeze fully cooked cutlets on a sheet pan for 1 hour, then transfer to a freezer bag for up to 2 months. Freeze raw breaded cutlets the same way for up to 1 month.
Reheating
Reheat in a 375F (190C) oven on a wire rack for 8 to 10 minutes. The microwave works in 60 seconds but destroys the crust, turning it soft and rubbery.
Frequently Asked Questions
Q: Why does my breading fall off when frying?
The coating falls off when the flour layer is too thin or the egg is skipped entirely. Press the panko firmly into the meat and let the breaded cutlets rest 5 minutes before frying so the coating hydrates and bonds.
Q: What internal temperature should chicken cutlets reach?
Chicken cutlets are safe to eat at 165F (74C) measured in the thickest part with a digital thermometer. At 1/2 inch (1.3cm) thickness, that target is usually hit within 6 to 8 minutes of total frying time.
Q: Can I bake crispy chicken cutlets instead of frying?
Yes, bake breaded cutlets on a wire rack over a sheet pan at 425F (218C) for 15 to 18 minutes, flipping once. Spray both sides generously with oil first, or the panko stays pale and dry instead of turning crisp.
Q: How do I keep the crust from getting soggy?
Drain the cutlets on a wire rack, never on paper towels, and serve within 5 minutes of frying. Paper towels trap steam against the crust, which is the main cause of sogginess.
Q: What oil is best for frying chicken cutlets?
Canola, peanut, or vegetable oil all work because their smoke points sit above 400F (204C). Avoid extra-virgin olive oil, which begins smoking around 375F (190C) and turns bitter before the chicken is done.
Cook the numbers, not the clock: 350F (177C) oil, 3 to 4 minutes per side, 165F (74C) internal. Master that sequence once and crispy chicken cutlets become a repeatable weeknight asset instead of a gamble. Invest in your knowledge.
Crispy Chicken Cutlet
Crispy Chicken Cutlet delivers a shatteringly golden crust with juicy meat inside, ready in 35 minutes for a weeknight dinner the family will ask for again.
🧂 Ingredients
- 6 boneless, skinless chicken breasts (about 2 lb / 900g total)
- 1 1/2 cups (190g) all-purpose flour
- 3 large eggs
- 3 cups (180g) panko breadcrumbs
- 1 1/2 teaspoons kosher salt, plus more for finishing
- 1 teaspoon freshly ground black pepper
- 1 teaspoon garlic powder
- 2 cups (480ml) neutral oil, such as canola or peanut, for frying
- 1 lemon, cut into wedges, for serving
📋 Instructions
- 1Pound the Chicken — Place each breast between two sheets of plastic wrap and pound with a flat mallet to an even 1/2 inch (1.3cm). Uniform thickness guarantees the center reaches 165F (74C) at the same moment the crust turns golden.
- 2Set Up Breading Station — Arrange three shallow dishes: flour mixed with salt, pepper, and garlic powder in the first; beaten eggs in the second; panko in the third. A left-to-right assembly line prevents cross-contamination and keeps the process moving.
- 3Dredge and Coat — Press each cutlet into flour, shake off excess, dip fully into egg, then press firmly into panko on both sides. Firm pressure is what makes the crumbs stick; a loose coating falls off in the oil.
- 4Heat the Oil — Pour 1/2 inch (1.3cm) of oil into a large skillet and heat over medium-high until it reaches 350F (177C) on a thermometer. Oil at the correct temperature creates immediate bubbling at the edges the second the chicken touches it.
- 5Fry the First Side — Lay two cutlets in the pan without crowding and fry 3 to 4 minutes until the underside is deep golden brown and the edges bubble steadily. If the crust darkens in under 2 minutes, the oil is too hot; pull the pan off the heat for 30 seconds.
- 6Flip and Finish — Flip carefully with tongs and fry another 3 to 4 minutes until the second side matches in color. Insert a thermometer into the thickest point; it should read 165F (74C).
- 7Drain and Season — Transfer cutlets to a wire rack set over a sheet pan and sprinkle immediately with kosher salt. Salting while hot makes the seasoning stick to the crust instead of falling off.
- 8Serve Immediately — Plate with lemon wedges and serve within 5 minutes for maximum crunch. The crust softens as it sits, so timing matters more here than in most recipes.

Marcus writes about personal finance and investing, with a focus on helping young professionals build wealth from scratch. He breaks down complex concepts into simple, actionable strategies.