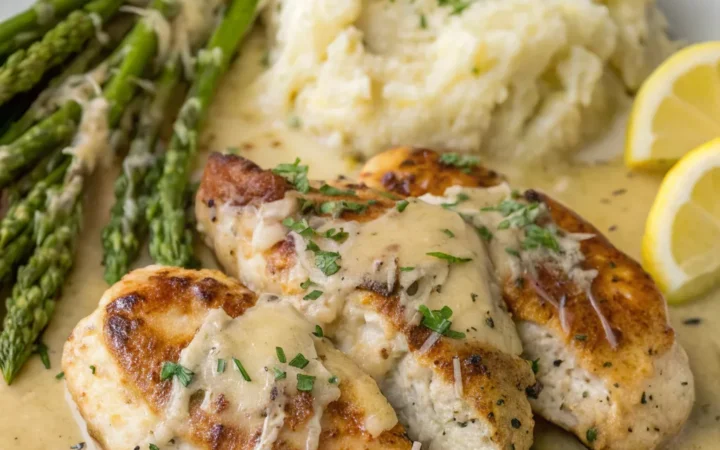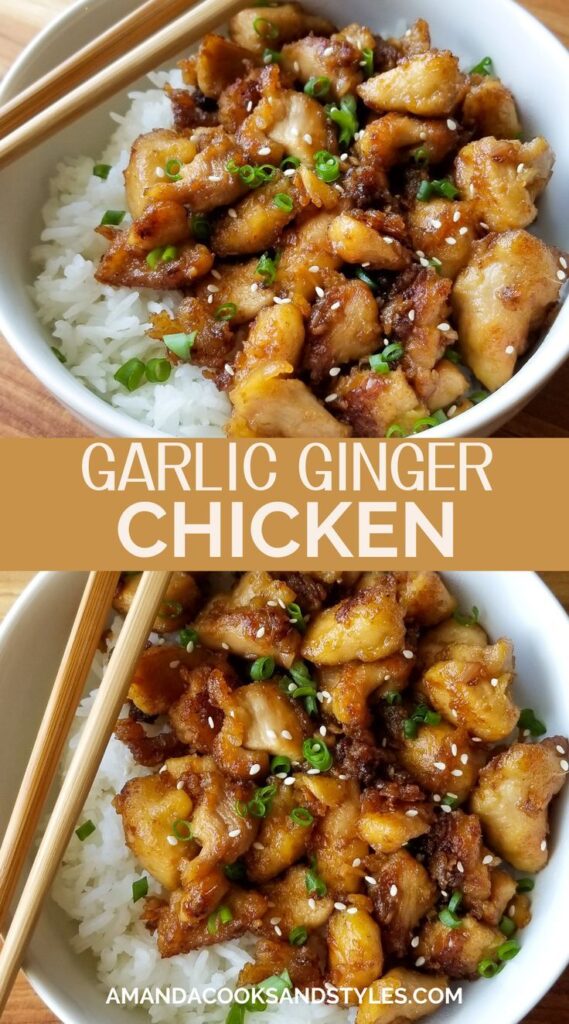
I first built this garlic ginger chicken on a two-burner camp stove behind a windbreak at 9,000 feet, and it beat every restaurant version I have paid for since. The trick is not some secret sauce bottle, it is the ratio of fresh garlic to fresh ginger and letting the glaze reduce until it coats the back of a spoon.
Advertisements1
This is a weeknight workhorse. One skillet, one cutting board, and about 35 minutes from cold chicken to a glossy pile of tender thighs you will want over rice, noodles, or a pile of steamed broccoli. I keep the heat high enough to get real color on the chicken, because that browning is where the flavor lives.
Fair warning, as with any hot skillet work, keep your face back when that ginger hits the oil and never leave a pan of reducing sugar glaze unattended. Sugar goes from perfect to burnt in about 40 seconds. Get out there and explore, but come home to a good dinner.
Why You'll Love This Recipe
About the Ingredients
2.5 lbs (1130g) boneless skinless chicken thighs, cut into 1.5-inch chunks
Thighs stay juicy where breasts dry out, so I always reach for them here. If you only have breasts, buy 2 lbs (900g), cut them the same size, and pull them 2 minutes earlier because they cook faster.
1/3 cup (80ml) soy sauce
Use regular soy sauce for the deepest savory base. For gluten-free, swap in tamari 1:1, and for a milder, sweeter result grab low-sodium soy sauce instead.
3 tbsp (45ml) honey
Honey gives that sticky lacquered finish, but it burns fast, so add it only after the chicken is browned. Maple syrup or brown sugar both work as a 1:1 stand-in.
2 tbsp (30ml) rice vinegar
Rice vinegar cuts the sweetness and brightens the whole pan. Apple cider vinegar is the closest easy substitute, though it is a touch sharper, so use 1 tbsp plus 1 tsp.
1 tbsp (15ml) toasted sesame oil
Toasted, not regular, sesame oil is what you want, and a little goes a long way. Buy it in a small bottle because it goes stale after about six months in the pantry.
8 cloves garlic, finely minced (about 3 tbsp)
Fresh garlic, never the jarred stuff, is non-negotiable for this dish. If you are short on time, a garlic press gets you there in 30 seconds and releases more oils.
2 tbsp (about 20g) fresh ginger, peeled and finely grated
Grate ginger on a microplane so it melts into the sauce instead of leaving stringy fibers. Frozen ginger grates even easier and keeps for months.
2 tsp cornstarch whisked into 2 tbsp cold water
This slurry is what turns a thin sauce into a glossy glaze. Arrowroot powder works the same way, but add it off the heat so it does not clump.
2 tbsp (30ml) neutral oil, such as canola or grapeseed
You need a high smoke point oil here because the pan gets hot. Olive oil works in a pinch but will taste stronger and smoke sooner.
3 scallions, thinly sliced, plus 1 tsp toasted sesame seeds
Scallions and sesame seeds are the fresh finish that wakes everything up. No scallions? Thin slivers of red onion or a pinch of chives do the job.
Tips & Tricks
Dry The Chicken First
Pat the chunks completely dry with paper towels before they hit the pan, because surface moisture steams the meat instead of browning it.
Grate, Do Not Chop
Microplane the ginger and mince the garlic as fine as you can, since large chunks scorch in the hot oil before the sauce comes together.
Add Honey Late
Stir the honey in only after the chicken is browned and the aromatics are fragrant, because sugar added early will burn and turn the whole pan bitter.
Trust The Thermometer
Pull the chicken at 175F (79C) internal, which is past the 165F (74C) safety minimum but gives thighs a far better texture.
Pro Tips
Step-by-Step Instructions
1. Prep And Dry Chicken
Cut the thighs into 1.5-inch chunks, pat them bone dry with paper towels, and season lightly with salt and pepper. Whisk the soy sauce, rice vinegar, and sesame oil together in a small bowl so it is ready to pour.
2. Sear In Batches
Heat 1 tbsp of the neutral oil in a 12-inch skillet over medium-high heat, about 375F (190C), until it shimmers. Add half the chicken in a single layer and sear 4 minutes per side until deeply golden brown and the edges look crisp, then move it to a plate and repeat with the remaining oil and chicken.
3. Bloom The Aromatics
Drop the heat to medium, add the garlic and ginger to the same pan, and stir constantly for 45 to 60 seconds until fragrant and just barely golden. The moment it smells sweet and nutty, move on, because 15 extra seconds turns it acrid.
4. Build The Sauce
Pour in the soy mixture and the honey, scrape up every browned bit from the bottom with a wooden spoon, and let it bubble for 2 minutes until it reduces slightly and smells rich and caramelized.
5. Glaze The Chicken
Return all the chicken and any resting juices to the pan, toss to coat, and simmer 3 to 4 minutes until the sauce thickens and clings to the meat and the chicken reads 175F (79C) on an instant-read thermometer.
6. Thicken And Finish
Pull the pan off the heat, whisk in the cornstarch slurry, and stir for 30 seconds until the glaze turns glossy and coats the back of a spoon. Scatter the scallions and sesame seeds over the top and serve right away.
Delicious Variations
Spicy Sriracha Version
Whisk 1 to 2 tsp sriracha into the soy mixture for a slow-building heat that plays great with the ginger.
Crispy Air Fryer Version
Toss the chunks in 1 tbsp cornstarch and air fry at 400F (204C) for 14 minutes, then toss in the stovetop glaze for a lighter, crunchier take.
Ginger Scallion Noodle Bowl
Double the sauce, toss the chicken with 12 oz cooked lo mein noodles, and finish with extra scallions for a full one-bowl meal.
How to Store Best Ever Garlic Ginger Chicken
Refrigerator
Store in an airtight container in the fridge for up to 4 days, keeping the scallions separate so they stay crisp.
Freezer
Freeze the glazed chicken without the scallions for up to 3 months in a freezer-safe bag, pressed flat so it thaws fast.
Reheating
Reheat gently in a covered skillet over medium-low heat with a splash of water for 5 to 6 minutes, or microwave in 30-second bursts until steaming.
Frequently Asked Questions
Q: Can I use chicken breast instead of thighs?
Yes, chicken breast works fine, but cut it into the same 1.5-inch chunks and pull it at 165F (74C) internal so it does not dry out. Expect a slightly leaner, less silky result than thighs give you.
Q: Why did my garlic ginger sauce turn bitter?
The garlic and ginger almost certainly burned, which happens within seconds once the oil is too hot. Next time drop the heat to medium and stir the aromatics constantly for no more than 60 seconds before adding the liquid.
Q: How do I make the sauce thicker and glossier?
Whisk in the cornstarch slurry off the heat and stir for about 30 seconds until the glaze coats the back of a spoon. Adding cornstarch over direct high heat is what makes it clumpy.
Q: Is this garlic ginger chicken gluten free?
It is gluten free if you swap the regular soy sauce for tamari, which is brewed without wheat. Double-check your rice vinegar and any bottled add-ins too, since some brands sneak in barley.
Q: What do I serve with garlic ginger chicken?
Steamed jasmine rice is the classic move because it soaks up every bit of the glaze. For something lighter, try steamed broccoli, cauliflower rice, or a cold cucumber salad.
Give this garlic ginger chicken a run this week and let me know how it turned out in the comments, especially if you tried the air fryer version. If you want more one-pan trail-tested dinners, subscribe and I will keep them coming. Get out there and explore.
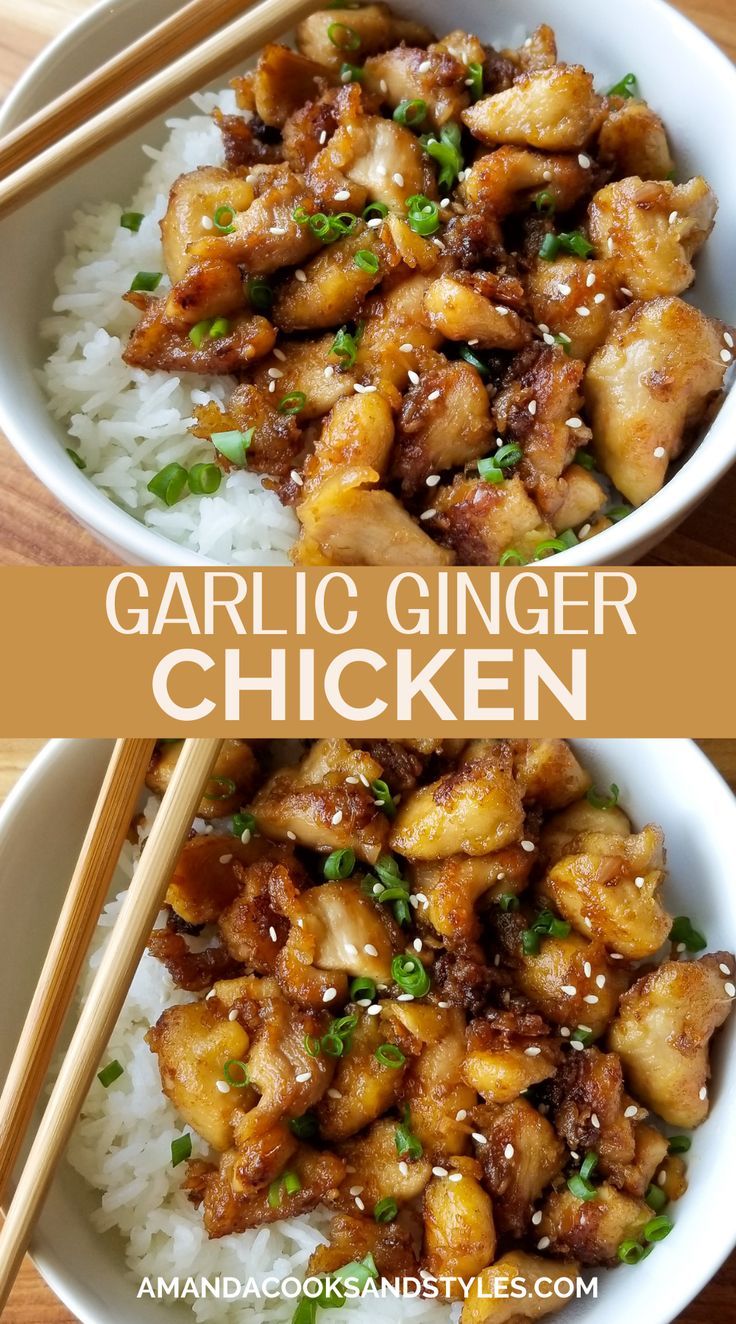
Best Ever Garlic Ginger Chicken
Best Ever Garlic Ginger Chicken delivers sticky, savory-sweet Asian takeout flavor at home in one skillet, ready in about 35 minutes with pantry staples.
🧂 Ingredients
- 2.5 lbs (1130g) boneless skinless chicken thighs, cut into 1.5-inch chunks
- 1/3 cup (80ml) soy sauce
- 3 tbsp (45ml) honey
- 2 tbsp (30ml) rice vinegar
- 1 tbsp (15ml) toasted sesame oil
- 8 cloves garlic, finely minced (about 3 tbsp)
- 2 tbsp (about 20g) fresh ginger, peeled and finely grated
- 2 tsp cornstarch whisked into 2 tbsp cold water
- 2 tbsp (30ml) neutral oil, such as canola or grapeseed
- 3 scallions, thinly sliced, plus 1 tsp toasted sesame seeds
📋 Instructions
- 1Prep And Dry Chicken — Cut the thighs into 1.5-inch chunks, pat them bone dry with paper towels, and season lightly with salt and pepper. Whisk the soy sauce, rice vinegar, and sesame oil together in a small bowl so it is ready to pour.
- 2Sear In Batches — Heat 1 tbsp of the neutral oil in a 12-inch skillet over medium-high heat, about 375F (190C), until it shimmers. Add half the chicken in a single layer and sear 4 minutes per side until deeply golden brown and the edges look crisp, then move it to a plate and repeat with the remaining oil and chicken.
- 3Bloom The Aromatics — Drop the heat to medium, add the garlic and ginger to the same pan, and stir constantly for 45 to 60 seconds until fragrant and just barely golden. The moment it smells sweet and nutty, move on, because 15 extra seconds turns it acrid.
- 4Build The Sauce — Pour in the soy mixture and the honey, scrape up every browned bit from the bottom with a wooden spoon, and let it bubble for 2 minutes until it reduces slightly and smells rich and caramelized.
- 5Glaze The Chicken — Return all the chicken and any resting juices to the pan, toss to coat, and simmer 3 to 4 minutes until the sauce thickens and clings to the meat and the chicken reads 175F (79C) on an instant-read thermometer.
- 6Thicken And Finish — Pull the pan off the heat, whisk in the cornstarch slurry, and stir for 30 seconds until the glaze turns glossy and coats the back of a spoon. Scatter the scallions and sesame seeds over the top and serve right away.

Liam writes about outdoor adventure and gear, focusing on budget-friendly options and safety. He tests equipment in real conditions and shares honest assessments for hikers and campers.